Hi everyone, and welcome to the Junglebiscuit guide to runecrafting! Want to make 340M getting 99? Want to have one of the most respected capes that exist on runescape? Then Read on!
Runecrafting is a fairly old skill, that involves a lot of clicking, and concentration. It is all about running to an alter with rune or pure essence, crafting the rune, and repeating it.
Currently, the Zamorak Mage Institute (ZMI) alter is the fastest runecrafting experience in the game, raking in around 45-55k exp per hour. However, don’t be fooled, ZMI has many drawbacks.
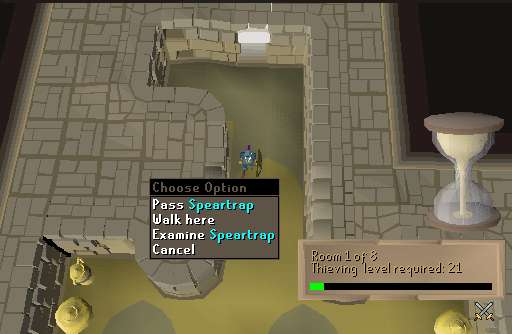
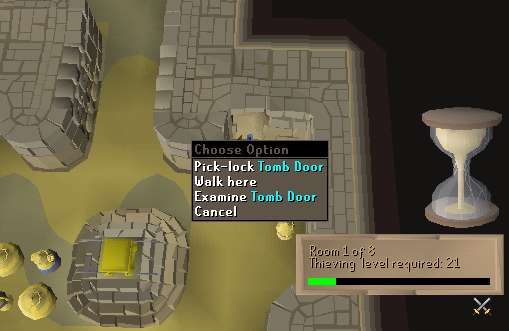
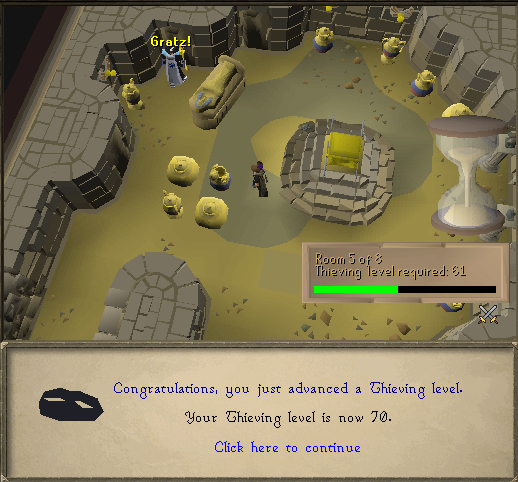
This is what happens when you get addicted to runecrafting:
This is what happens when you get addicted to runecrafting!
That could be you if you get 99 runecraft 🙂
Right, now its time to go into depth, including what you need to get the most out of your time runecrafting 😀
Graahk Runecrafting:
This section of my guide will concentrate on runecrafting with a Spirit Graahk pouch.
Requirements:
– 57 Summoning
– 44 Runecrafting (Minimum)
– Be a fast clicker
What you will need:
– Pure essence (lots of it)
– Rings of duelling
– Super energy potions
– Spirit graahk pouches
– Amulets of glory (4)
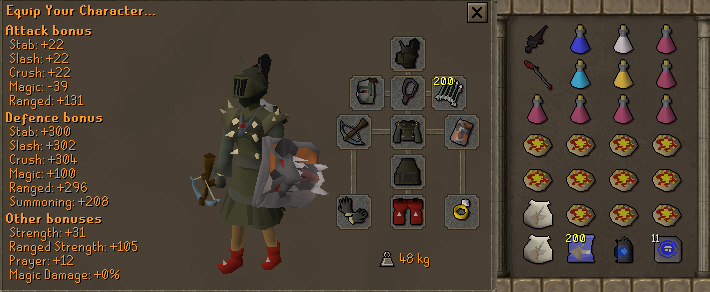
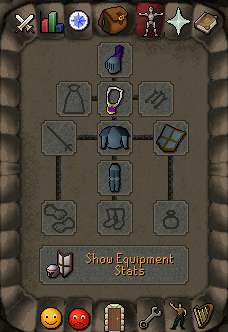
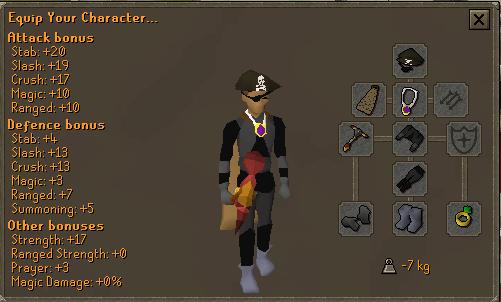
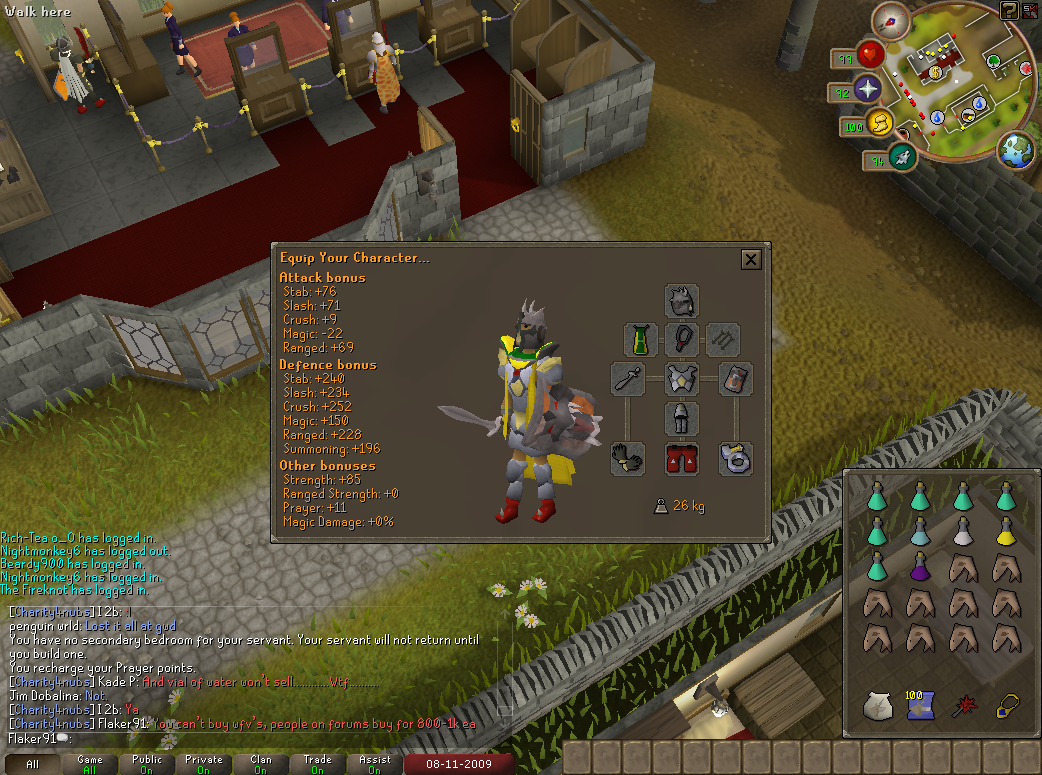
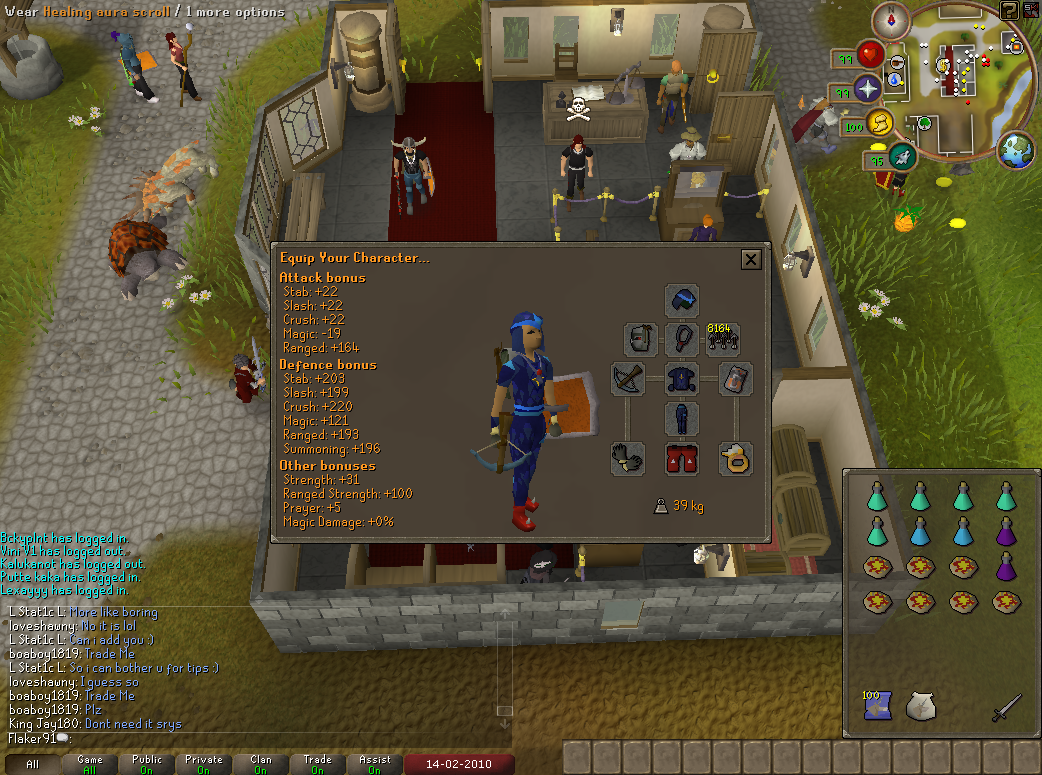
This is what you should wear when runecrafting:
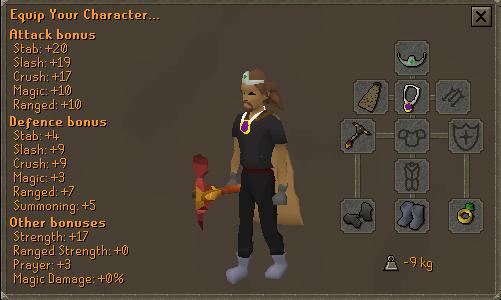
Graahk Runecrafting Gear
As long as your weight is below zero, its fine. When you have penance gloves, you can afford to wear a skillcape if you so wish.
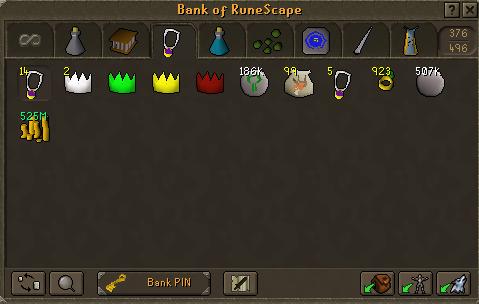
This is how your bank should be set out, make sure you have the essence on the top right hand corner of your bank, so that its not as far to drag the mouse:

Graahk Runcraft Bank Setup
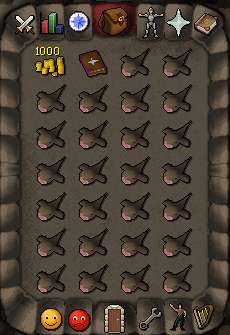
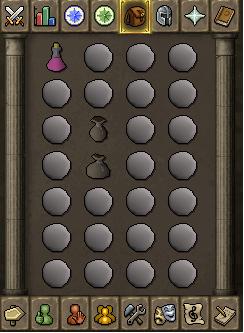
This is what your inventory should look like:
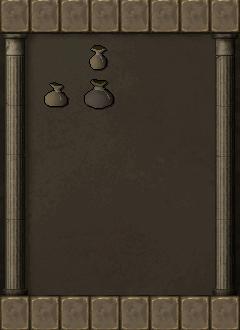
Graahk Runcraft Inventory
Make sure you put an energy potion in the top left hand corner. Fill the rest of your inventory with pure essence.
Now for the route:
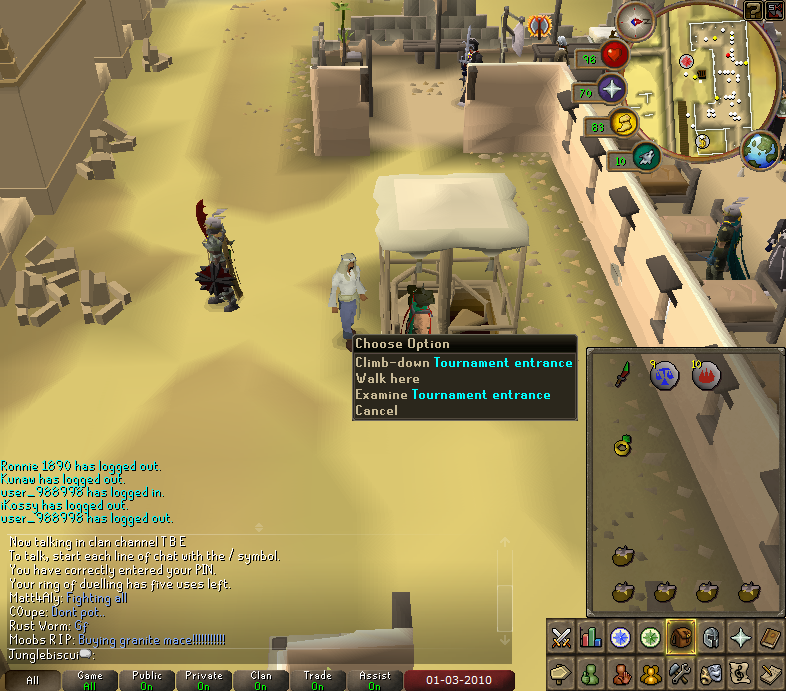
Start at edgeville bank, get your pouches, pure essence, duelling rings and pure essence out. Also summon your graahk.
Click “interact” on your graahk, then click teleport:
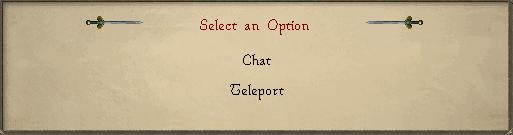
Graahk Teleport
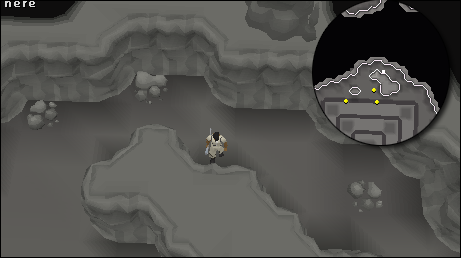
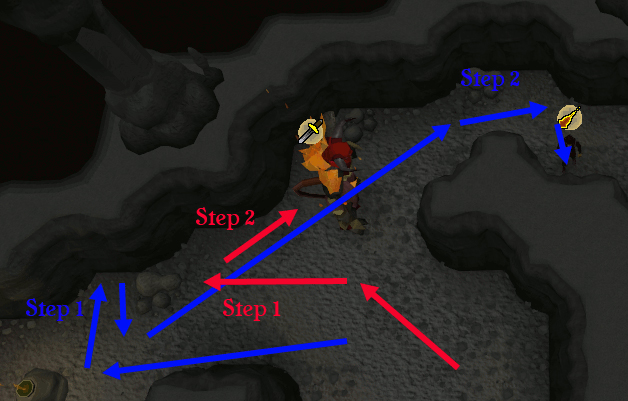
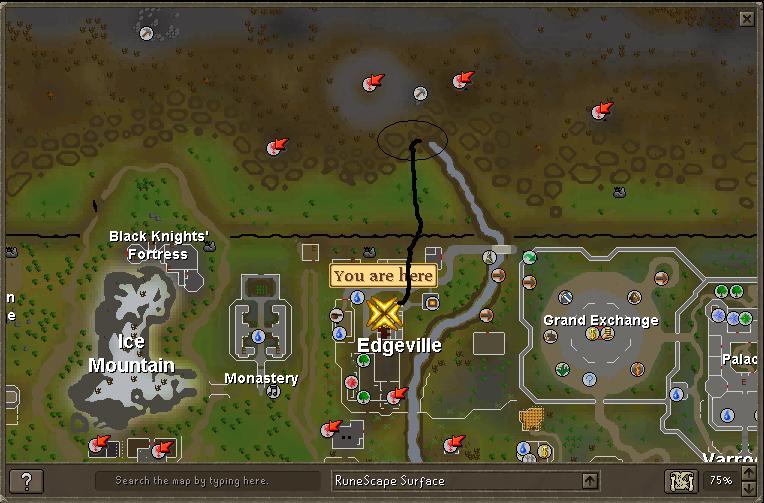
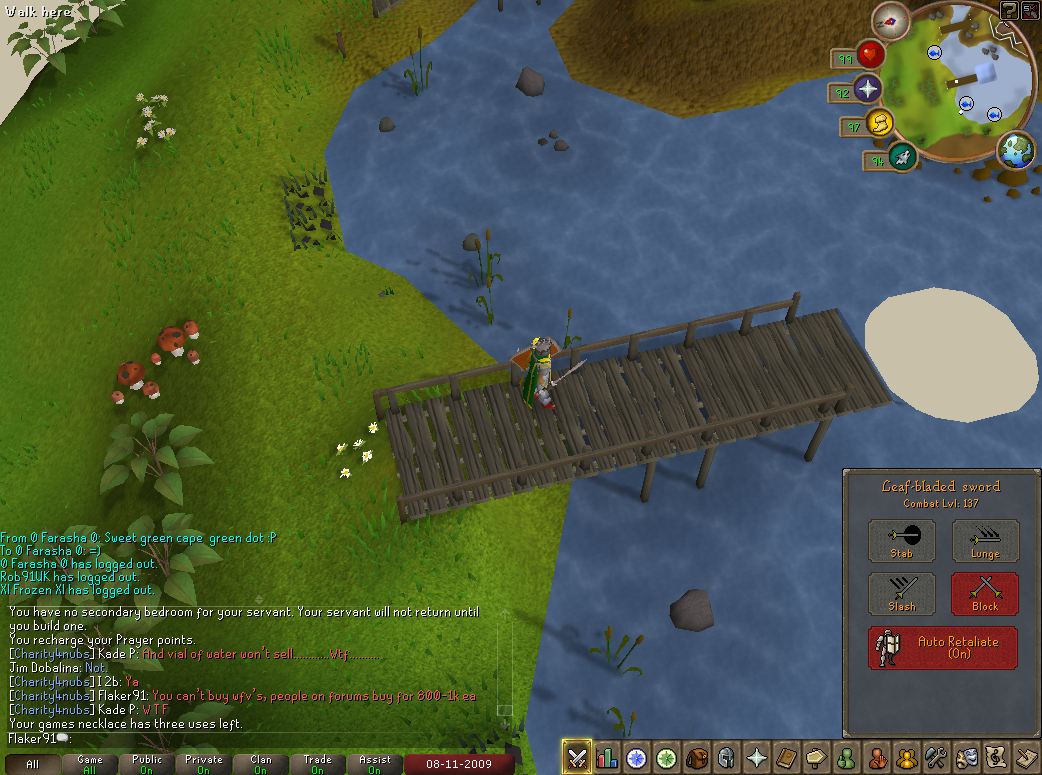
Then, run west, following the line shown on the map:
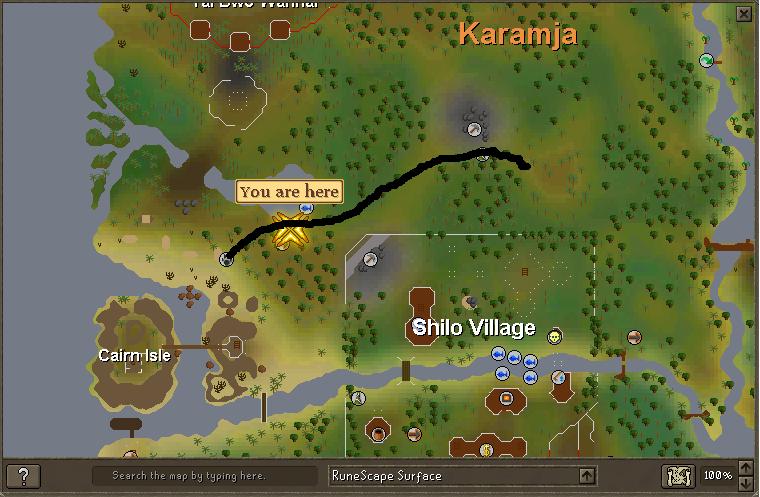
Route To Nature Altar
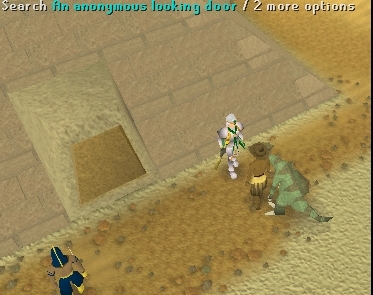
When you get there, click on the stone, and you appear at the altar.
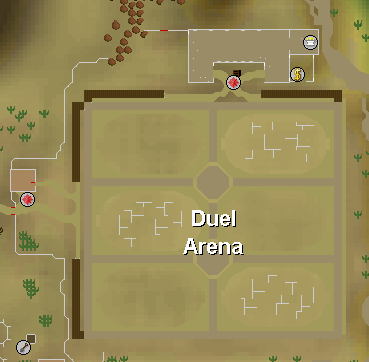
When you are at the alter, craft your runes, empty the pouches, then click teleport to castlewars on your ring of duelling.
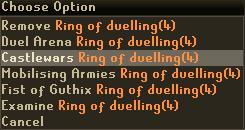
Castle Wars Bank Teleport
Bank up, fill pouches, and repeat!
Doing this method, on average you will craft 2300 natures at 75-90 Runecrafting. Once you are 91+ runecrafting, you can craft 4600 natures per hour!
Time for some maths:
2300 x 260 = 598000 – That is nearly 600k per hour!
91+ Runecrafting:
4600 x 260 = 1196000 – Thats just over 1.1M Per hour!
If you don’t have 75+ Runecrafting, you can craft around 1.8k natures per hour.
Now for the exp:
REMEMBER: Runecrafting experience is not gained per rune crafted, it is gained by per essence used!
So, based on 2300 essence crafted per hour:
2300 x 9 = 20700 exp per hour.
Abyss Runecrafting:
Abyss Runecrafting is one of the old fashioned ways of runecrafting. The Abyss is a rift, which is surrounded by many monsters. However, there are many benefits for using the abyss.
• Grants you access to all the runecrafting rifts. This makes it alot easier to craft runes such as blood and death runes.
• Pouches can be repaired by the mage in the centre of the abyss. The Abyss is alot more practical for players with 100+ combat.
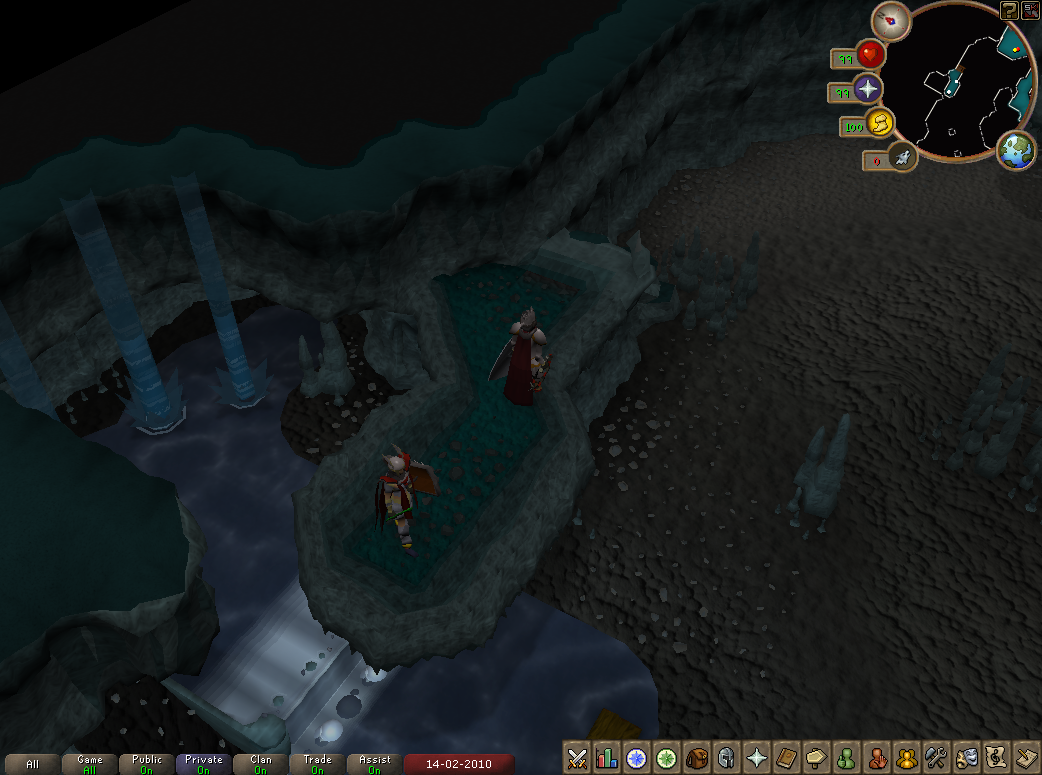
Here is a basic map of the abyss:
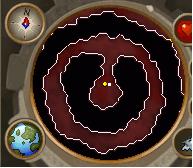
Map of the Runecrafting Abyss
The Abyss has an outer core, which contains monsters, and entrances into the inner core, which contains all the rifts. There are many ways in which to reach the centre, as the map shows above.
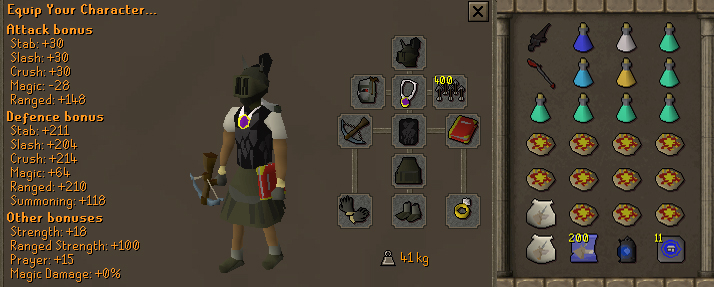
The most effective gear to wear in the abyss is light equipment, such as boots of lightness, spottier/spotted cape etc. It is best that you keep your weight below 0, this way you’ll be able to run for longer.
This is what you should wear in the abyss:
Runecrafting Abyss Equipment
The ring of duelling is just another teleportation device, incase you forget to pull out a new amulet of glory.
Runecrafting Abyss Inventory
Starting at edgeville bank, you should run north to the wilderness ditch. Hop over it, then run north to the Zamorak mage.
The Route To Zamorak Mage From Edgeville
Right click on the zamorak mage, then click teleport. When you get into the abyss, find a shortcut of your choice, and go through it. Then, select the rift of your choice.
Now, you can simply craft your runes, and teleport to edgeville. From there you can just bank, and repeat!
For this method, the exp will vary greatly, depending on the runes that you craft. Usually, you can craft around 800-1200 pure essence per hour.
Just do an average (1000) Essence x Exp of the rune.
Below is how much exp you’ll gain per rune 🙂
Rune Runecrafting level Needed Amount of Exp
Air 1 5
Mind 2 5.5
Water 5 6
Earth 9 6.5
Fire 14 7
Body 20 7.5
Cosmic 27 8
Chaos 35 8.5
Astral 40 8.7
Nature 44 9
Law 54 9.5
Death 65 10
Blood 77 10.5
REMEMBER! The exp is based on per essence used, not per rune crafted!
Back To Top

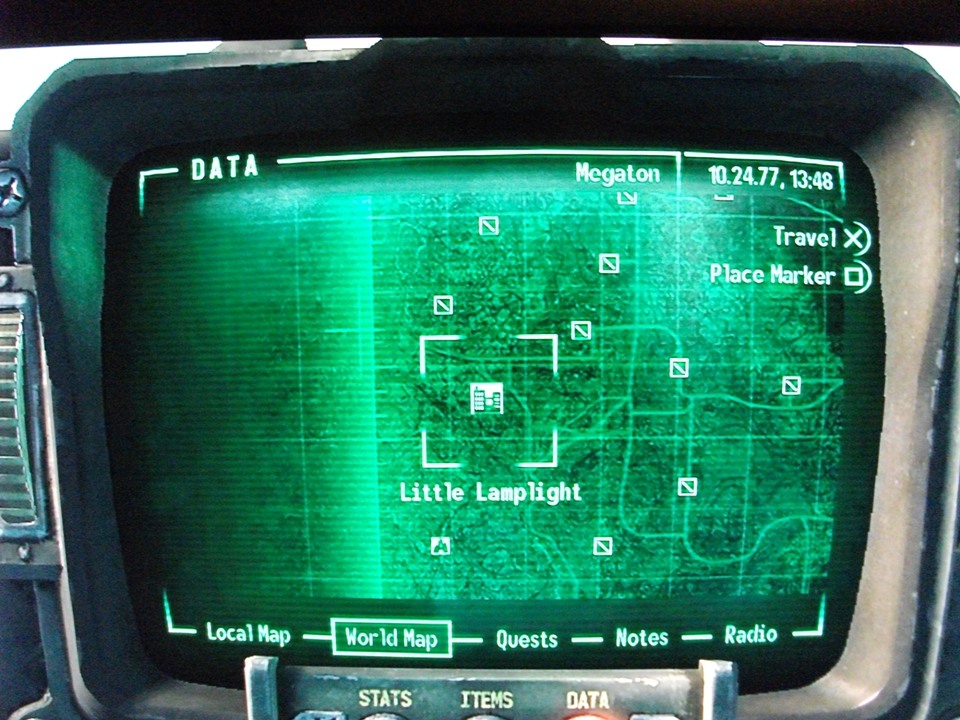
 Fallout 3 – Trophies and Tips
  1 Platinum
  2 Gold
  10 Silver
  38 Bronze
  0 of these are hidden