Contents
1. Gearing Up
2. How To Get There
3. Inventory
4. Summoning
5. Prayer
6. Gear
7. How To Kill It
8. The Rewards
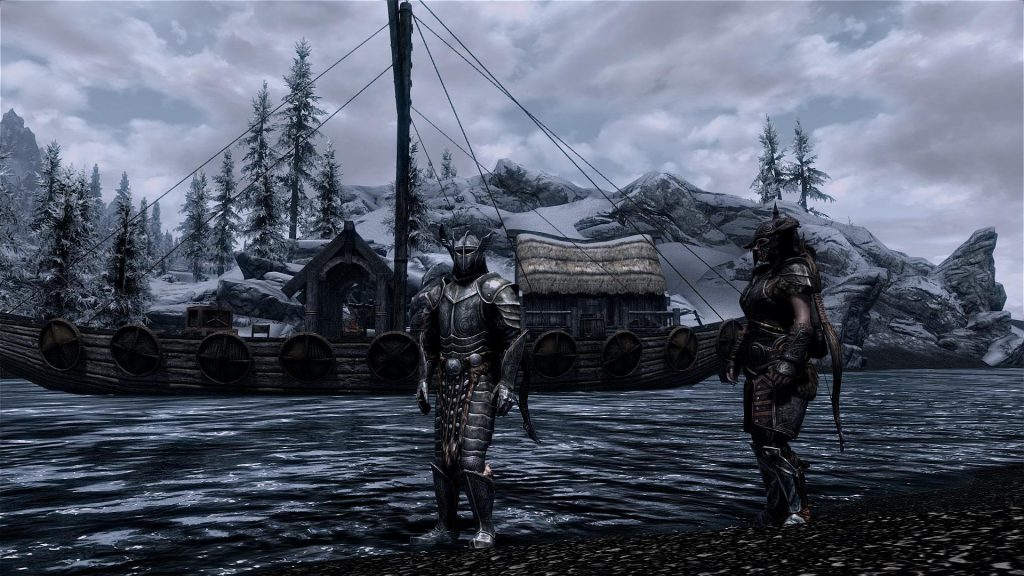
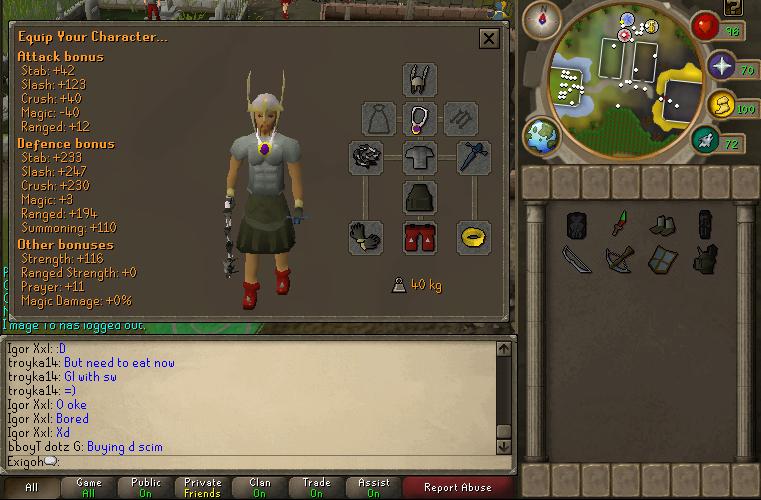
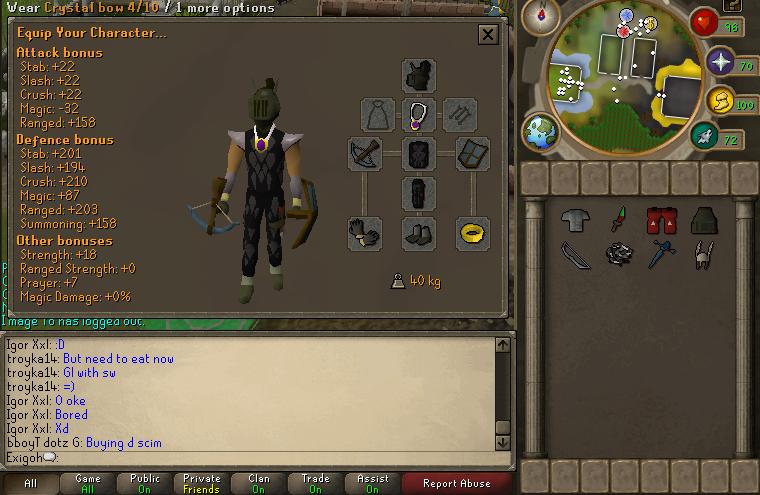
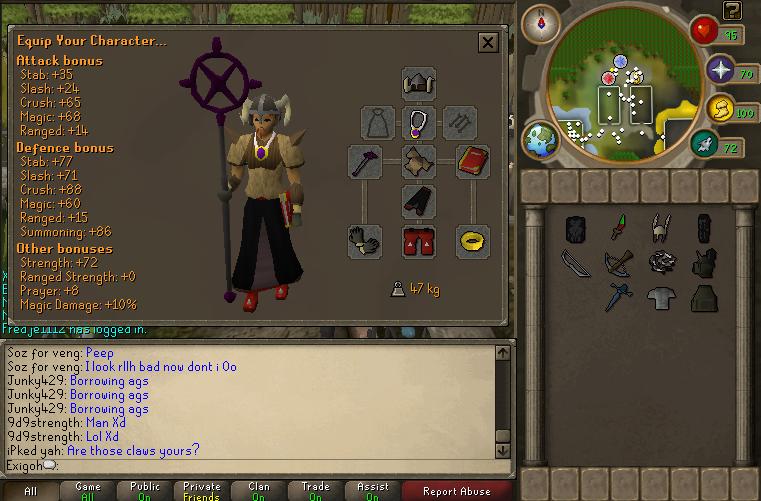
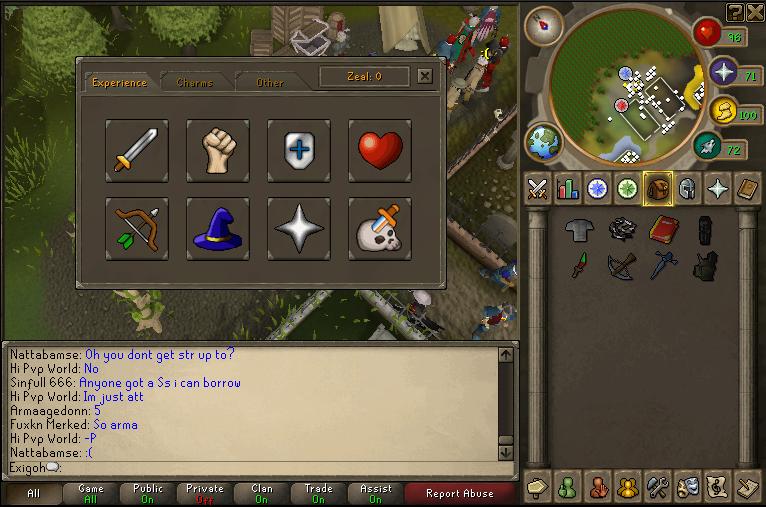
1. Gearing up
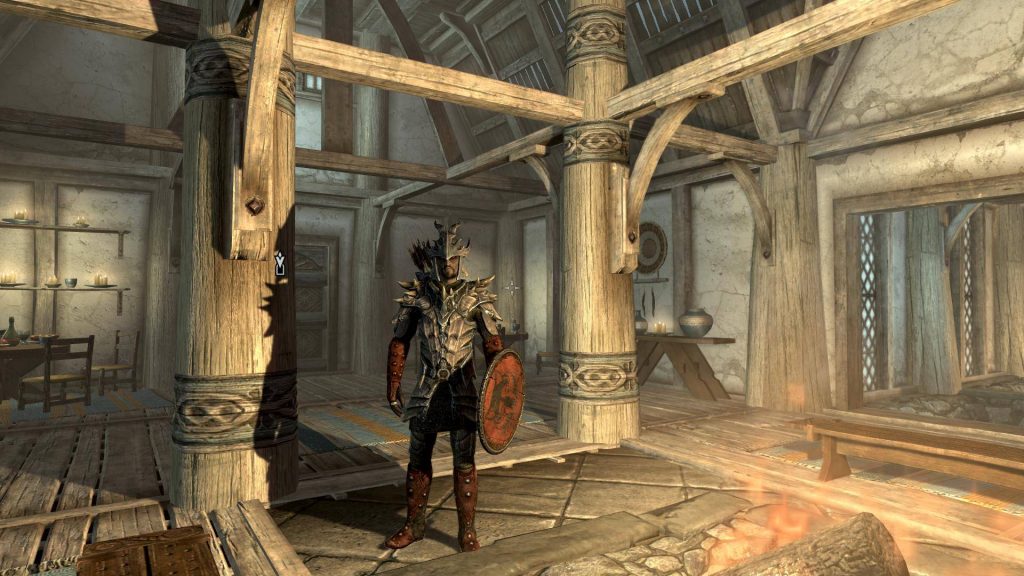
Giant Mole Gearing Up

2. How to get there
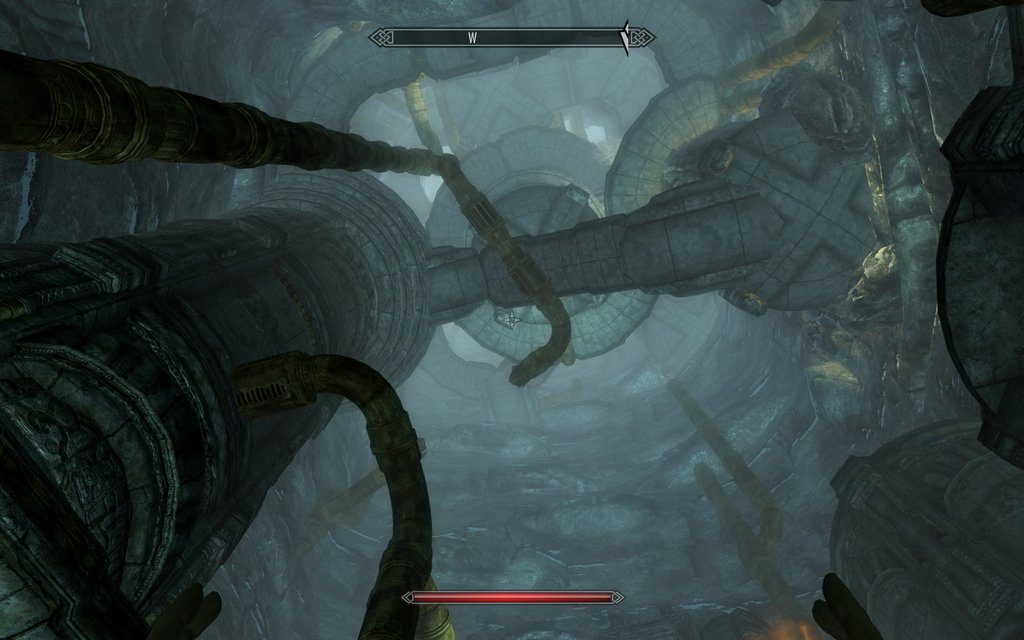
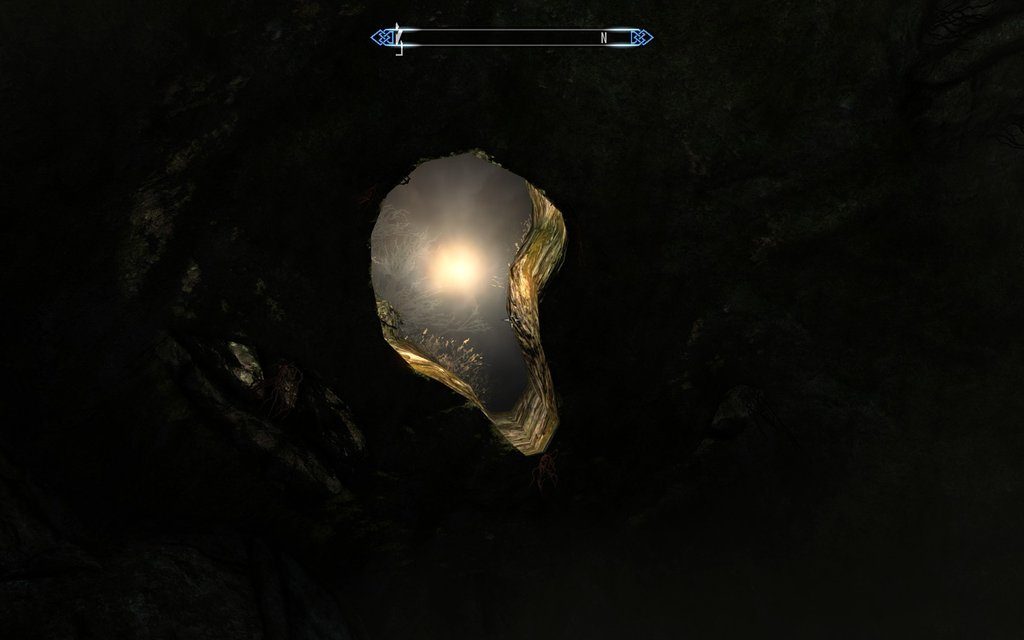
The Giant mole is found in the Falador Mole Lair, just under Falador Park. The player will need a spade to get there and a light source to see. The mole lair is a Multicombat area, so teams of players can easily coordinate their activities to slay giant moles.
Use a spade to dig on one of the mole hills in falador park:
3. Inventory
-SPADE
-LIGHT SOURCE
-TINDERBOX
-Falador Elite Shield.
-Special Weapon (DDS + Claws > DDS + Dragon Halberd > …)
-Teleport runes to falador and lumbridge.
-Combat pots.
-Prayer pots and food if you are not using the teleport method.
-Pouches
-Cannon + cannonballs
-Tireless run scrolls > Energy pots > Boots of lightness+Spottier cape
4. Summoning
Offensive familiars that are attacking the giant mole will walk towards the mole when it runs away from you, and give you a general direction of where the mole’s new location is.
Terrorbirds can restore your energy using Tireless Run scrolls.
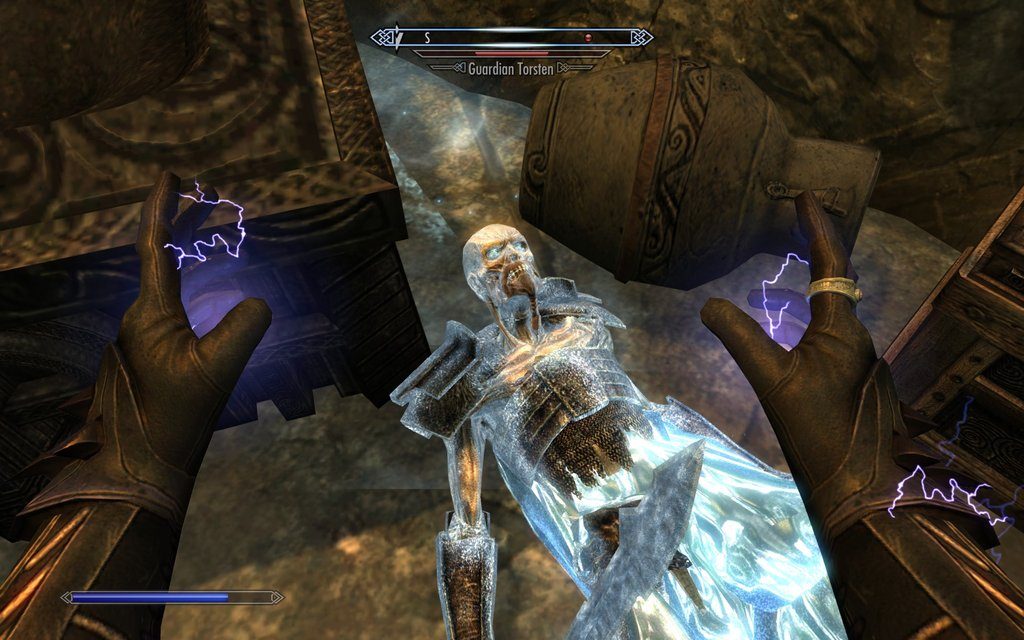
5. Prayer
Always pray piety/turmoil and protect from melee, after killing the mole it won’t respawn for 2 minutes. Enough time teleport to lumbridge (or anything else close to an altar), pray and teleport back to falador.
6. Gear
Helm: Neitz > Verac
Chest: Bandos > Torso > Proselyte > Verac
Legs: Bandos > Proselyte
Cape : Fire Cape > Soul Wars > Skill Cape > Spottier Cape
Boots : Dragon > Boots of lightness
Gloves: Barrows
Ring : Berserker (i) > Berserker > Wealth
Shield : Rune defender > DFS
Weapon: Chaotic Rapier > Chaotic Long > Zamorak Spear > Godsword > Whip.
Special: DDS + Claws > DDS + Dragon Hally
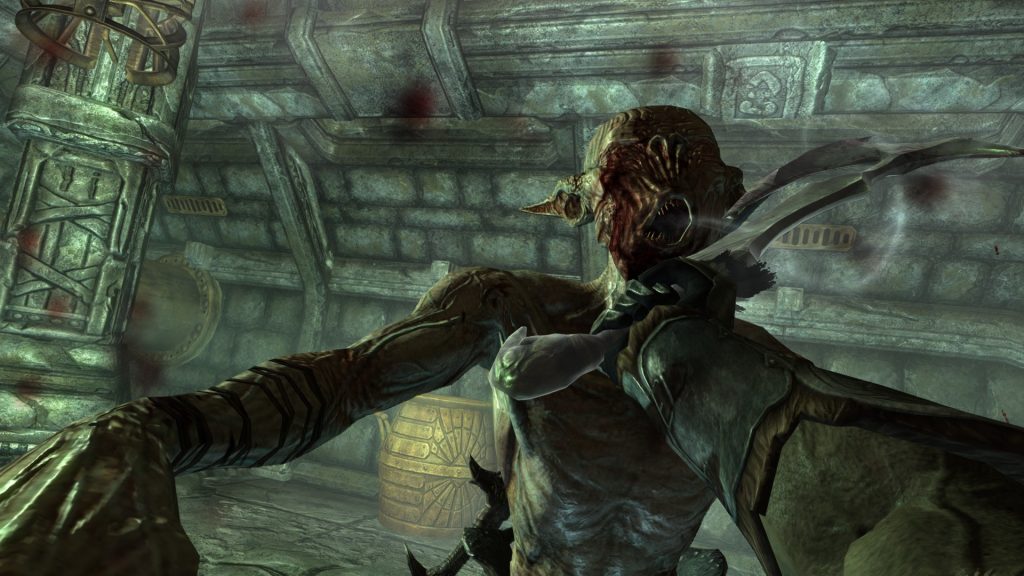
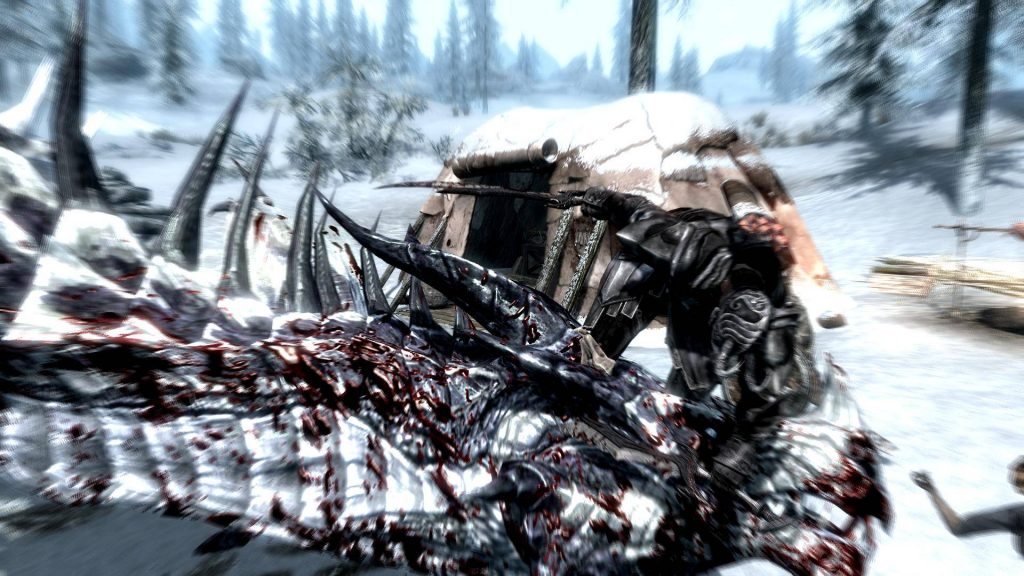
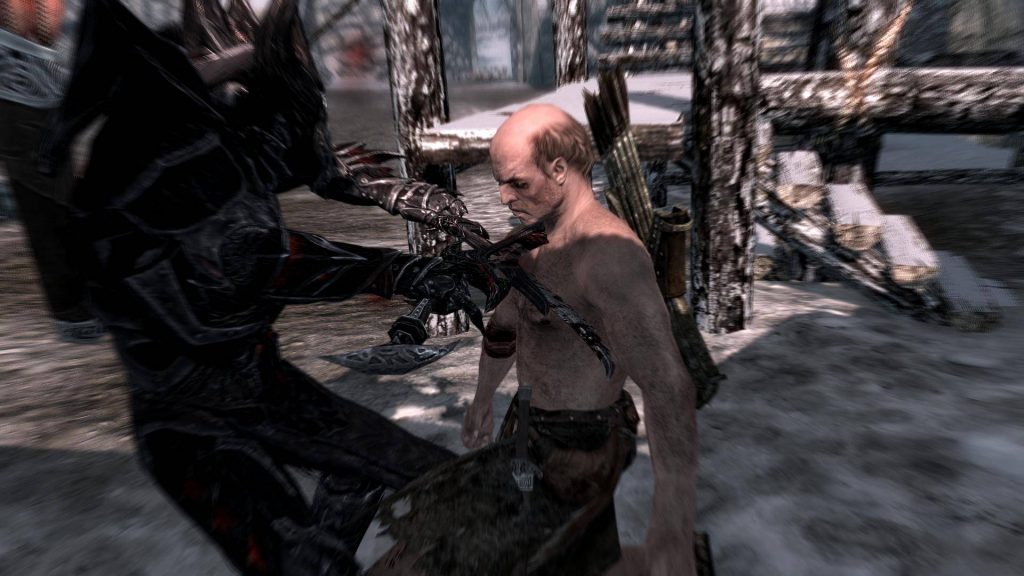
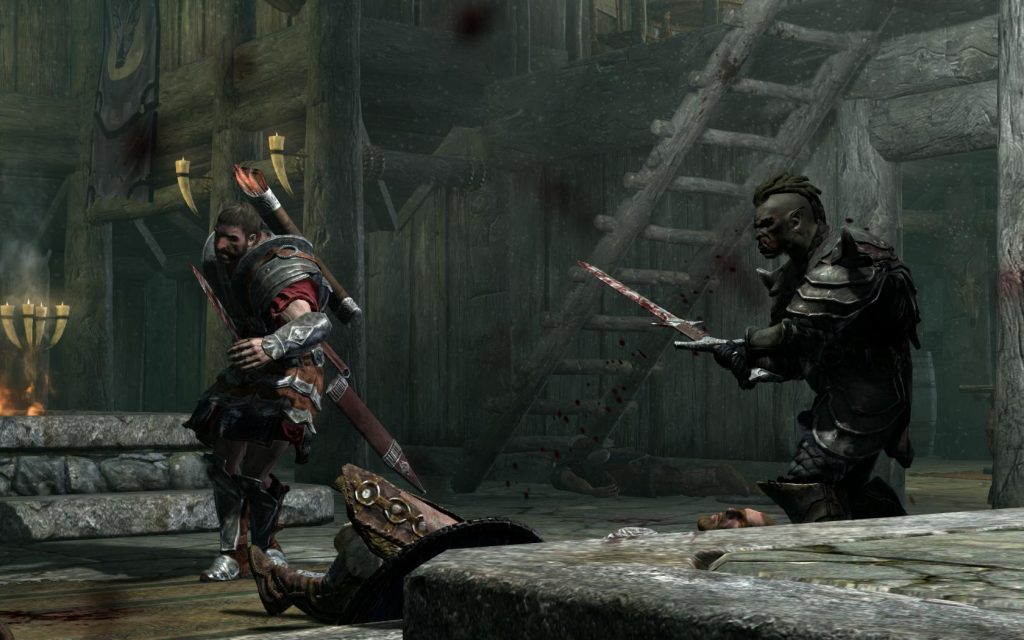
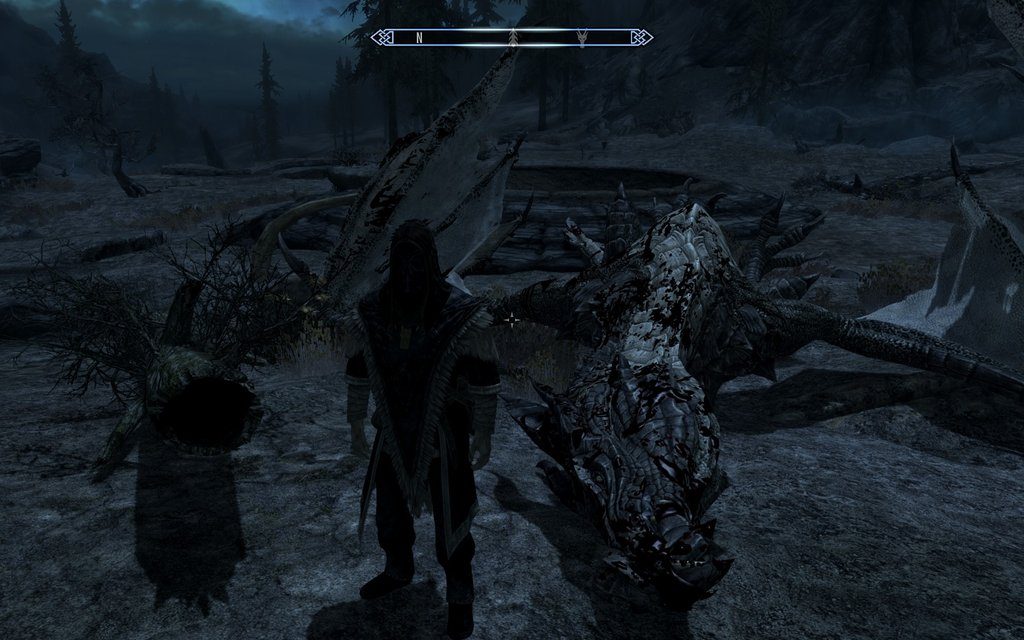
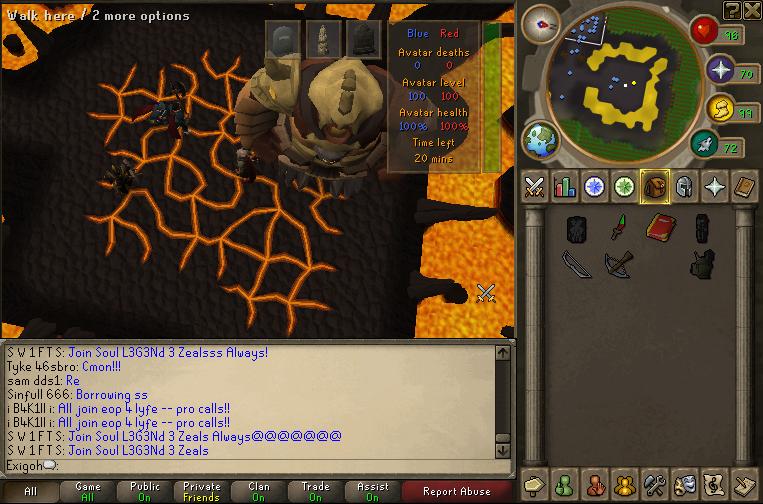
7. How to kill it
The Giant mole will always spawn in the middle of the lair. Set up your cannon there. Equip your Dragon Dagger (S) and do specials to poison it.
Killing The Giant Mole

At half health and under, the giant mole starts digging around the cavern to escape. There are several different locations that the mole can resurface around the cave. These are the resurfacing locations. There is one in the centre, one in the top left of the cave, one in the top right, one on the hill, one below the hill, 2 on the far right of the cave and one in the centre.
When it burrows, it raised a huge cloud of dust than can extinguish an unprotected light source, always bring a tinderbox! Covered light sources such as the Bullseye lantern and Candle lantern are not affected.
An excellent way to fight the mole is to be able to run almost constantly. The mole lair is quite large, so run energy is easily depleted once the mole starts burrowing. A terrorbird can be very helpful, energy pots or even Oo’glogs Energy Pool help too. Falador Elite Shields can be operated to find the mole easily.
The value of teams, especially larger ones, is that team members can stay at locations where the mole can surface after burrowing away, allowing the team to spread out and find the mole again very quickly.
After killing the mole it won’t respawn for a good two minutes. Quickly teleport to lumbridge, pray at the altar and tele back to falador for cheap prayer points. The mole will always respawn in the centre.
8. Rewards
The mole will always drop Mole claws and multiple Mole skins, each of which Wyson the gardener (in Falador park) will exchange for Bird’s nests. Bird’s nests can contain valuable Seeds and other items and, when crushed, become Crushed nests, a valuable item that is often highly in demand by players training Herblore.
The mole drops 2 charms at a time.
Other drops: Blood, Law, Nature and Death runes. Various rune weapons. Rune Kiteshield. Rune Square Shield. All gems. Rune bar. Up to 100 noted yew logs.
Clues: Hard and elite.
Effigies: Yes.