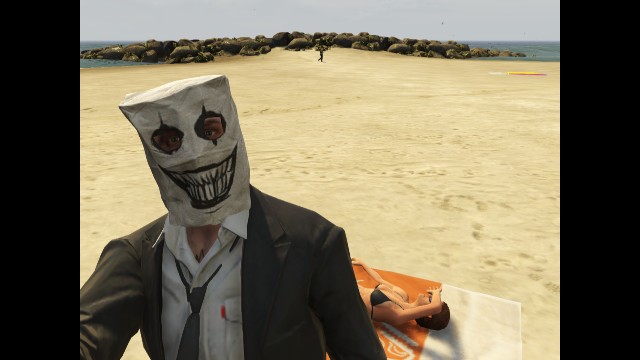
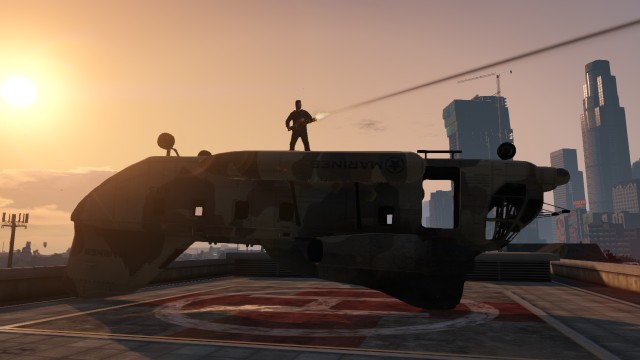
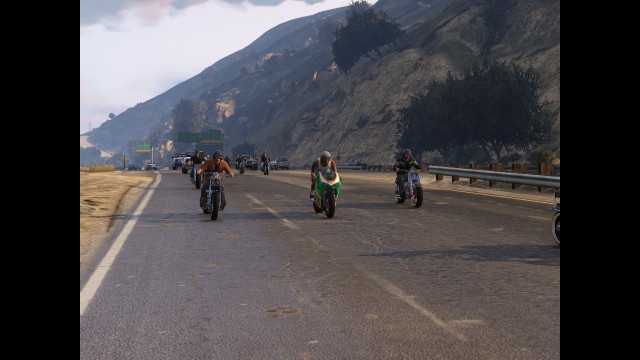
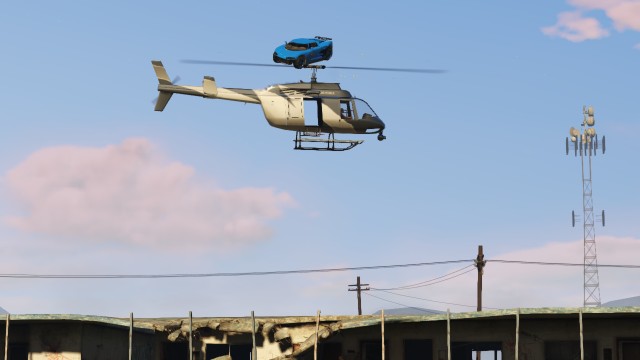
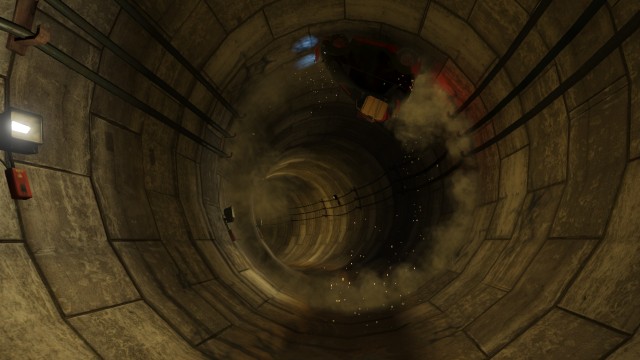
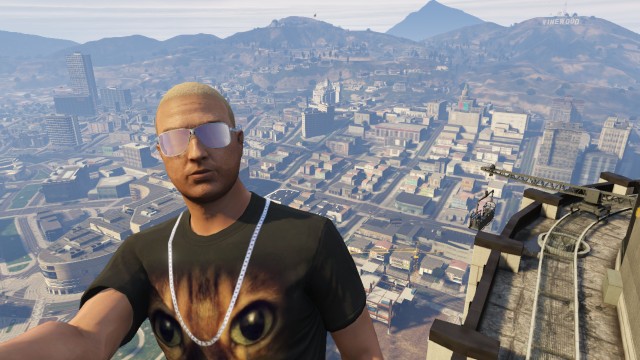
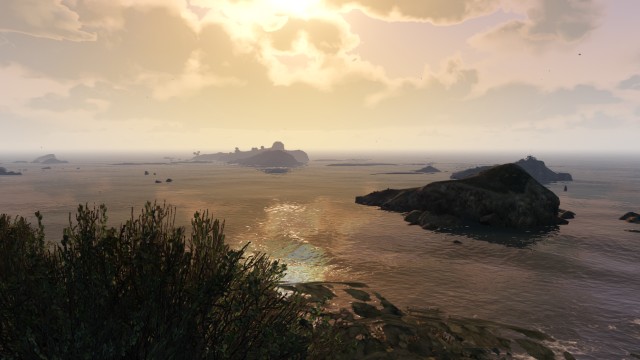
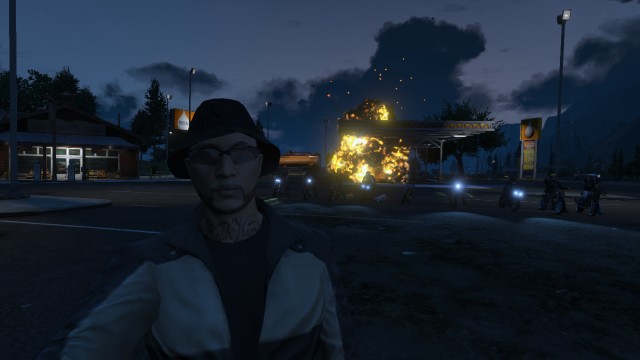
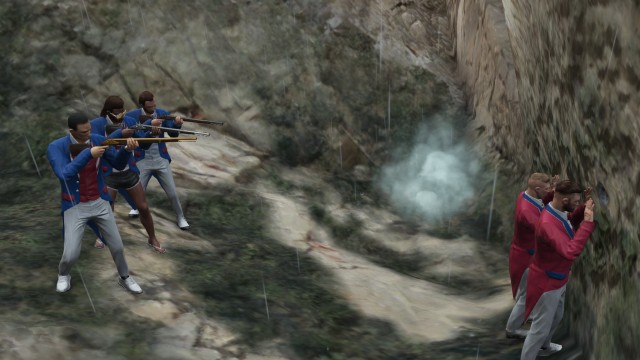
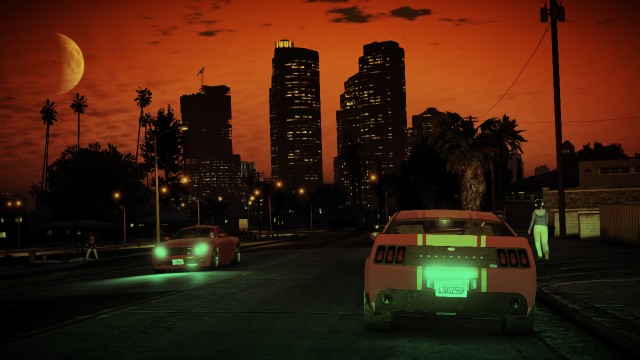
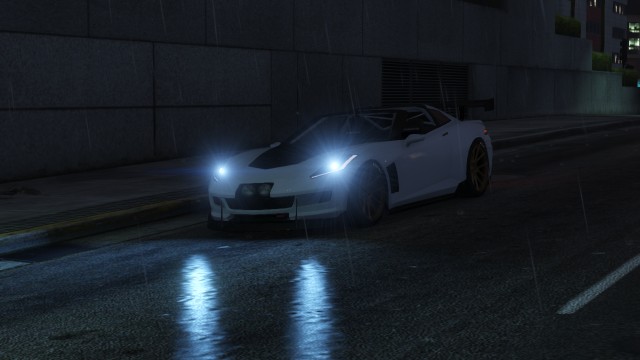
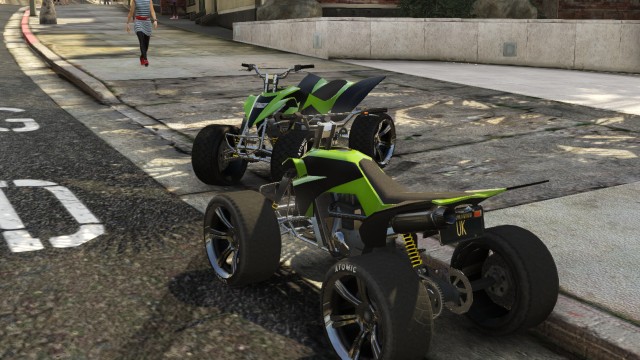
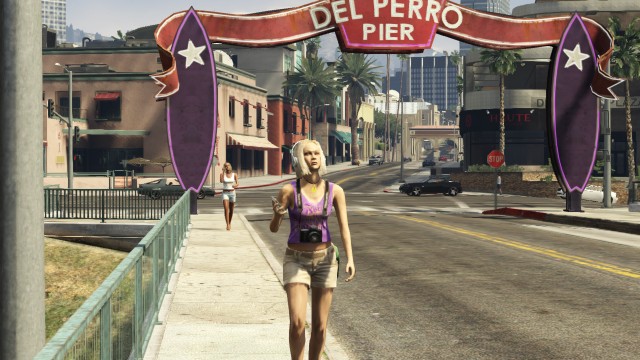
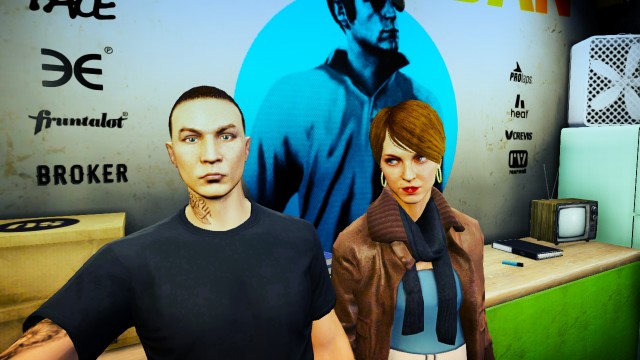
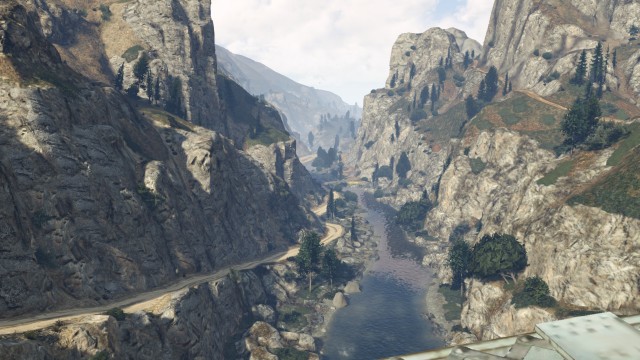
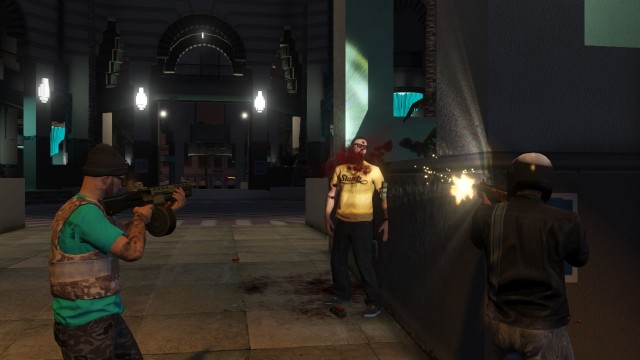
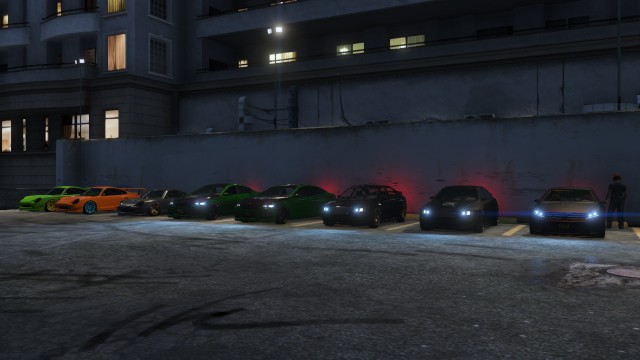
Here are a selection of game play screenshots from the game GTA V (GTA 5) by Rockstar:


This website contains lots of things that are good, if you disagree, you have terrible taste in things.

Here are a selection of game play screenshots from the game GTA V (GTA 5) by Rockstar:
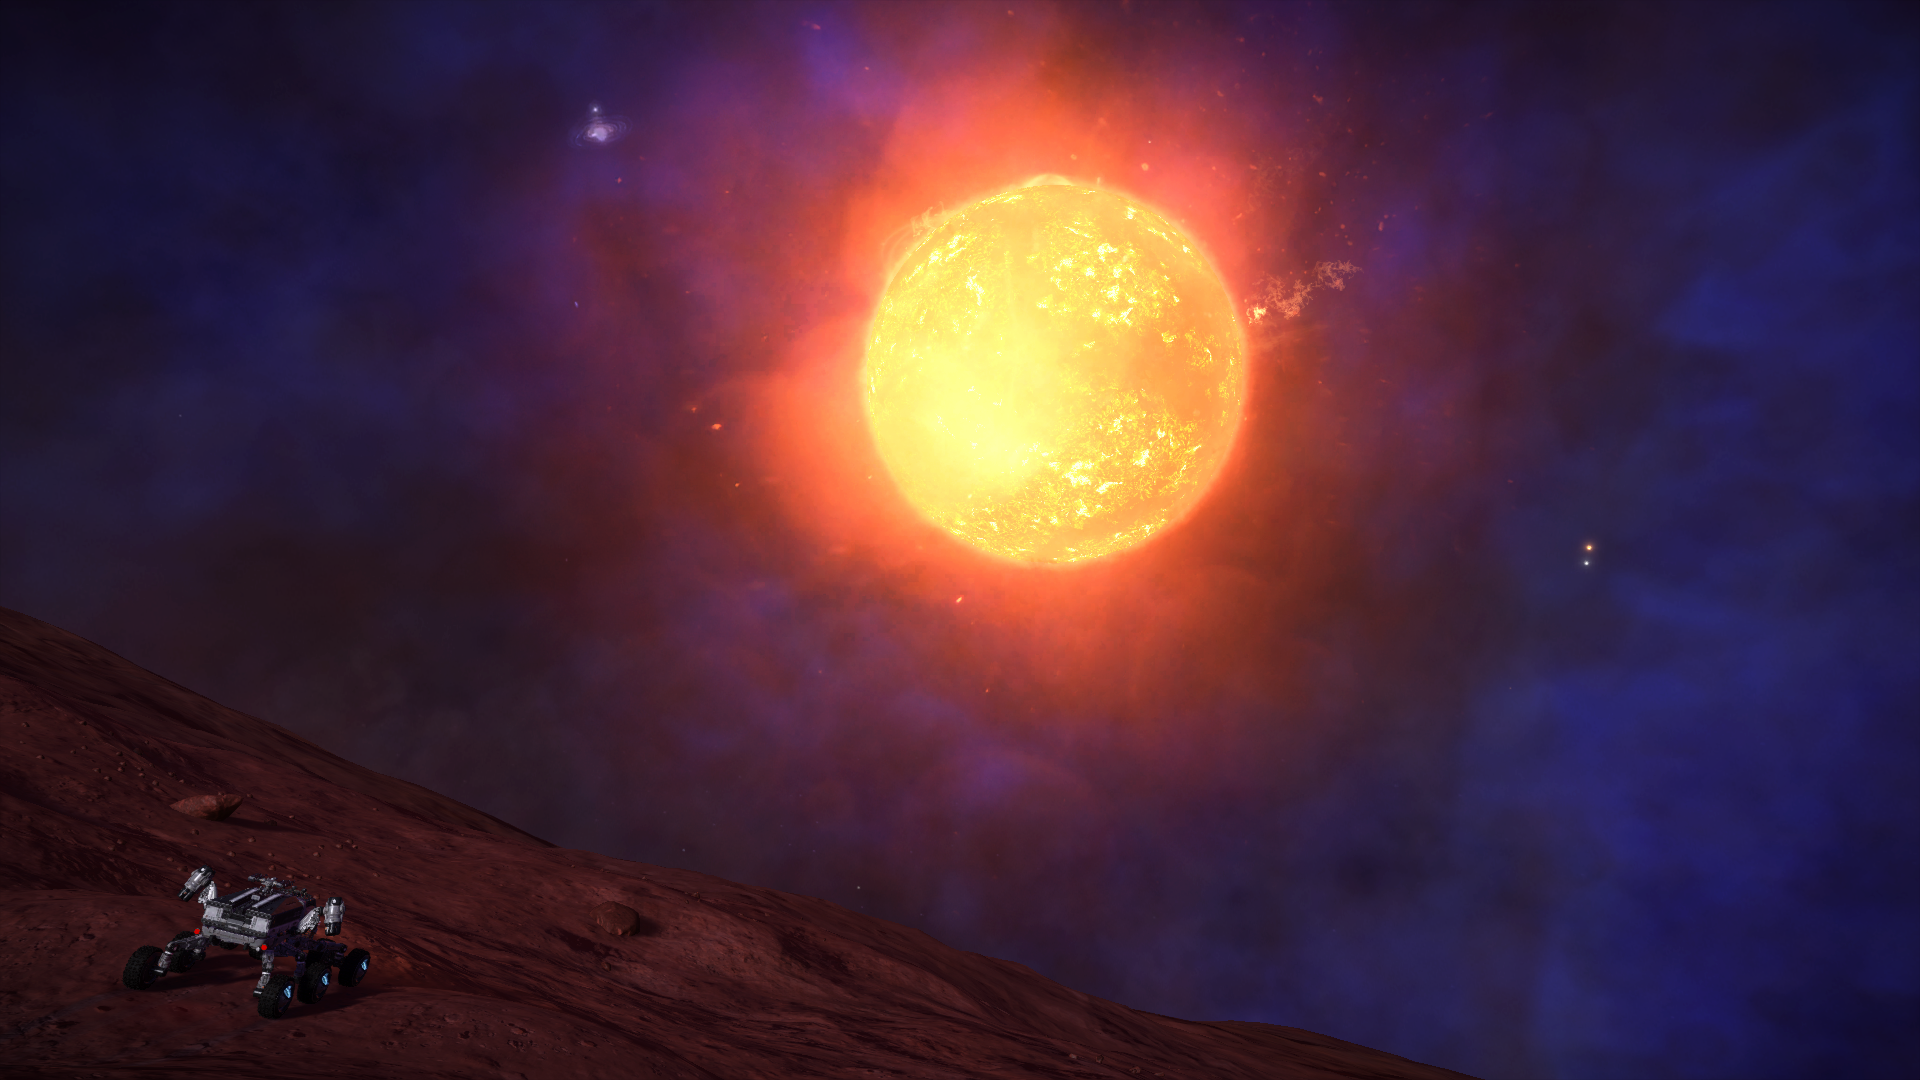
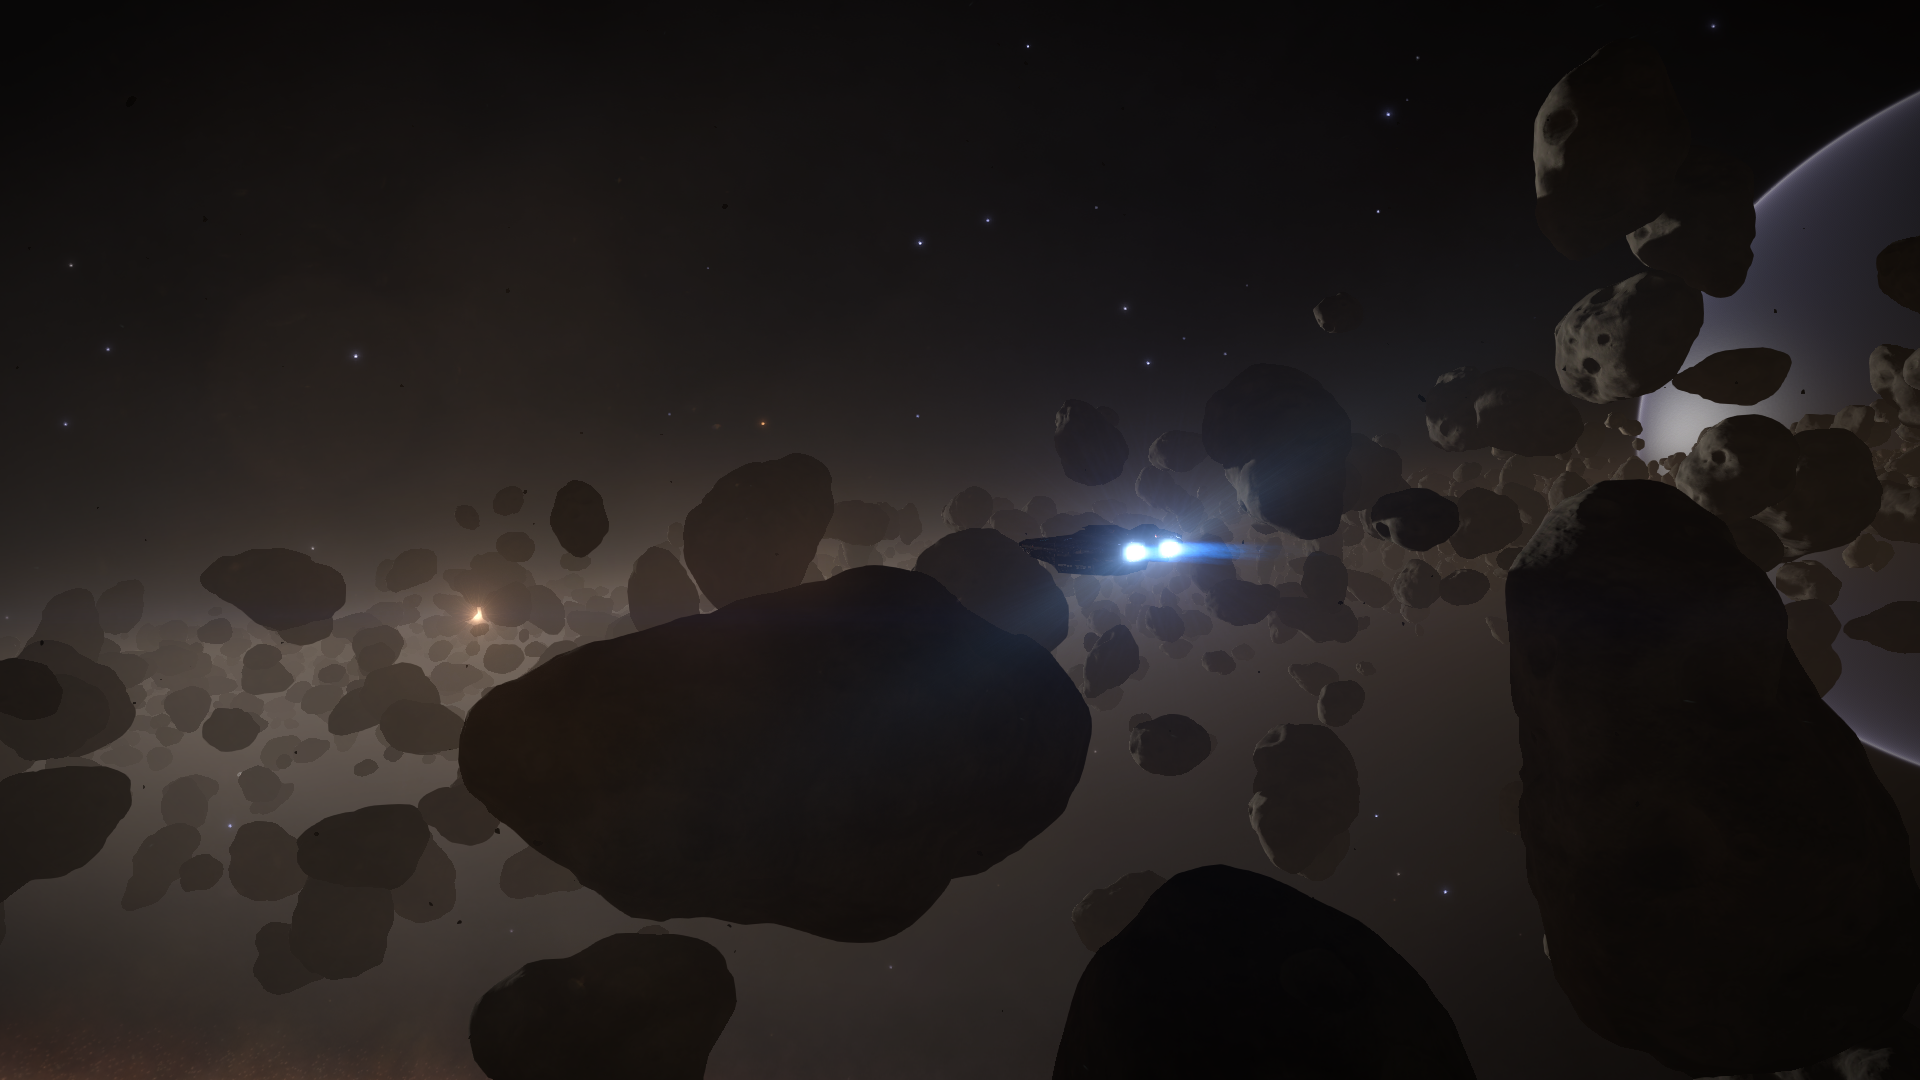
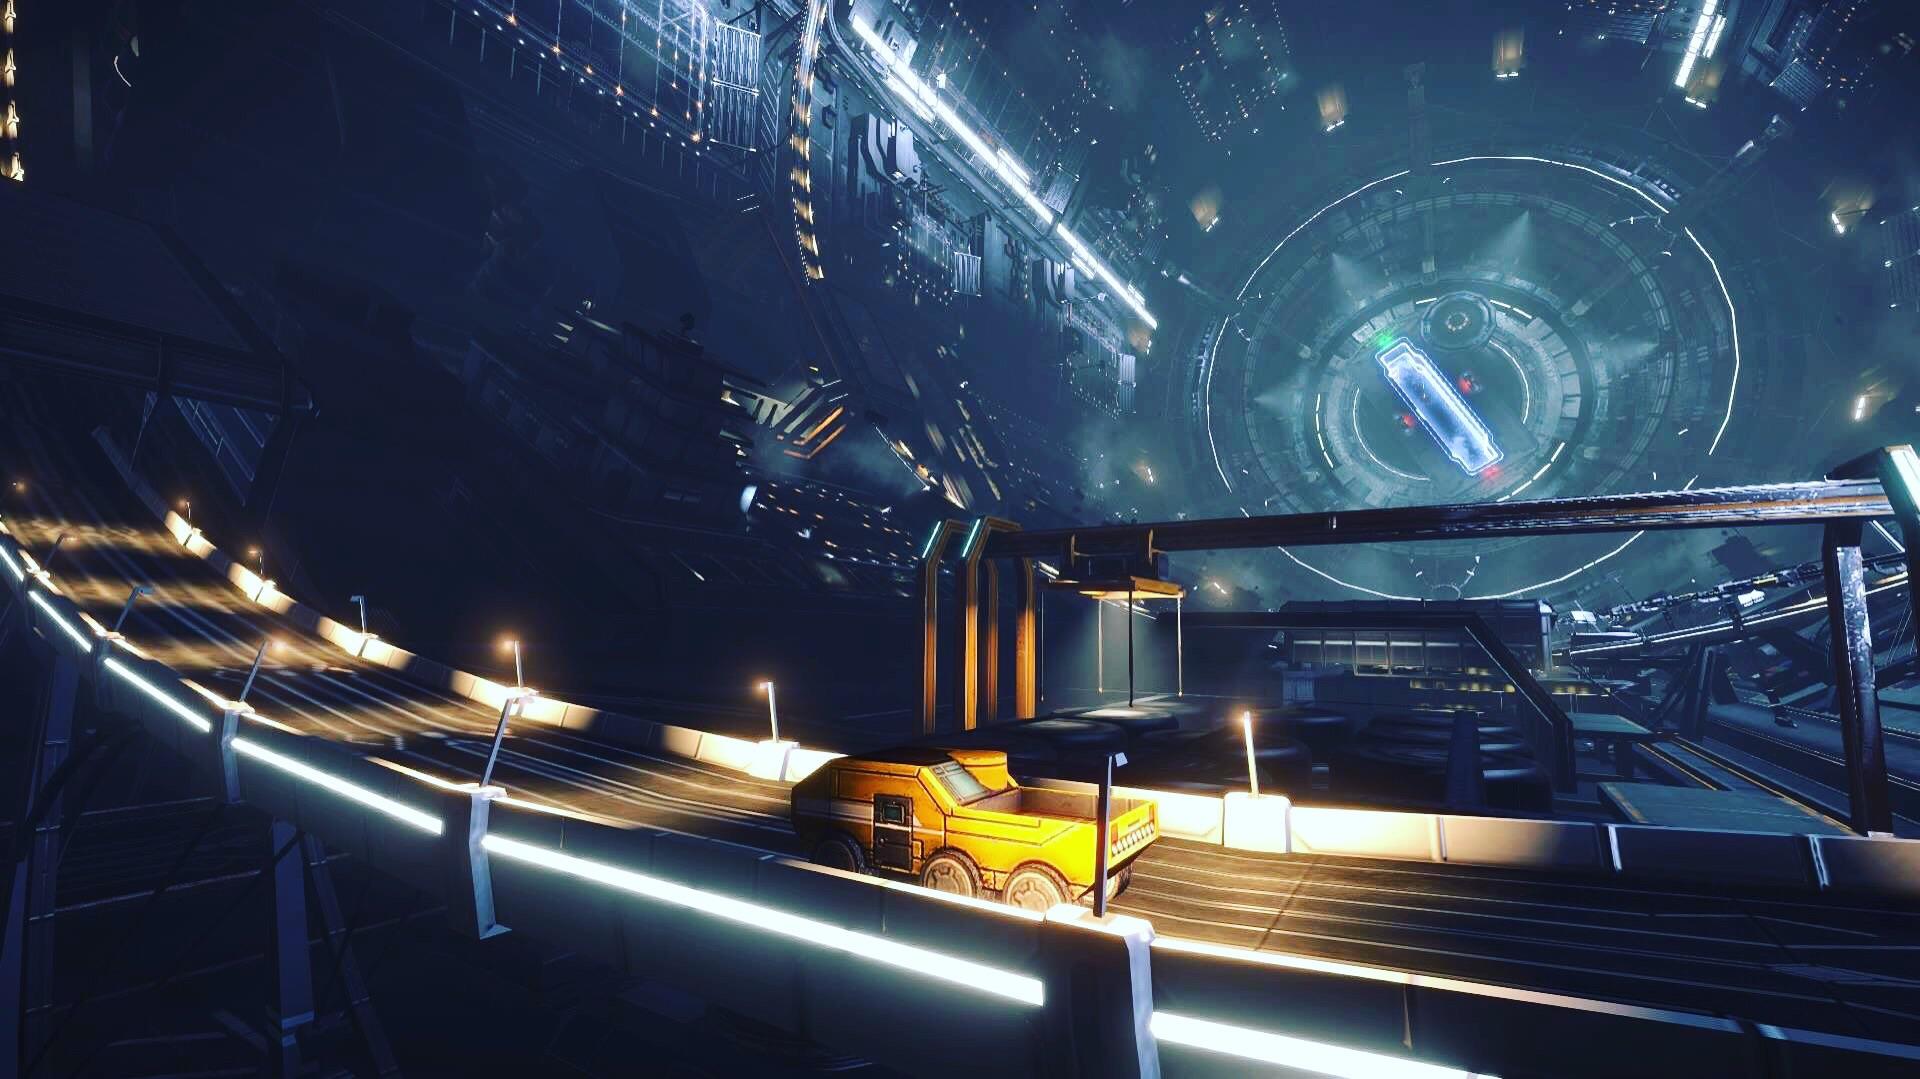
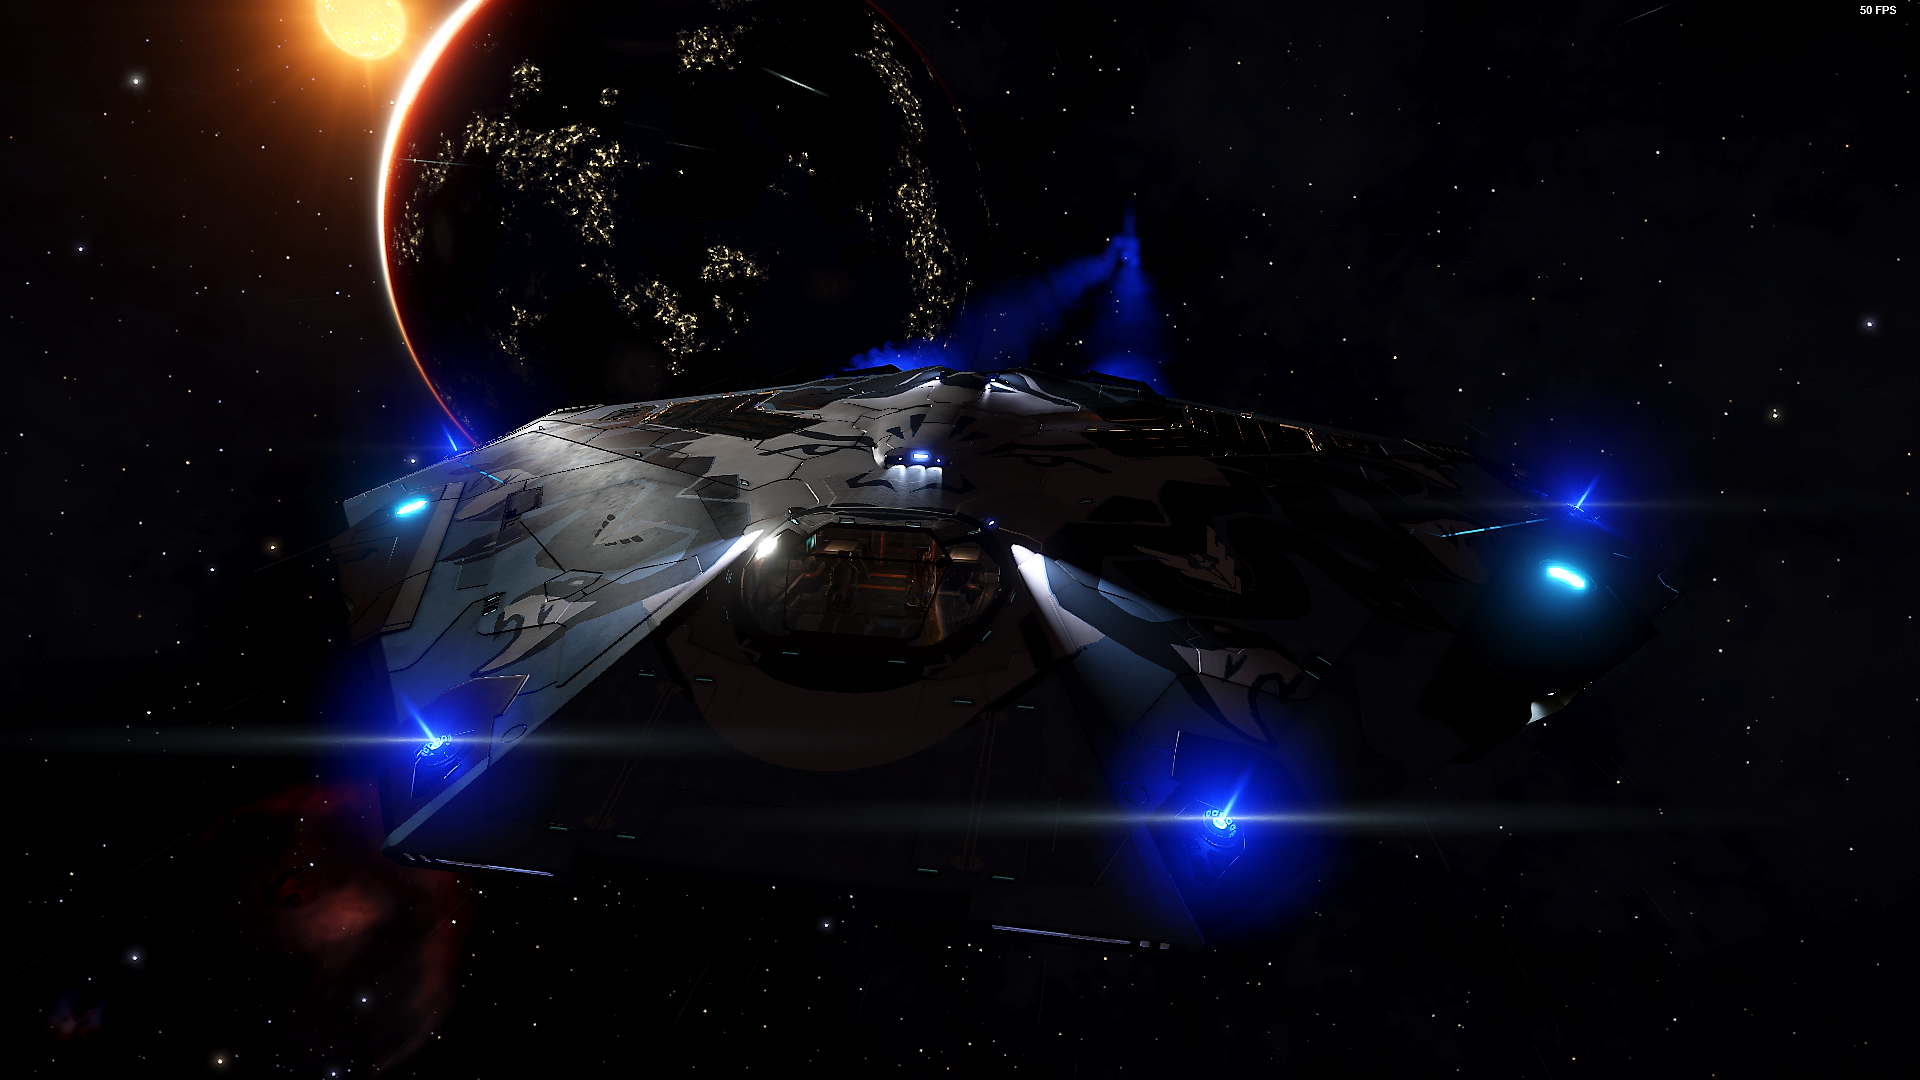
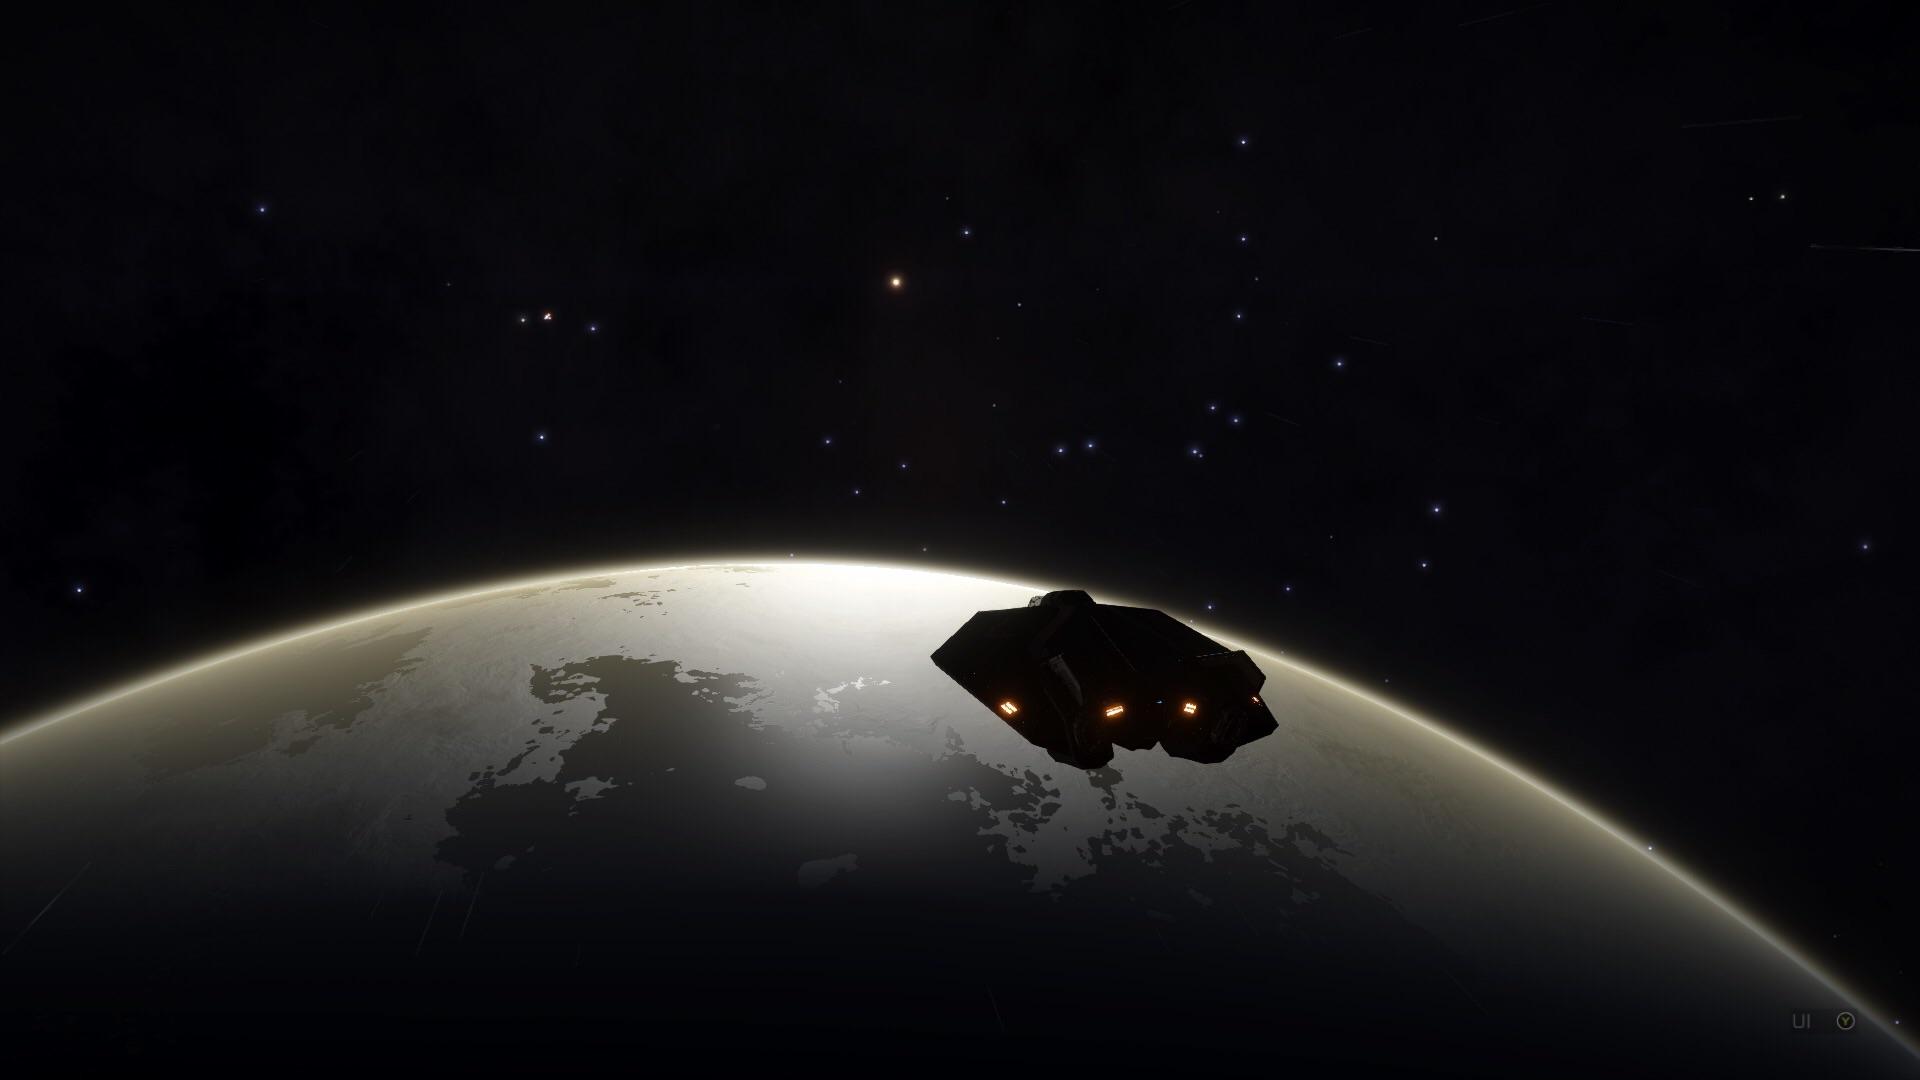
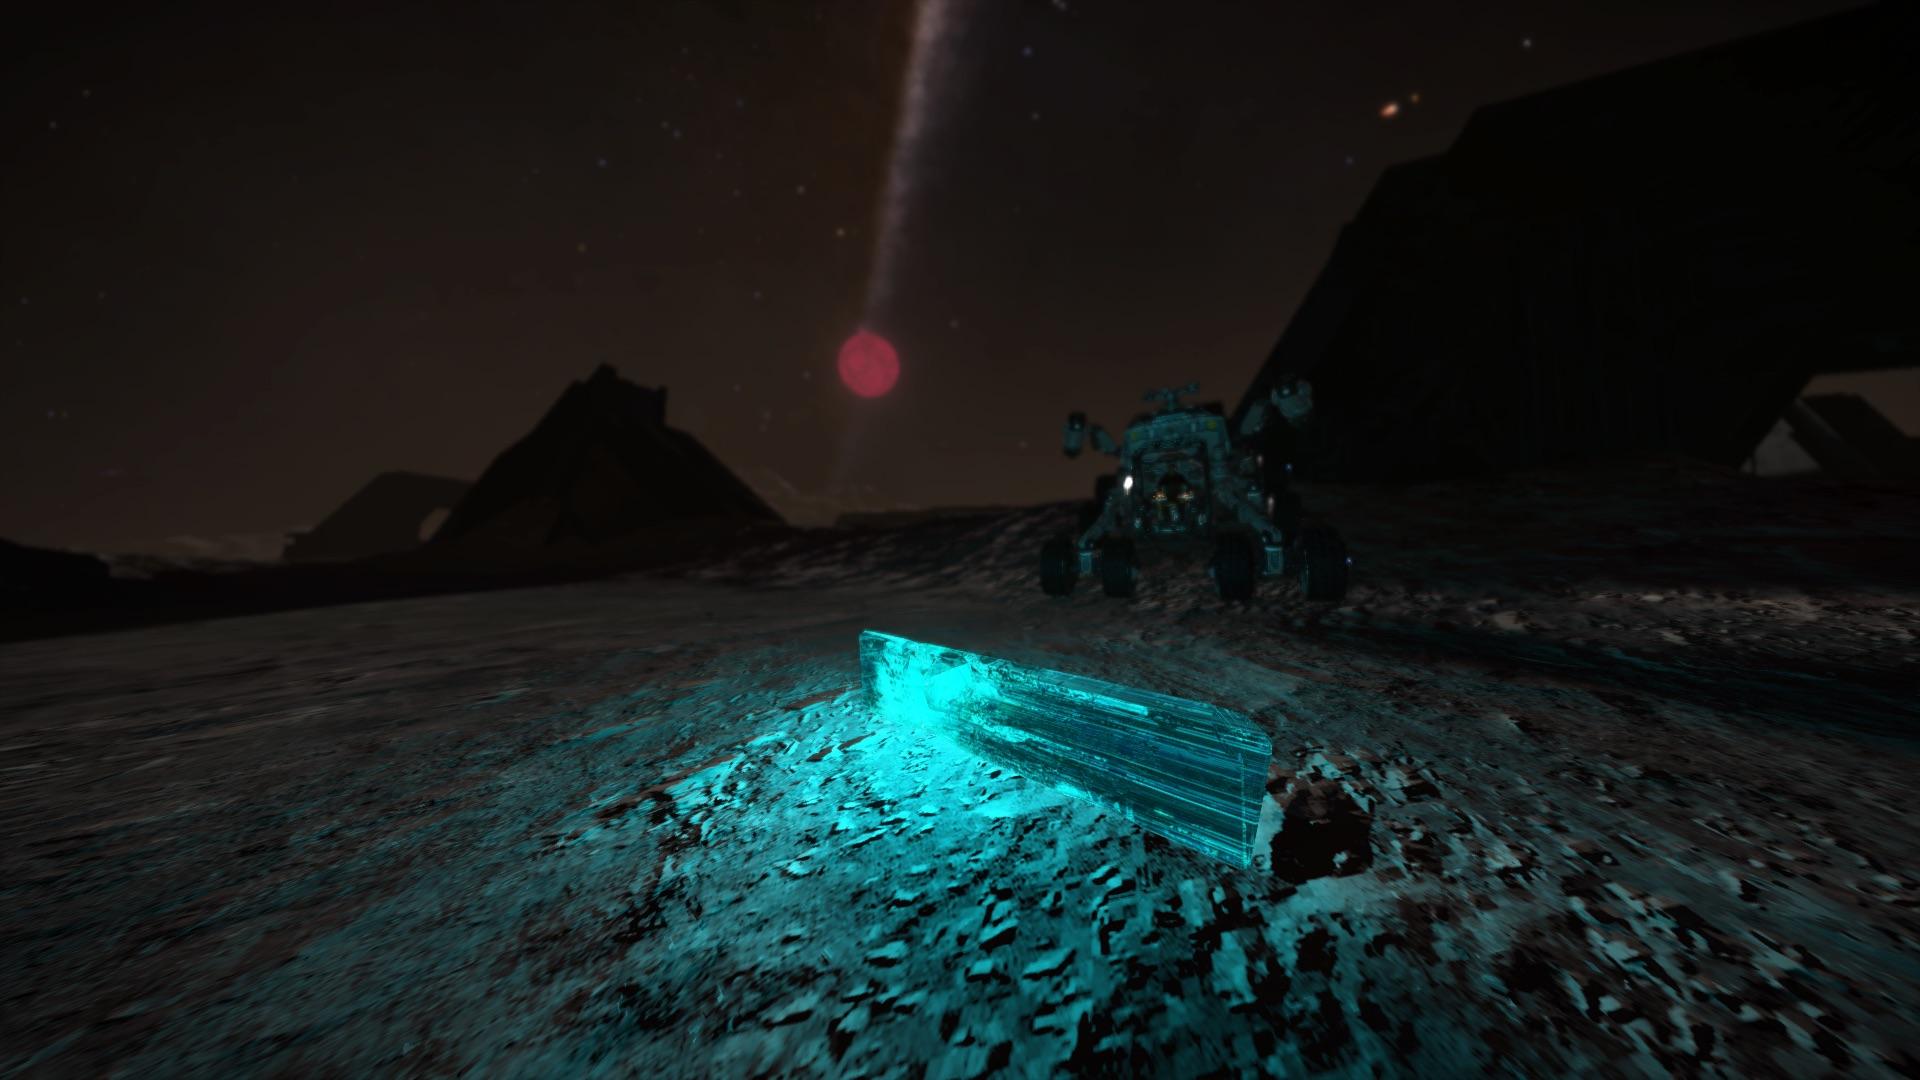
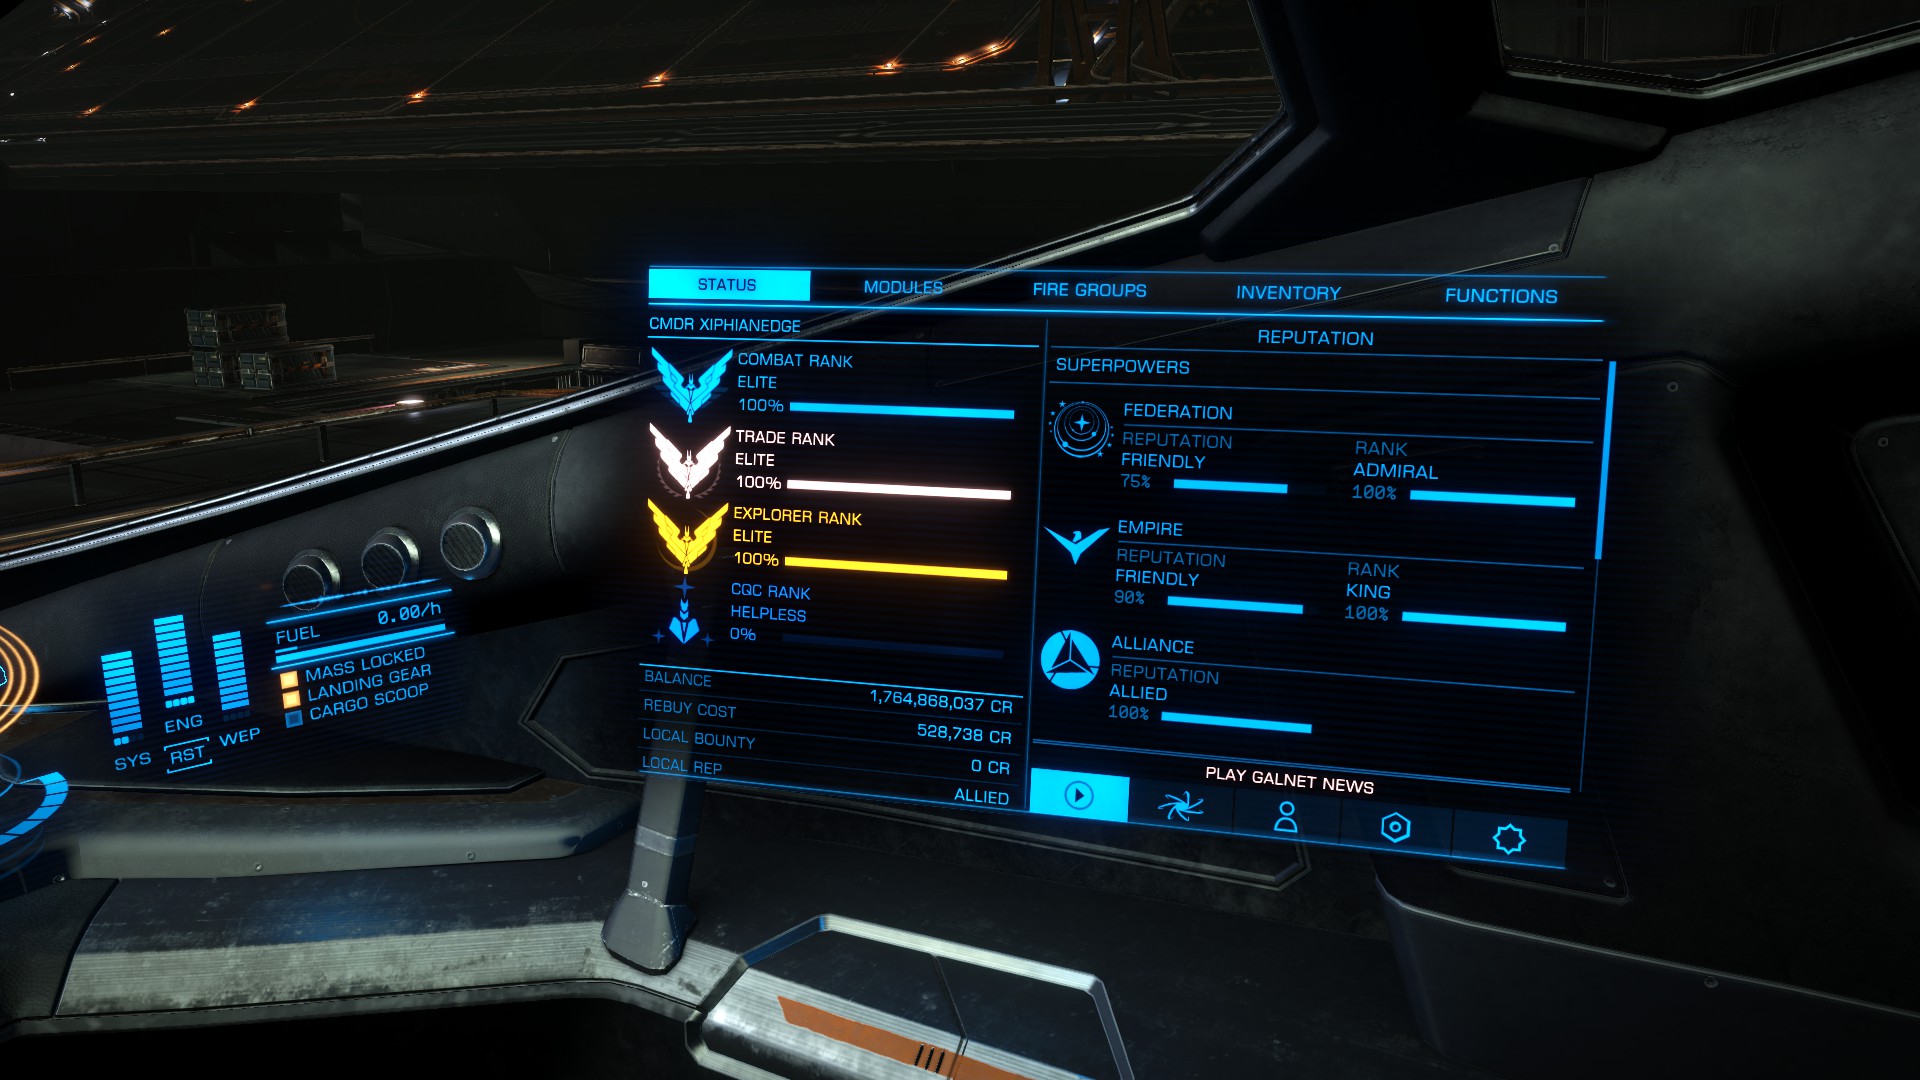
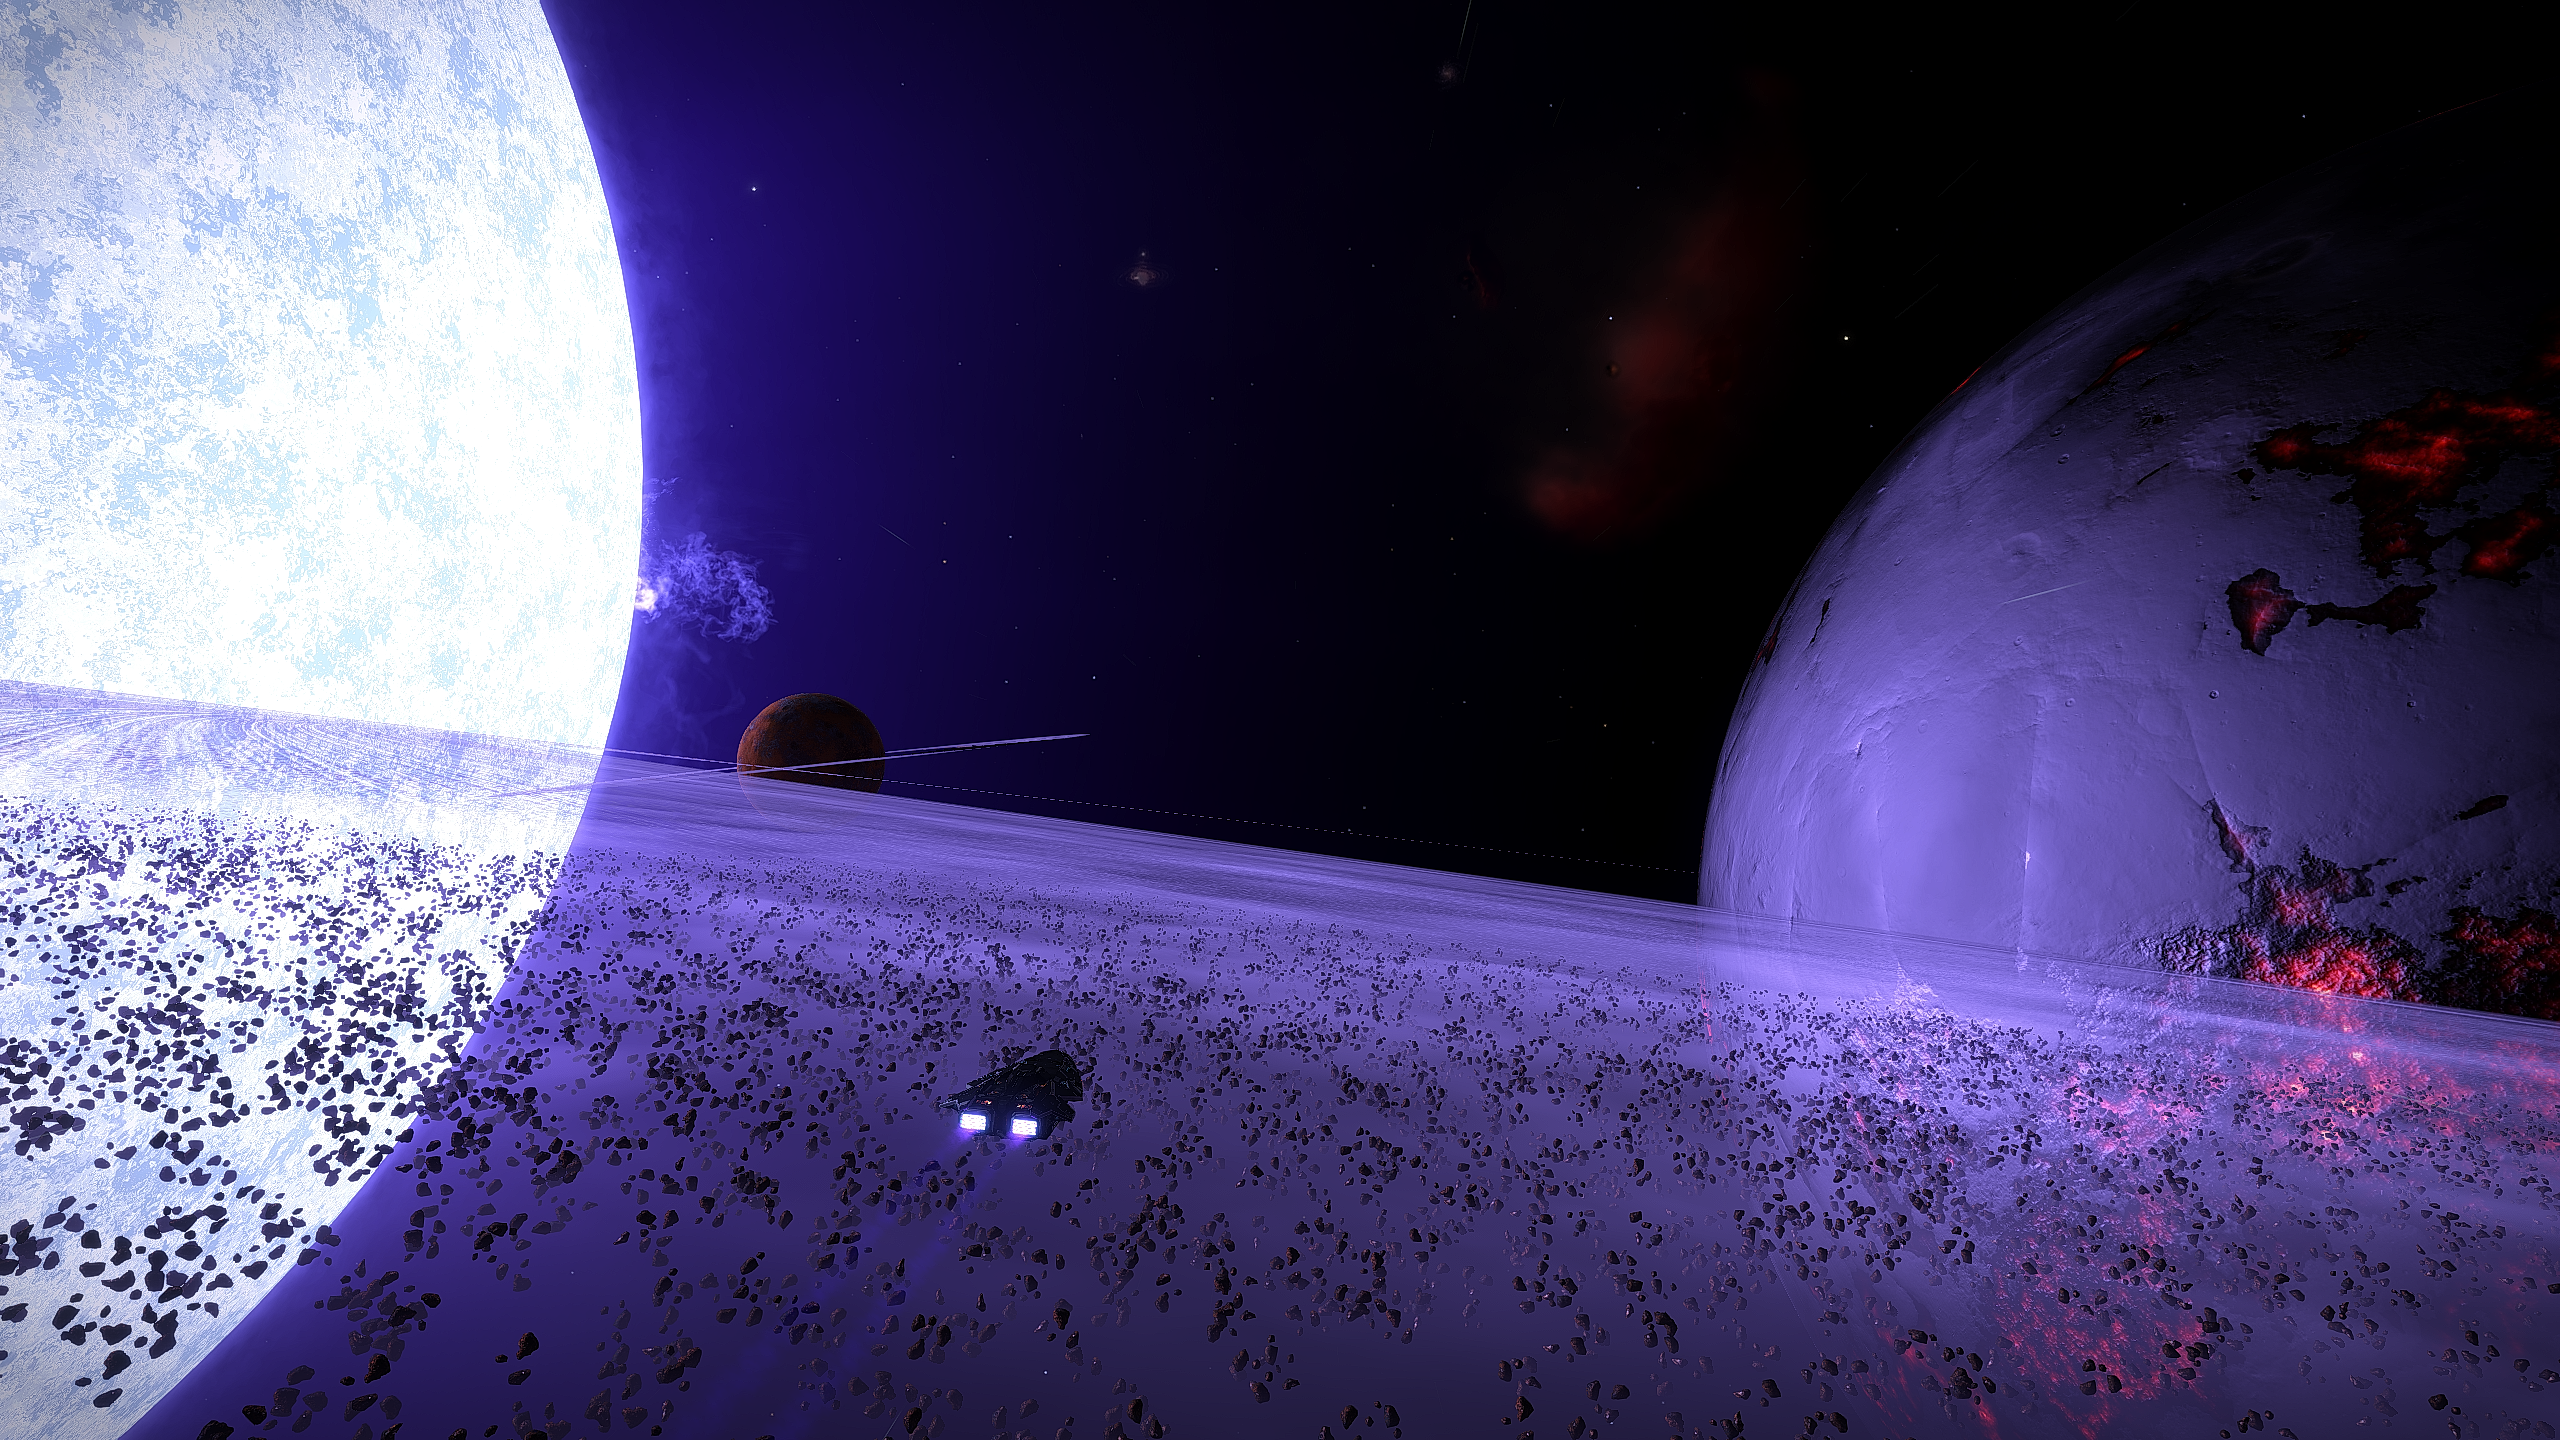
Here are a selection of game play screenshots from the game Elite Dangerous by Frontier:

The Spring cleaner is an item I use a lot and make a lot of cash from, it can be confusing to set up and understand how to use it so here are some words and pictures to help you!
Where to get it?
You can get it from invention at level 43 or I think they still dish it out on treasure hunter now and then. If you have it sitting in bank then you should definitely start using it 🙂
Should I upgrade it?
Answer is yes you want the max upgraded version to Spring cleaner 9001 as it dismantles noted drops too then and you can get it instantly by buying springs on GE but its expensive (10K springs needed!) so don’t worry if not – Start using it anyway and it will upgrade as you go.
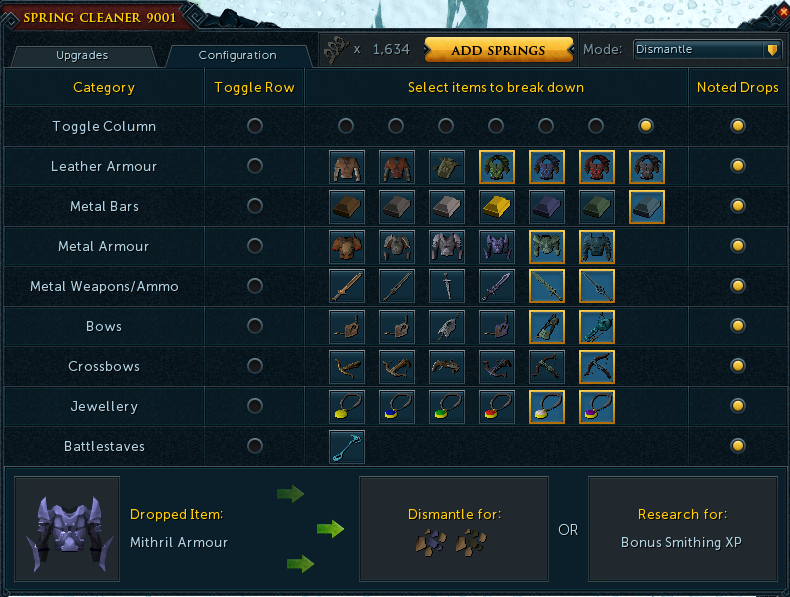
AHHHH WHAT DO I DO WITH IT, THERE ARE TOO MANY SETTINGS?
Don’t panic – All you need to do is set it up first time and then just take it with you on slayer tasks or even to boss kills and it will start dismantling stuff and sending the ore etc to your bank (so saves picking stuff up too!).
There are two modes, I only use dismantle mode. The rest is personal choice on what you want to dismantle and what you don’t. To start off copy my settings below and off you go:
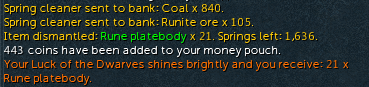
Make Money
So you will see messages appearing and have stuff appearing in your bank which is generally worth more than the normal drop! I got this today with a bit of combined luck of dwarves ring so it does work:
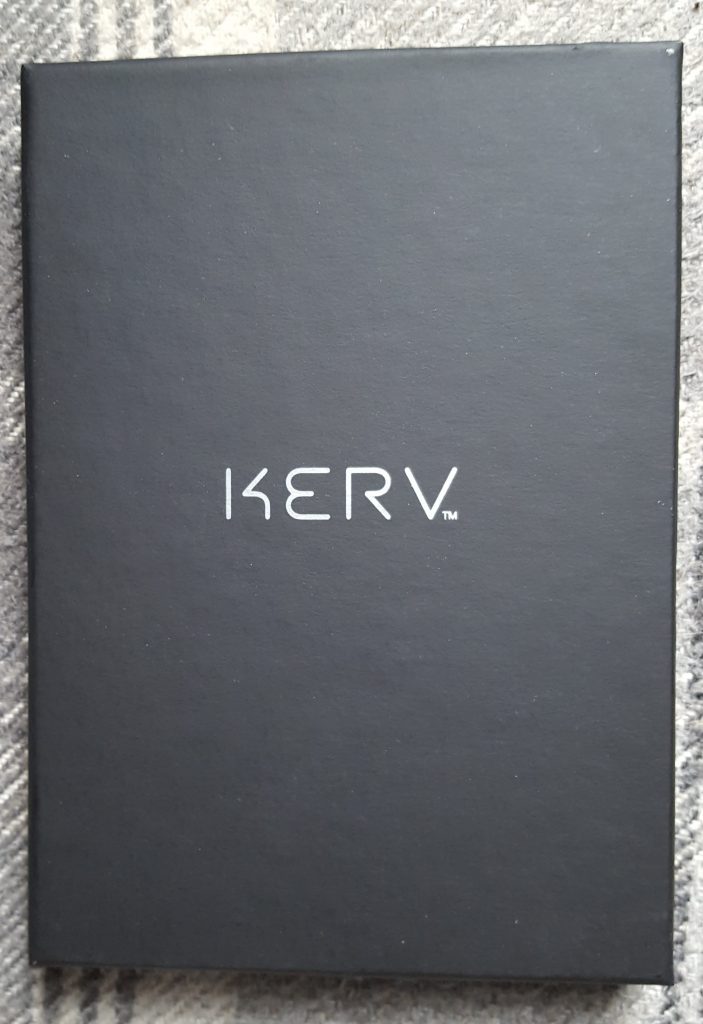
Well, I first saw this on Kickstarter in October 2015 and it sounded like a great idea for someone like me who travels through London every day constantly getting my card out to swipe through the gates at the train then the tube and sometimes the bus too. Estimated delivery was stated as April 2016, and well over two years later and some nagging via email it finally arrived at my door January 2018! So we had a bit of a bad start….but I have gone straight out and put it to the test and thought I would share my experience good and bad so that others can get a bit of information if they are looking at buying this product.
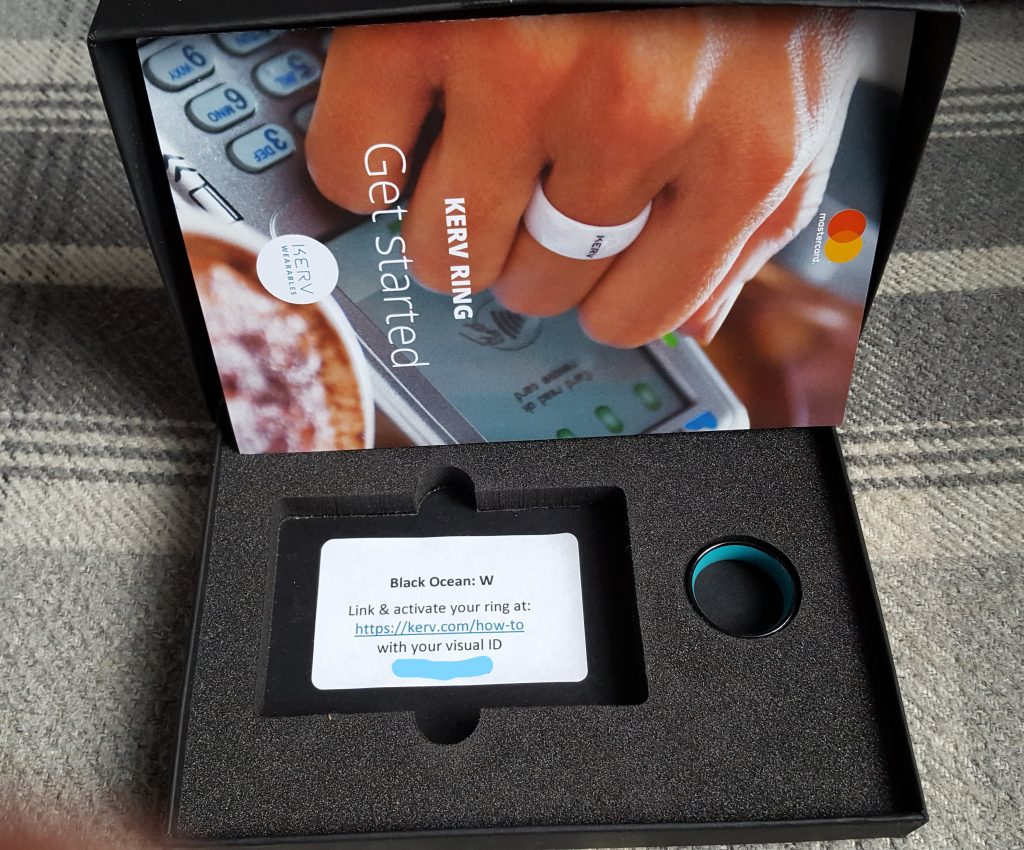
I must say the packaging looked amazing and when you open it looks very smartly presented.
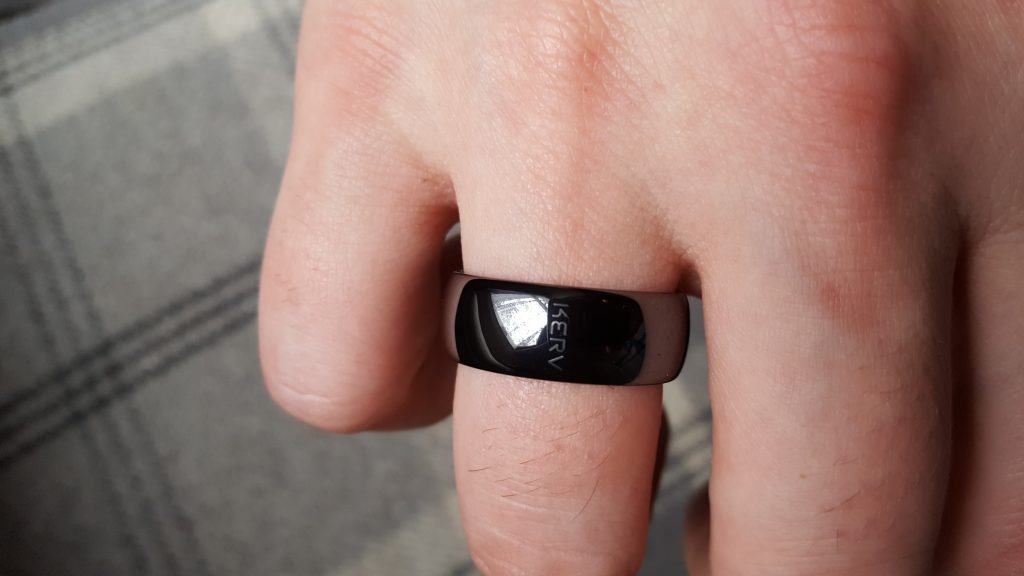
The ring looks nice and smart, feels smooth and weighs hardly anything.
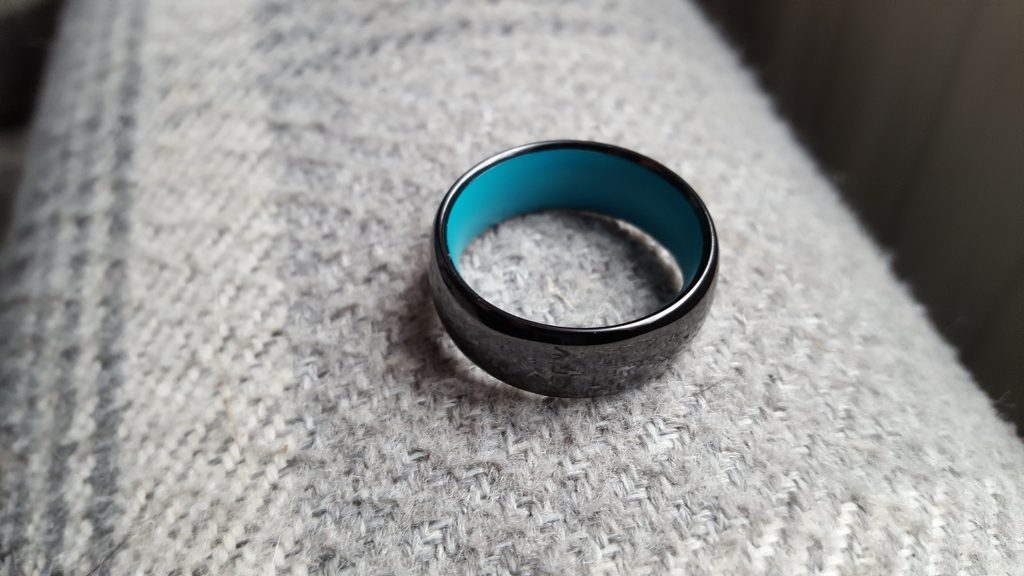
Generally I like it and the fit was perfect as measured using the Kerv sizing chart.
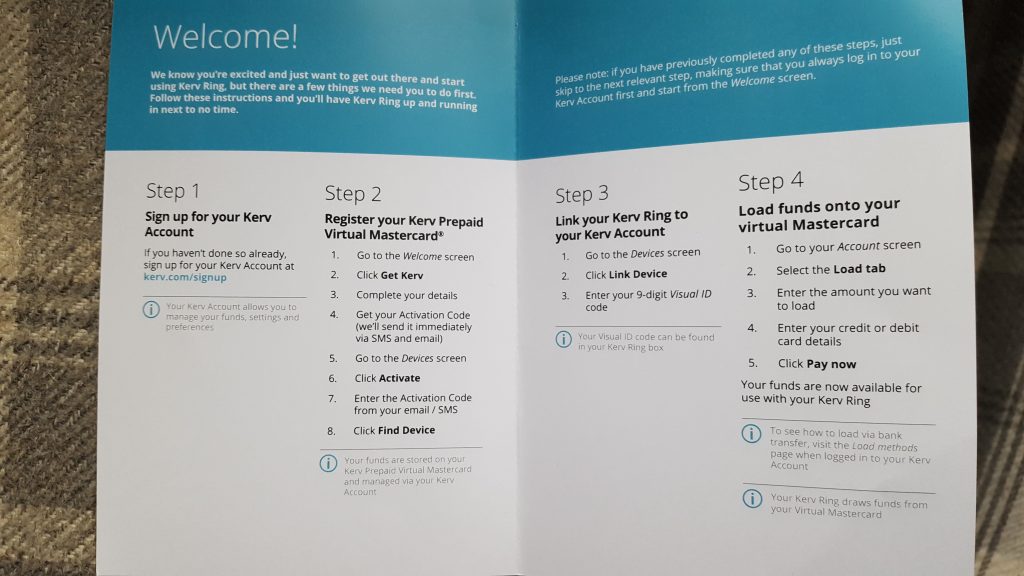
The box came with a set of instructions to set up your online account, associate it to your ring, then set up a virtual mastercard and add some money to get started.
I found it very easy and was up and running in no time. I went straight for the auto top-up feature which is a bit of a pain as the lowest value is £30 to trigger an auto top up and the lowest value you can top up with is also £30 so every time it tops up you could have £60 on there waiting to be spent. I’d prefer if it were smaller values but there you go.
So I jumped straight in and tested it on my route to work. There is a contactless reader into the train and out the other side then a reader into the tube and out the other side, I hovered it over the first reader wondering if anything was going to happen and ping, it worked! It was a little slower than I was expecting but worked none the less. The other readers it was roughly the same but the last one it came up with the dreaded “seek assistance”. I stepped back and let the other people through then took it off and put the ring directly on the reader and it worked again. This led me to think I was using it wrong, if only I had read the instructions properly!
On the way home it was pretty much the same as above, when I got back I opened the instructions and there it was….It says clearly on the instructions how to use it and I had been doing it differently like a prize turnip!
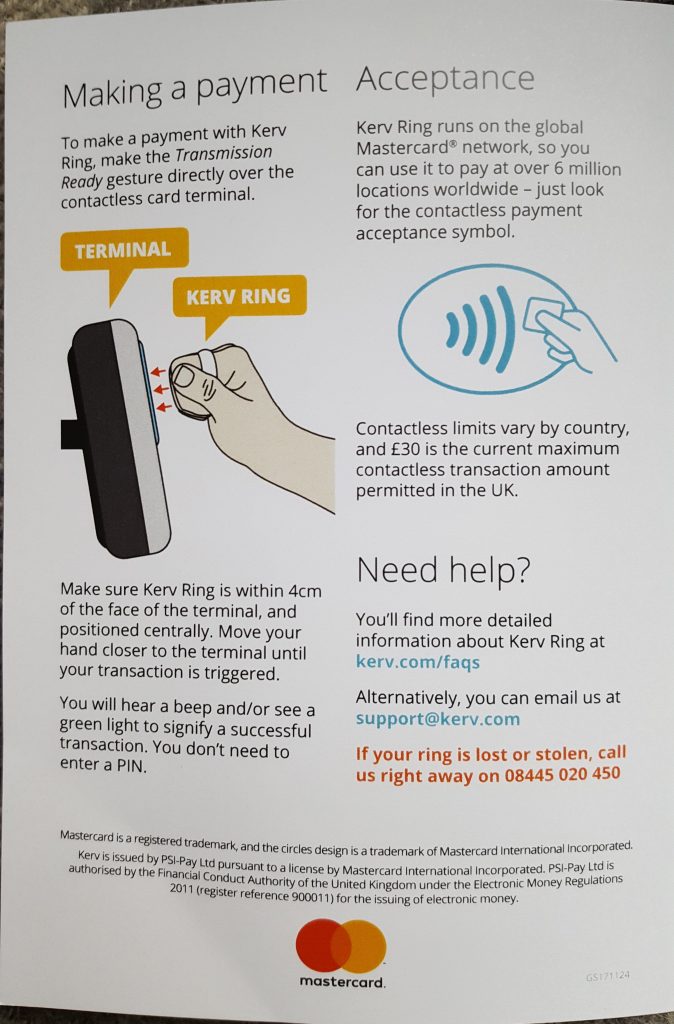
Well, this time fully prepared I approached the first reader and this time using the correct hand gesture it picked it up really quickly similar to using an actual card on the machine. I continued all the way to and through London and back again and it picked it up on every single one no problem at all. Was very impressed.
One of the main problems I found is that (at the time of writing) you cant use it with your TFL account to see journey history, payment history or to claim a refund. They do give you a virtual MasterCard number including the CVV number but if you put that into the TFL website it doesn’t pick up the data. This is because the chip in the ring has a separate card number but unfortunately they don’t give you that number on the website or anywhere else. I contacted support on this one and they said they are working on it and will update me when they have something.
Support were very responsive and helpful in general, I first had a lot of contact with them as I was a Kickstarter backer and had the long delay I mentioned, they replied every time within 24 hours and did update me on progress. I do wonder if I would ever had received the ring now if I had not contacted them.
A good device if you don’t mind wearing the ring when you are travelling and don’t like getting your card out constantly. Use it properly on the reader and it will reward you by working as designed. I have fingers crossed that they will get the device chip number sorted for integration with the TFL website but even without that its a good gadget to show off and save you time. Since this article was written Kerv has been re-branded to K-Ring.
Press “L” to toggle lock/unlock interface in order to drag, resize and re-arrange your UI. Gameplay – make yourself familiar here. A lot of useful settings here. Worth mentioning are area looting & the different skilling options. Interface Settings – toggle slim headers, XP pop-ups, show reset timers and make X progress to mention a few. Controls – customise keyboard and mouse sensitivity, keybinds and toggle camera type. Graphics Settings – graphic settings. Audio Settings – audio settings. Combat Settings – select combat mode and which stats to recieve XP in for the combat styles.
Slim headers – what do we need large headers for? Gameplay settings – take a few and make yourself familiar here. Many useful QoL settings. Lock interface when not editing.
1. Start out by resetting your current UI by going to the main menu (ESC) then go to “Quick Load Layout” and select “Retro”.
2. Resize the game window so it is exactly as you would like it. Personally I have my game window occupying 70% of my screen. Ignore this if you play on fullscreen.
3. Main menu then “Edit Mode” then “3D World Editing”. Resize your “Game View” to something like this. (we will get back to this later).
4. Now open everything you want accessible at all times while playing RuneScape. It will look messy at first don’t worry – we will make this look good.
5. Play around with the placement and sizes of your interfaces boxes. This may take some time and you may have to change the “Game View” several times.
6. Main menu then “Edit Mode” then “Gameplay HUDs Editing”. Change the placement and sizes of the different HUDs.
7. Congratulations with your new interface!
If your gameplay is stuttering go to “Controls” then check that your camera type is set to RS3.
I had a certain image two days in a row on windows spotlight lock screen that looked like a half crescent moon like sand dune structure and wondered where it was, for reference, here is the image I was talking about:

Now after a bit of googling for things like “what is the big sand half crescent on the windows spotlight” and “what is the big desert structure/sculpture on the windows spotlight” with no luck I pressed CTRL+L to get back to the lock screen and investigate further. When you look at the top right of the lock screen there is an icon “like what you see?”, if you hover over it it tells you where this is:

Even better than that, if you click on the middle icon “What do we have here?” it will take you to a bing search for the building or location in question:
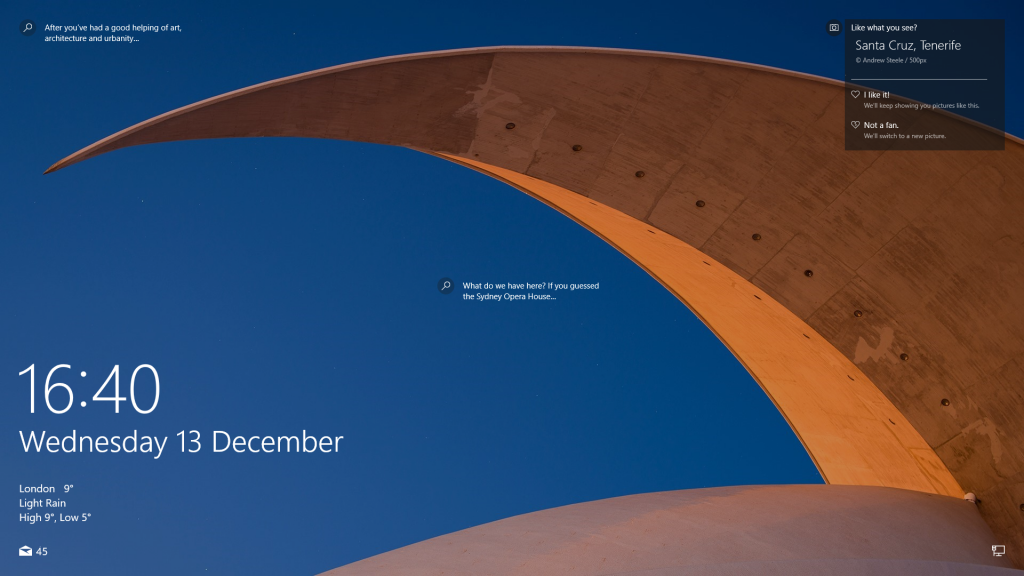
For those that are interested, it turns out this is actually not a “half crescent moon like sand dune structure” but in fact its the Auditorio de Tenerife in Santa Cruz, Tenerife (Canary Islands, Spain). An auditorium, who’d have thought it?
Stuck in a cycling base layer?
We have all done it, you get home from a ride, go to get changed/shower and find you can’t get the cycling base layer off as its covered in sweat! Do you wait until it dries then try again? Do you just rip it and buy a new one? No! The trick is to roll up the bottom part as high as you can to the arm pits then pull it over your head. You should be able to use you arm to grab the back of the remainder and pull it off. It can be tricky and feel a bit claustrophobic but don’t panic and you will get there eventually!