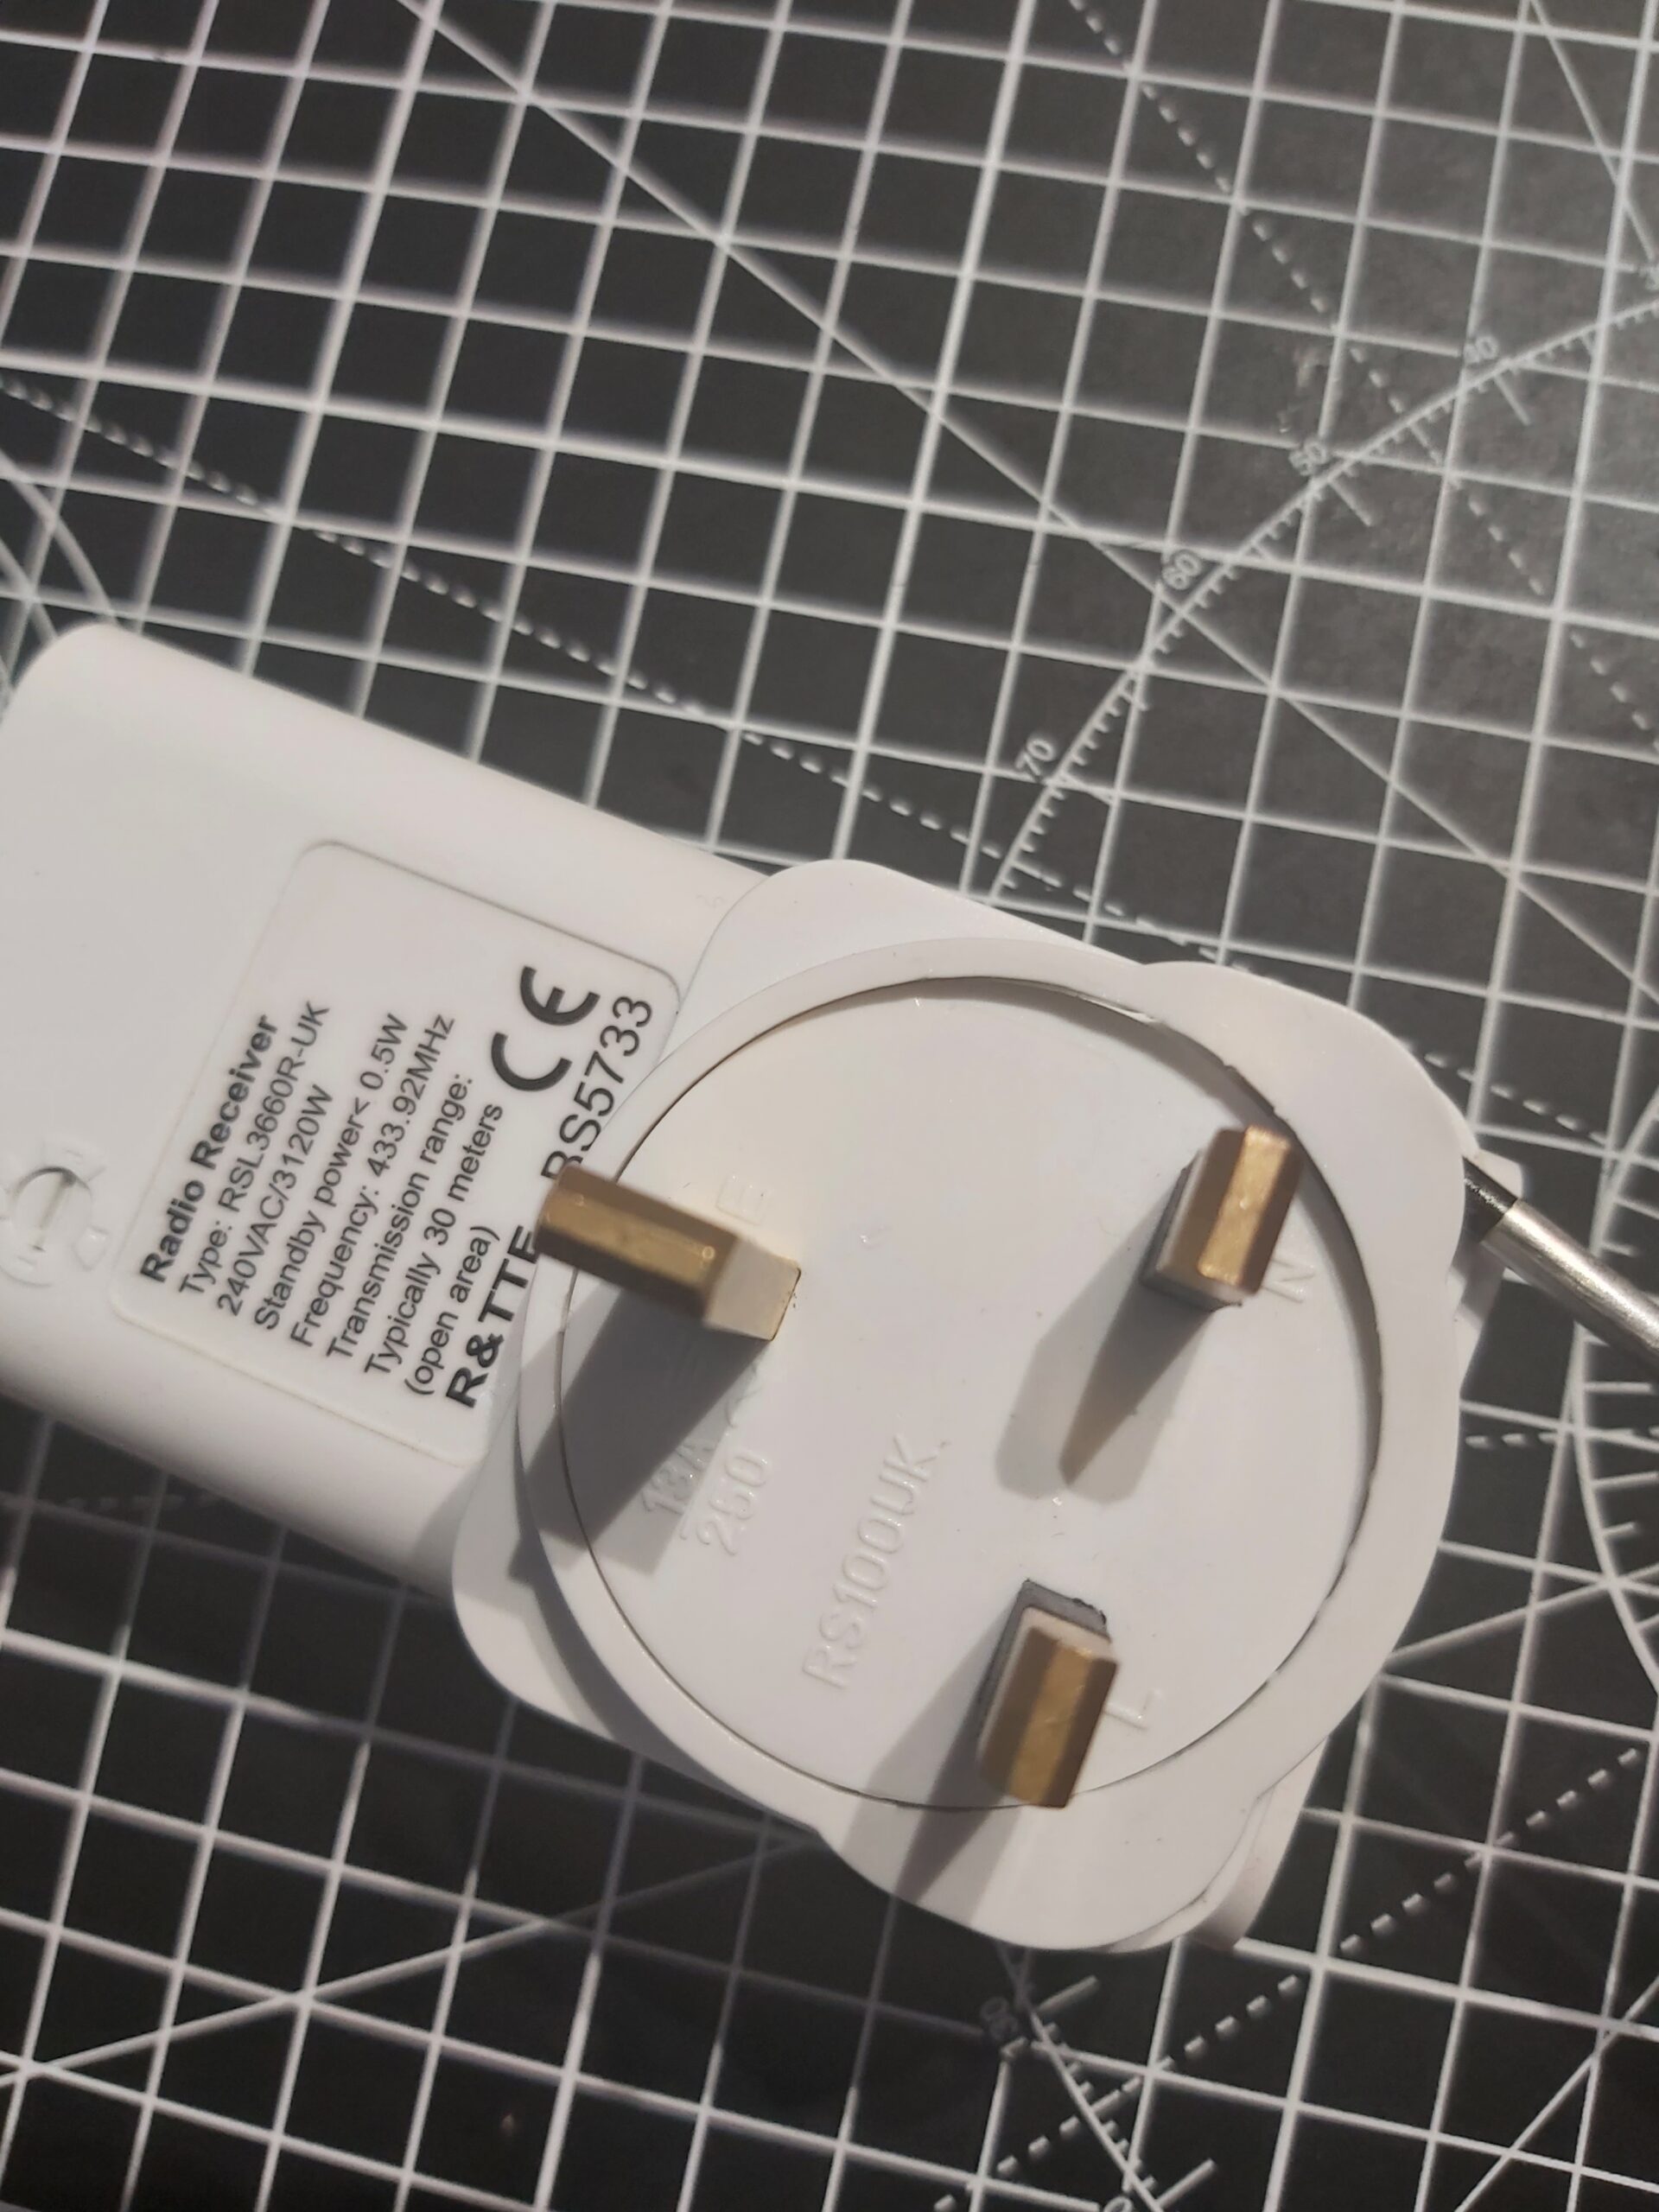
These RSL3660R-UK units were originally sold by Maplin in the UK which closed down a few years ago now. They come with a little controller and you can control multiple power circuits using the same control so its quite handy. The radio receiver units themselves actually work really well and lots of the time when they stop working it is a common problem with the safety capacitor. Buying a replacement unit can be expensive and there is a way the majority can be repaired a lot cheaper if you don’t mind getting your hands dirty and can do some basic soldering. The first thing to check when problem solving is that the dial on the back of the plug matches the switch on the controller.
Now before you attempt to fix this please make sure you are competent and confident to do so. These plugs operate on 240VAC and can kill you or injure you if you do it unsafely or don’t put the casing back together properly.
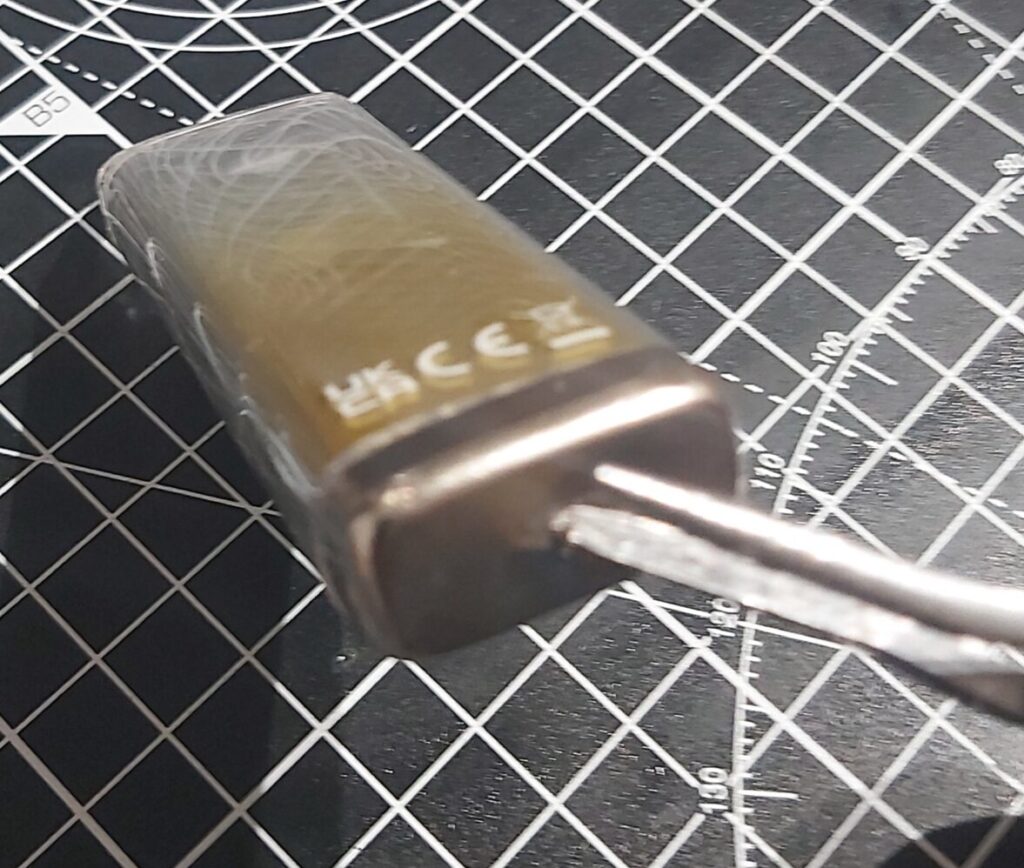
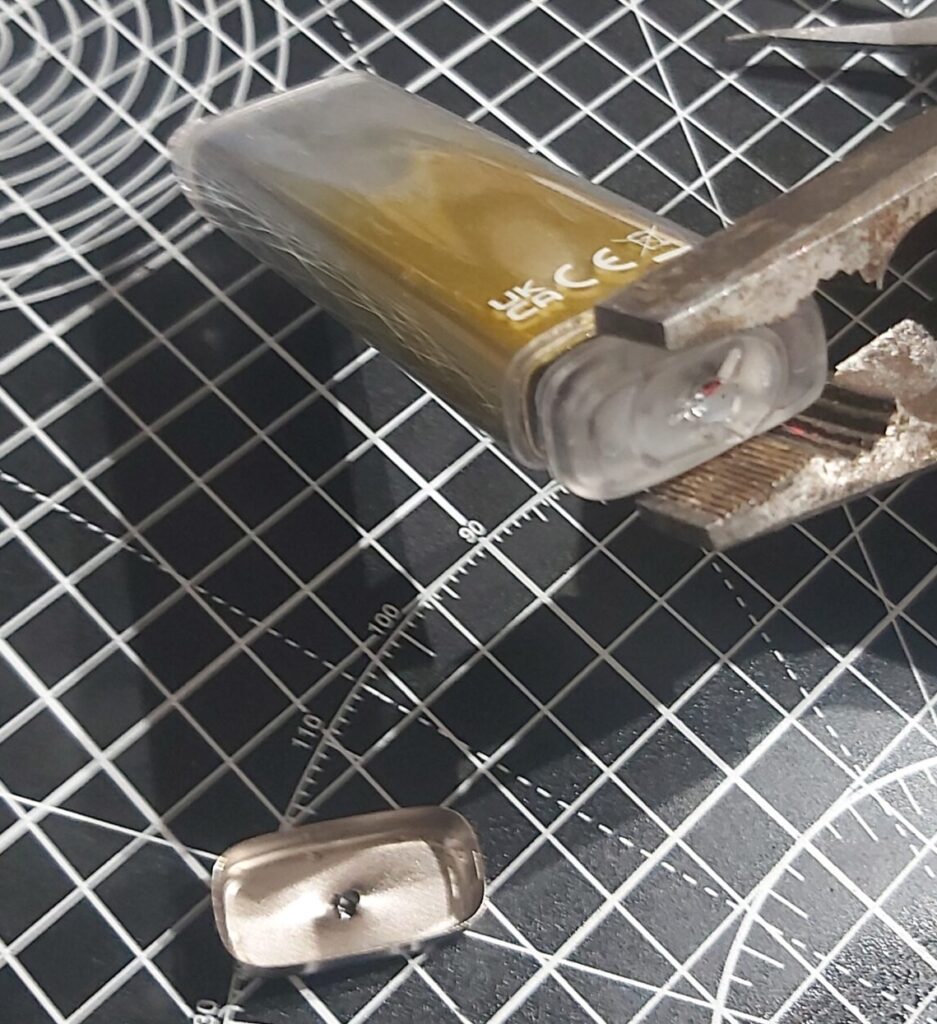
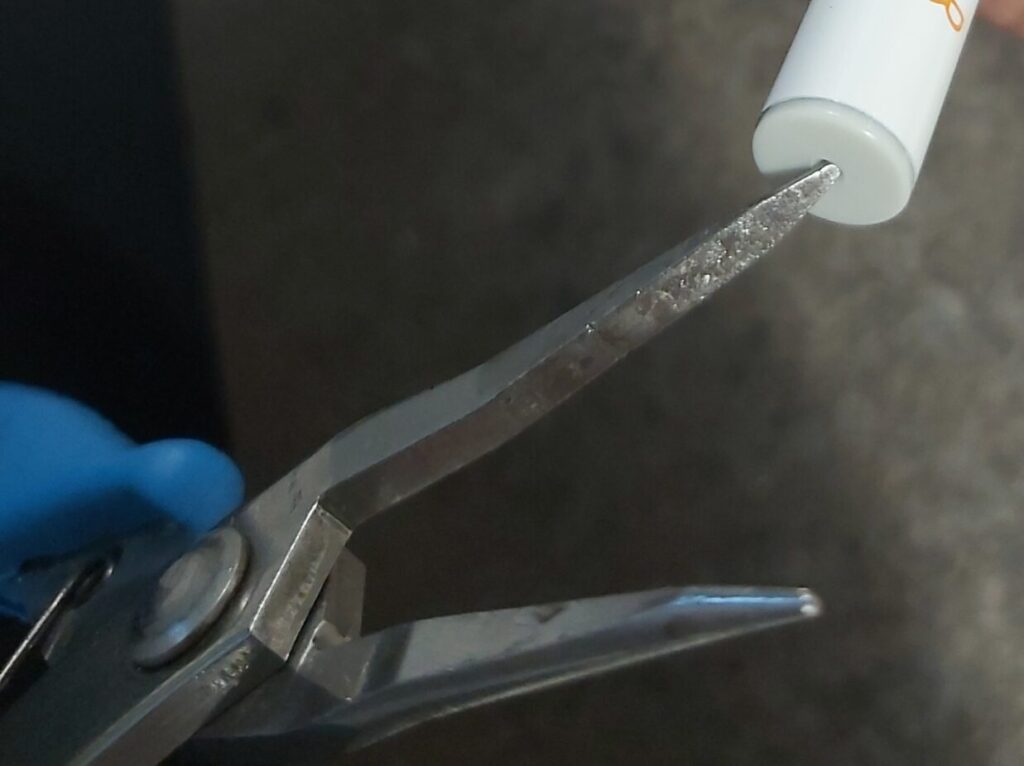
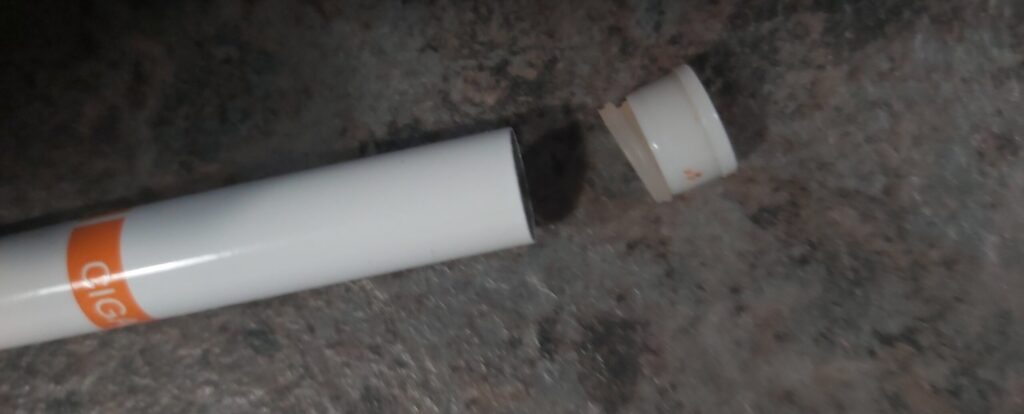
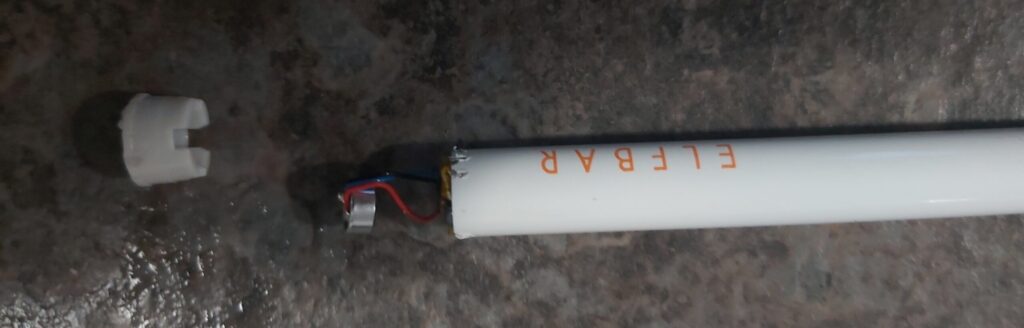
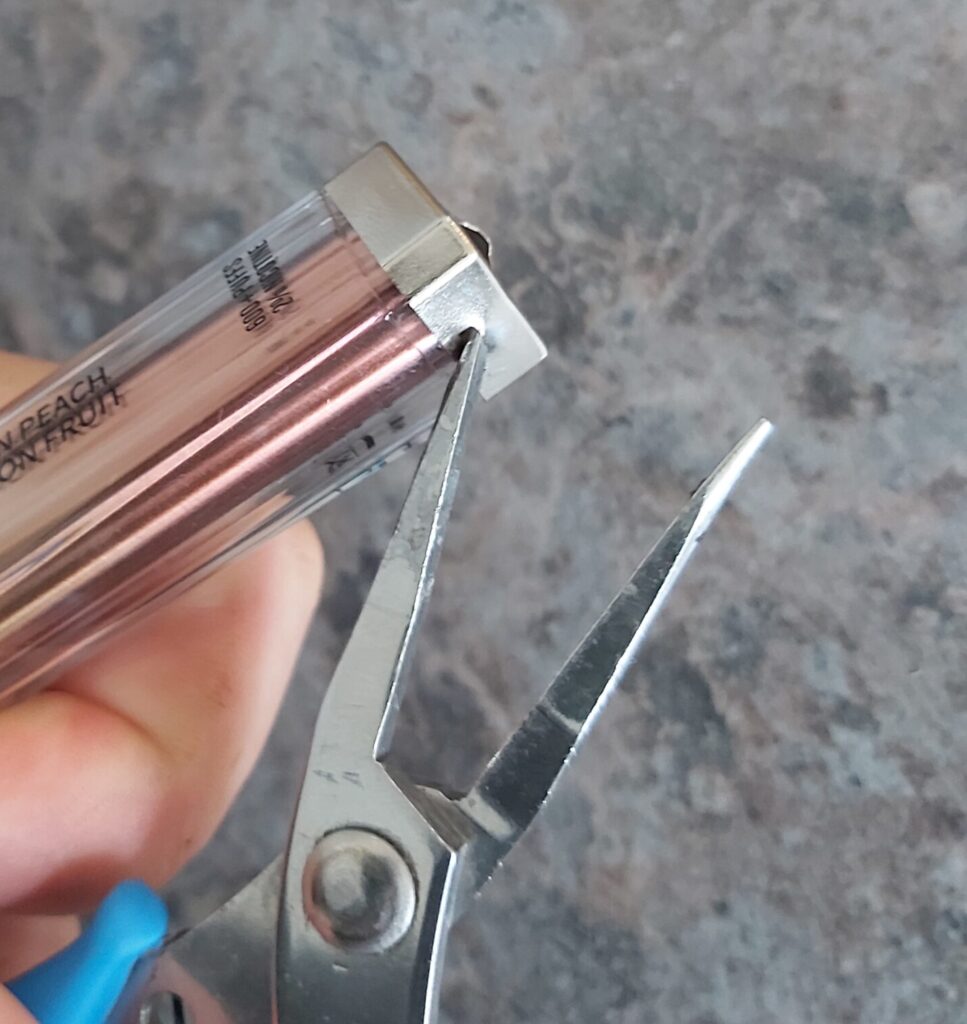
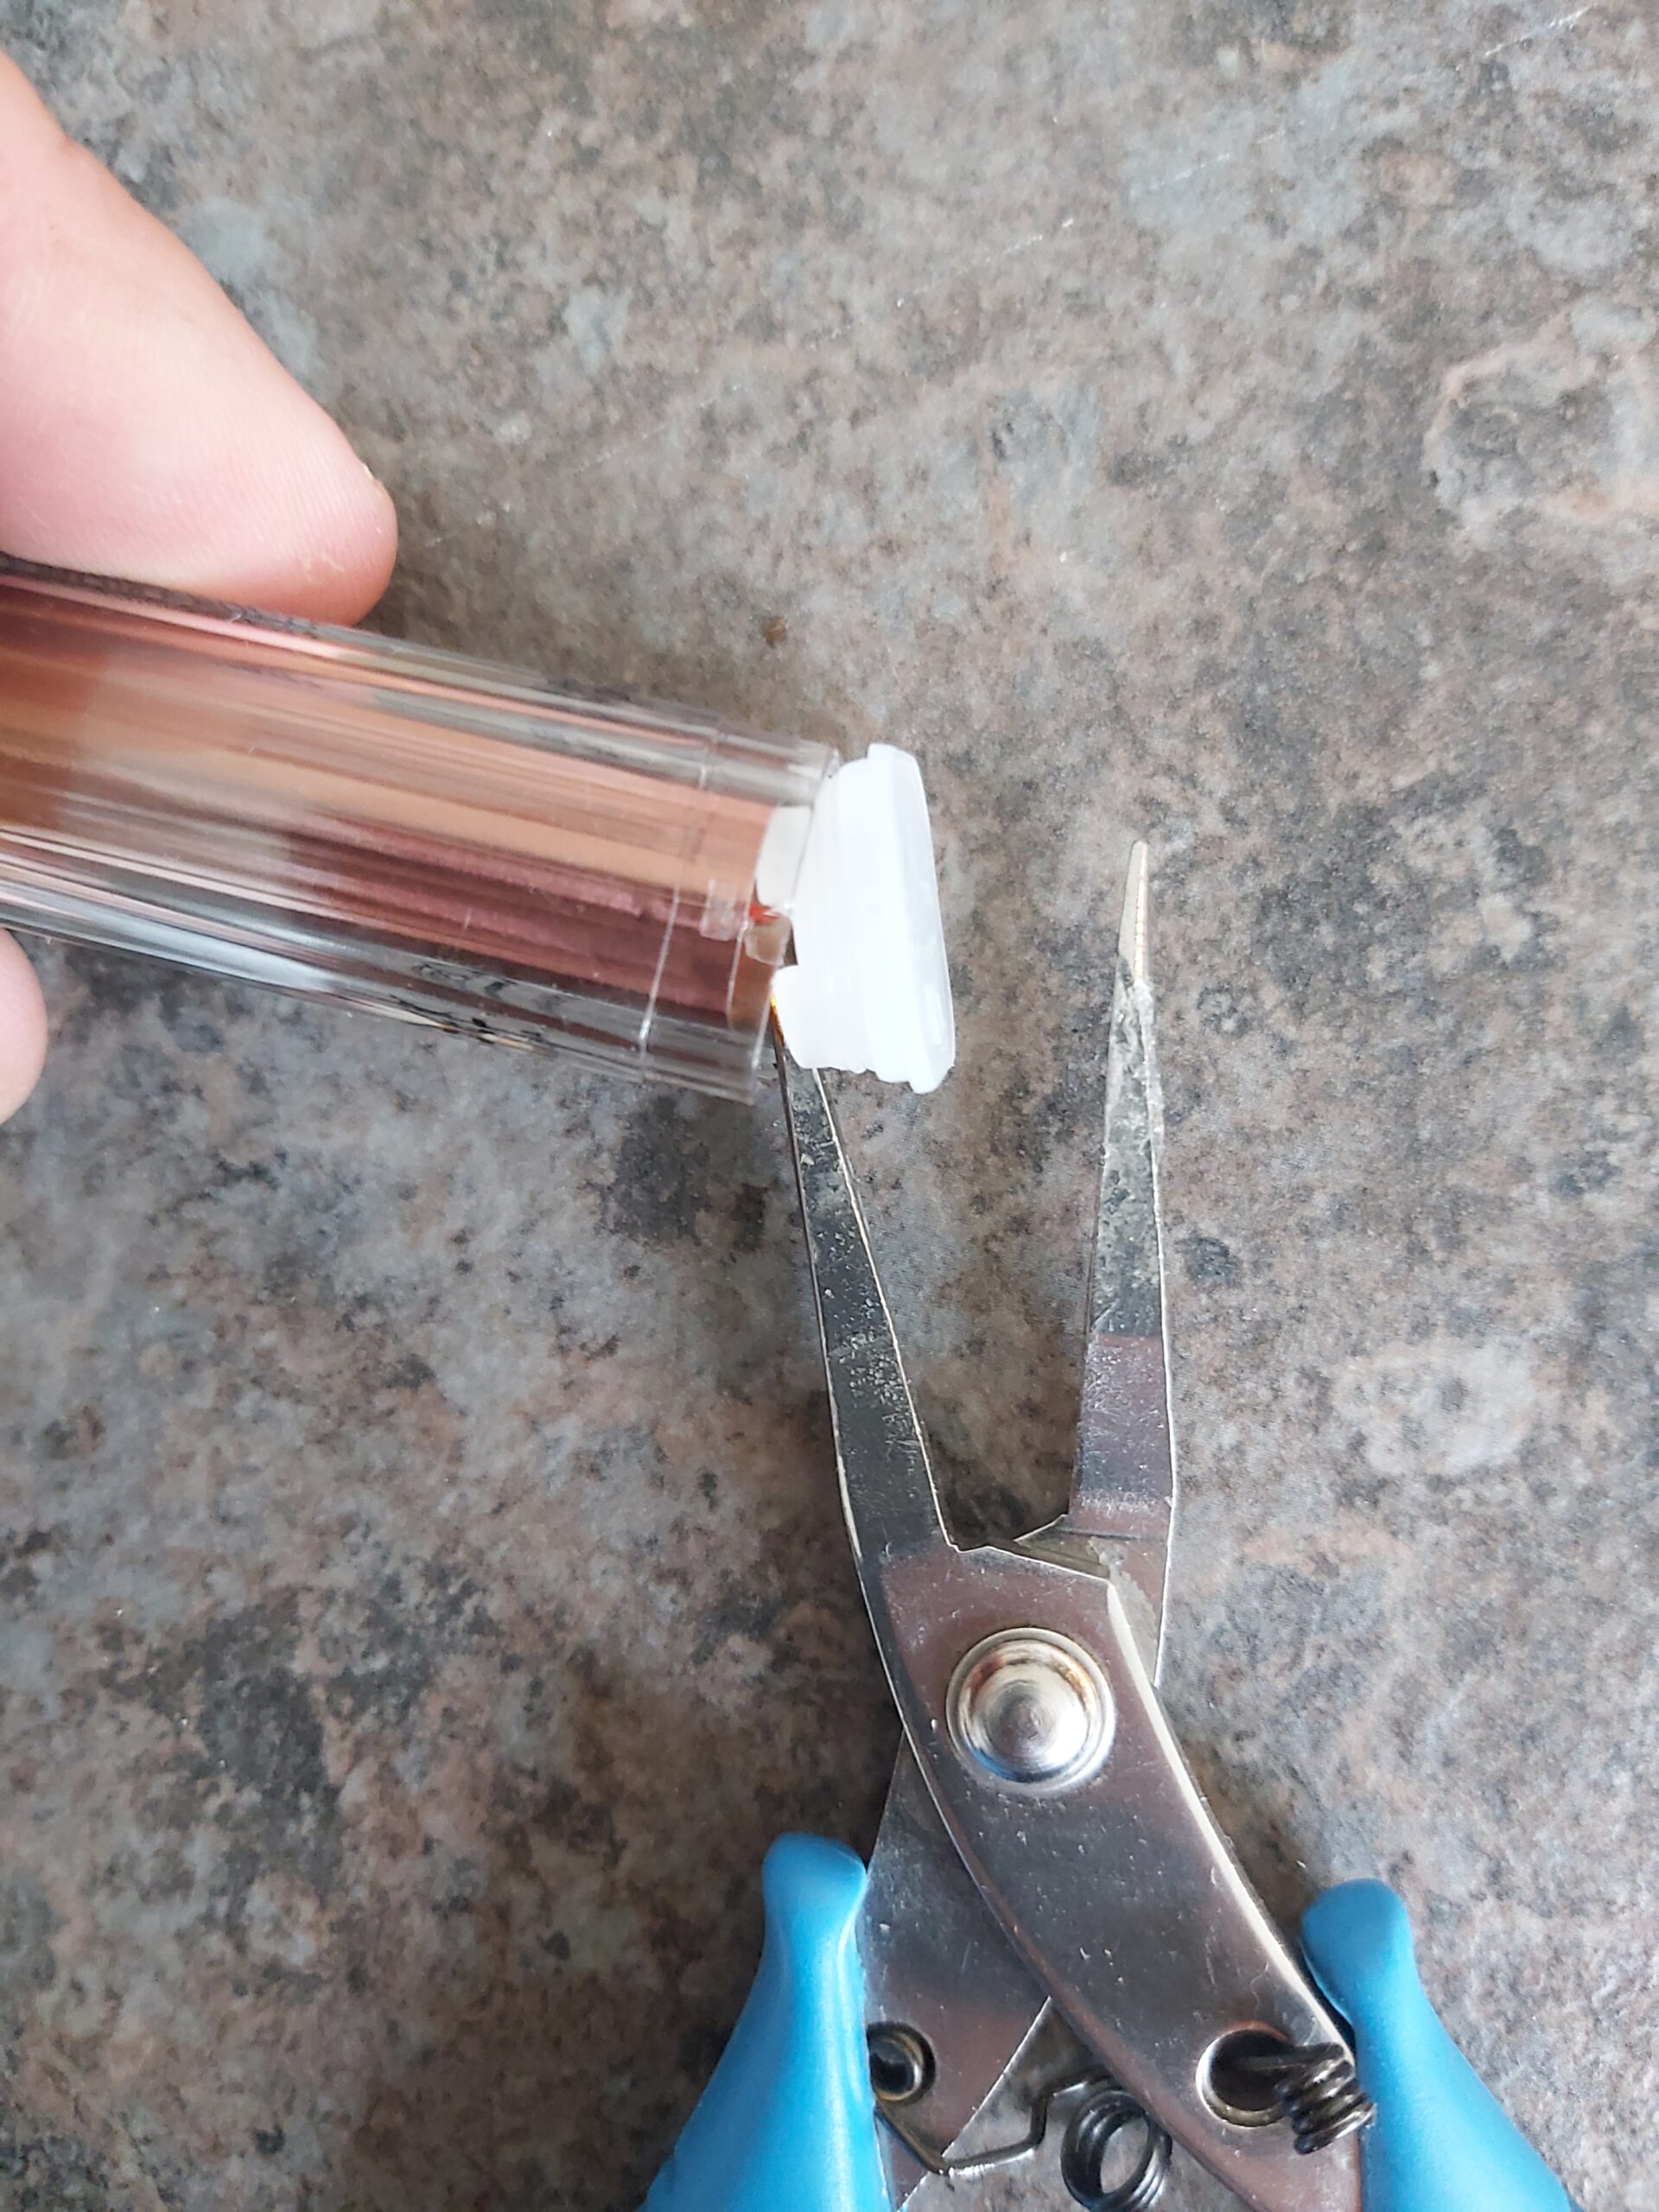
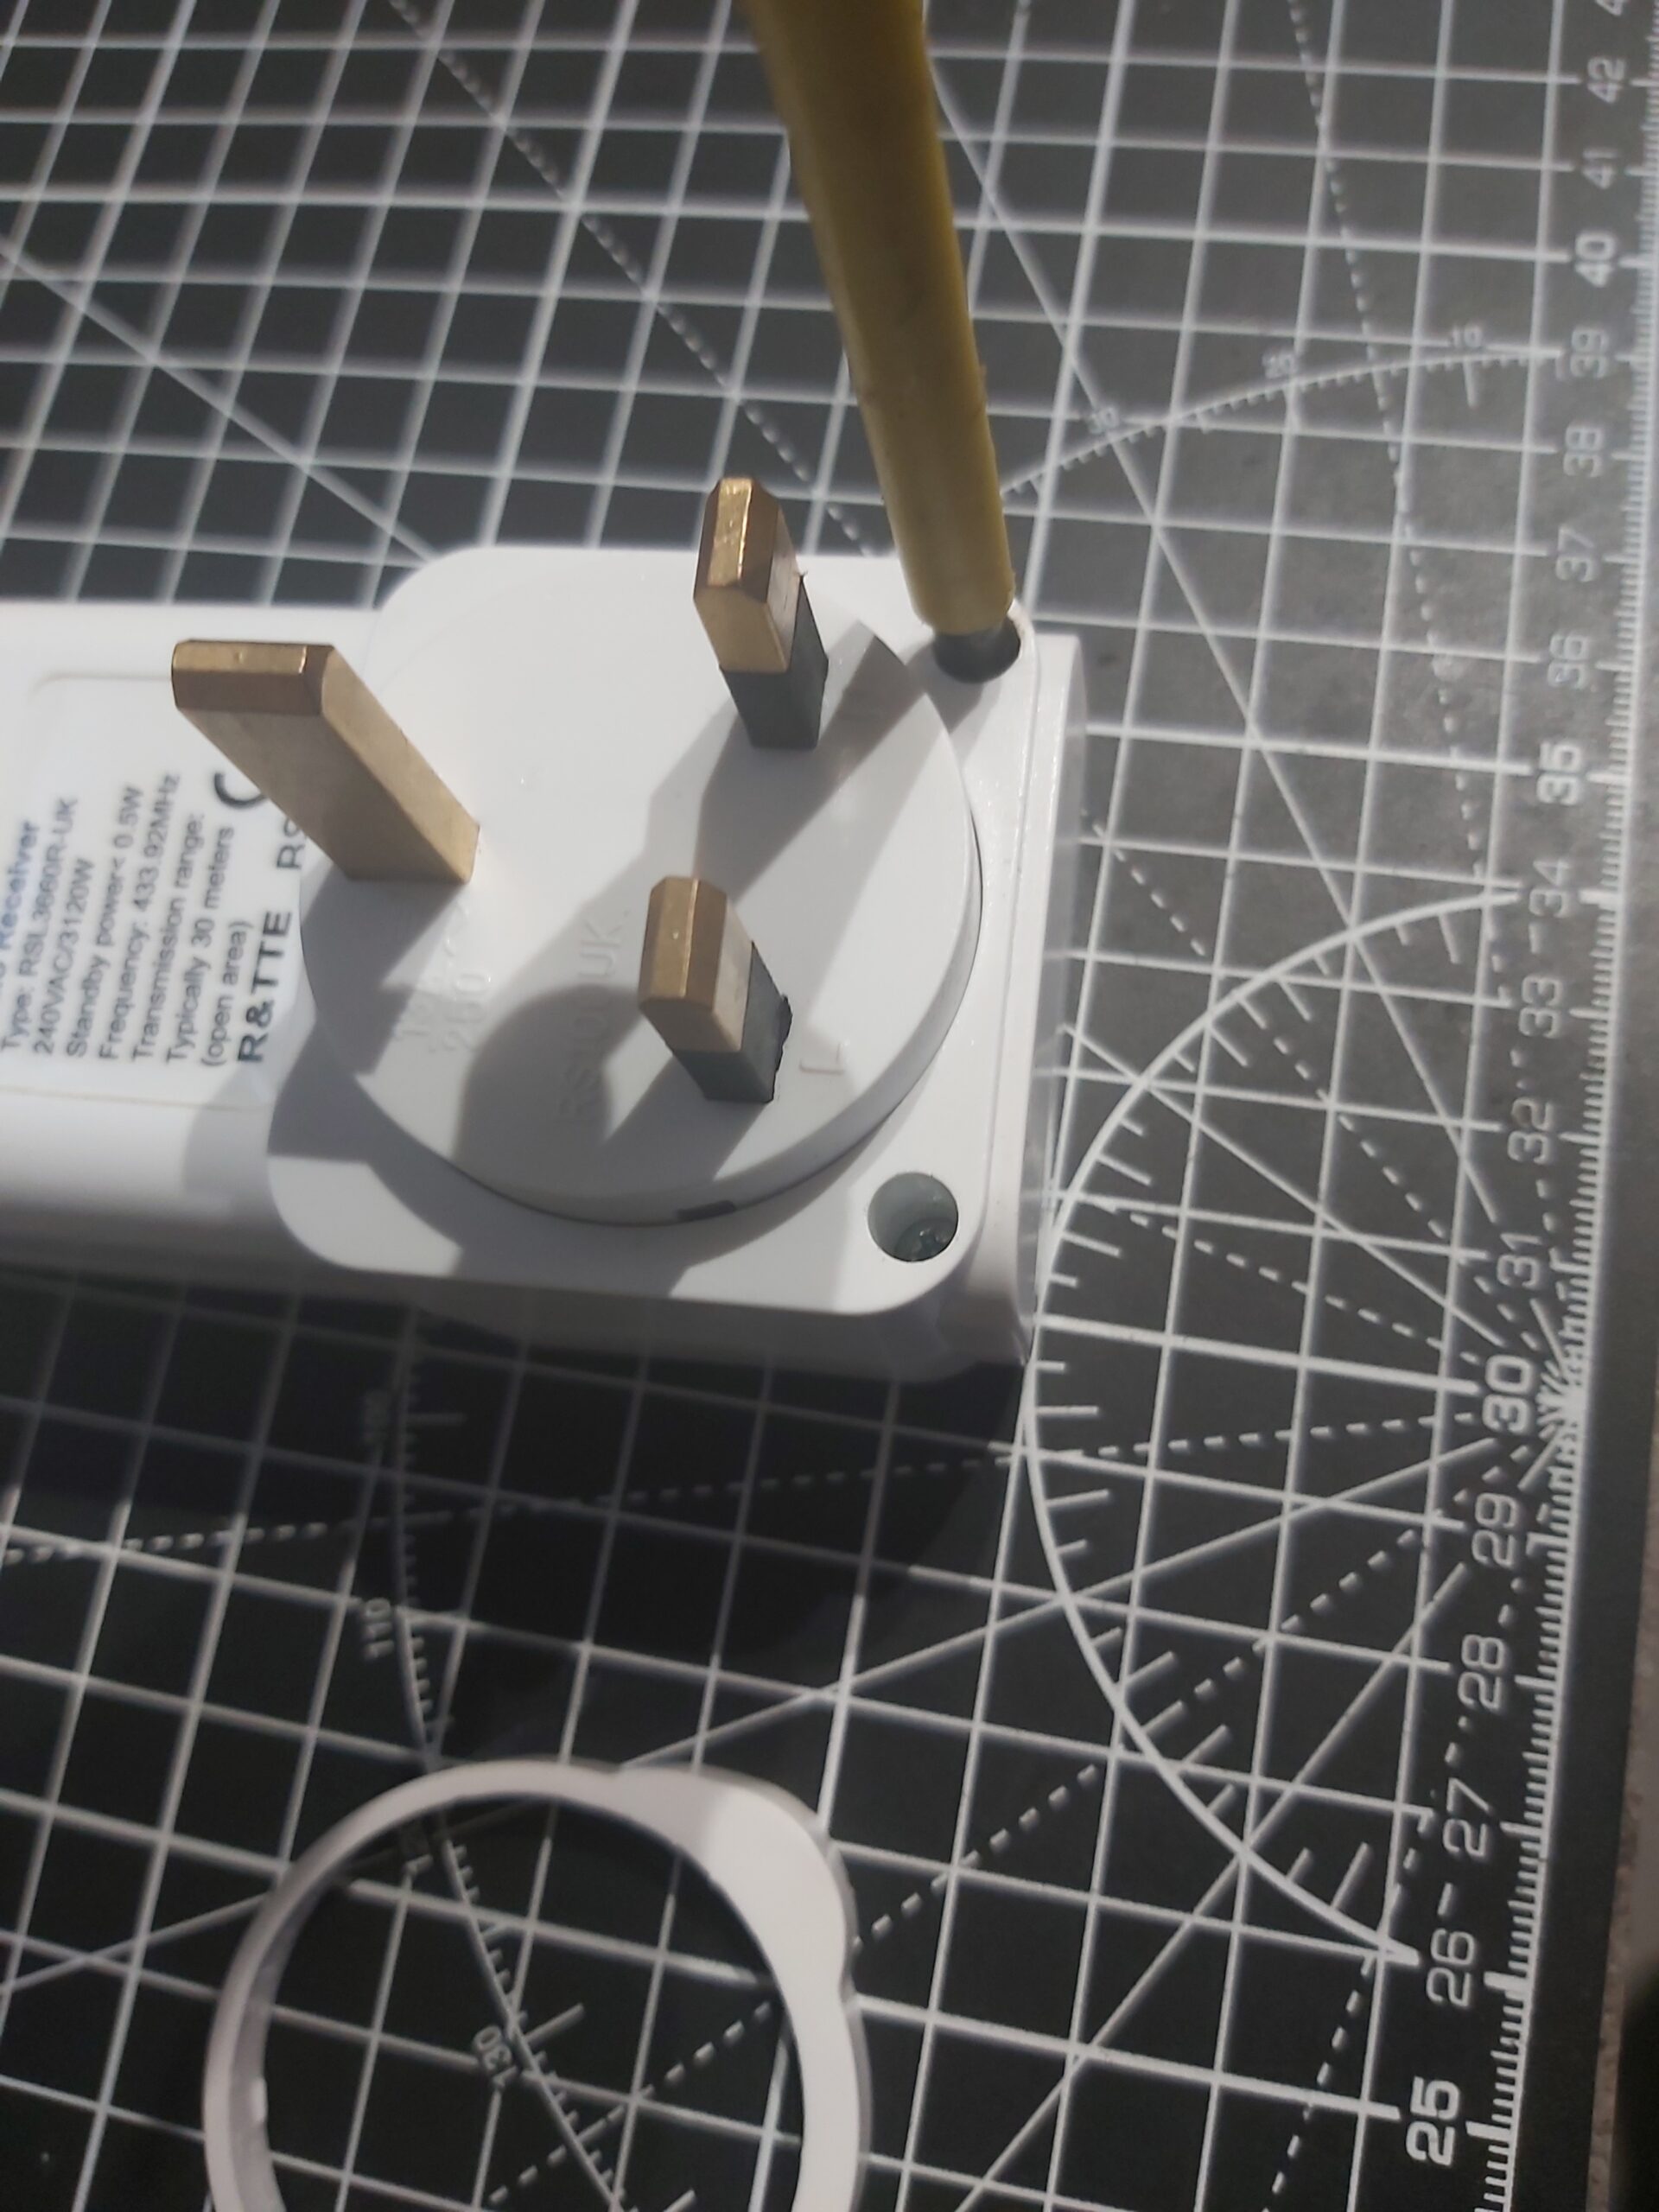
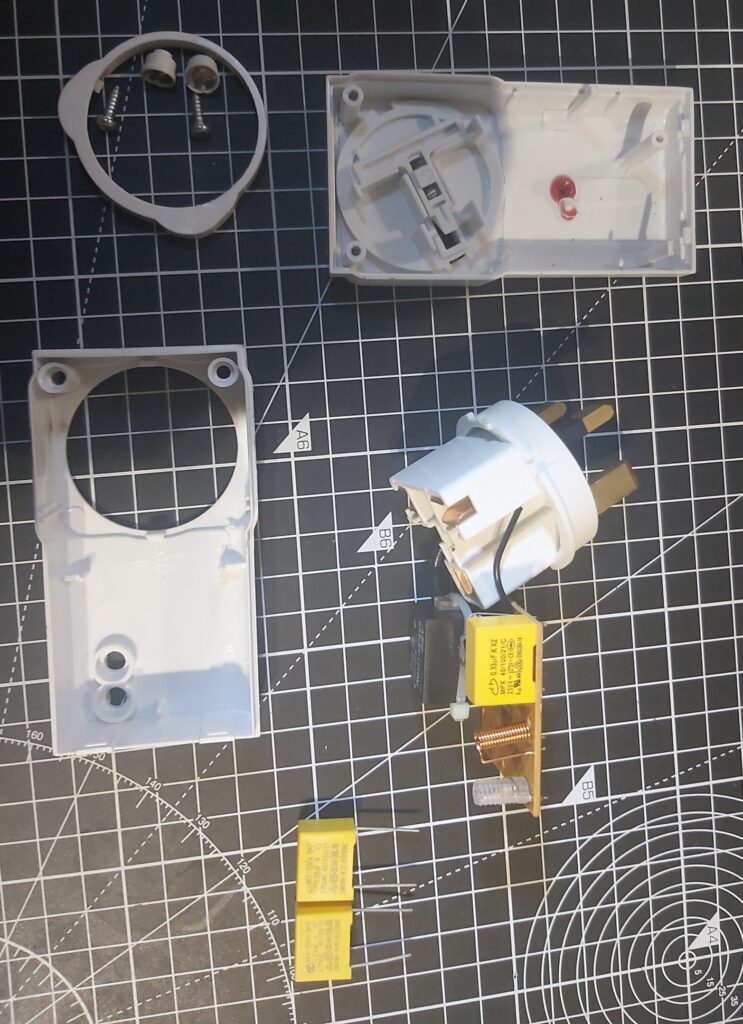
First thing to do is lever off the plastic collar to reveal the screws. You should be able to put a small screwdriver under it where the screwholes are and pull up to remove it.
Now you are onto the hardest part, getting the Torx screws out! I found one of mine came out fine with the correct Torx screwdriver, it should use a T10 with security centre pin. The other had already been mangled by someone and I had real difficulty getting it out. In the end I managed to fit a small flathead screwdriver into the groves and push/twist to get it moving. Once it was out I replaced the screws with some new ones to save the next person the struggle.
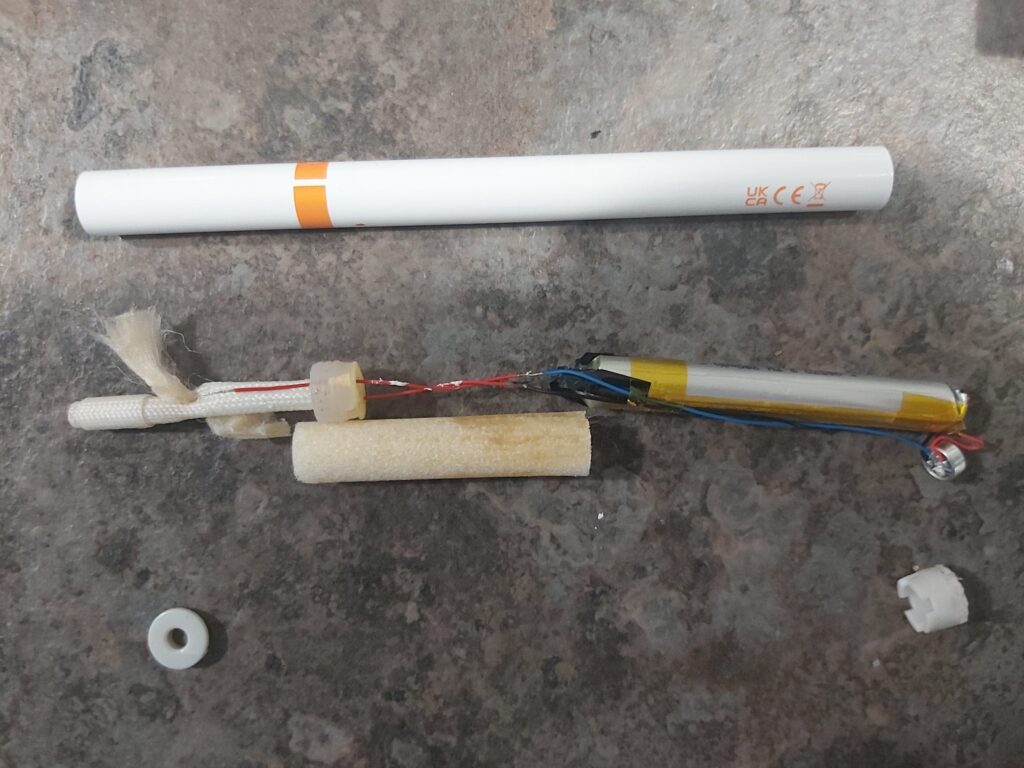
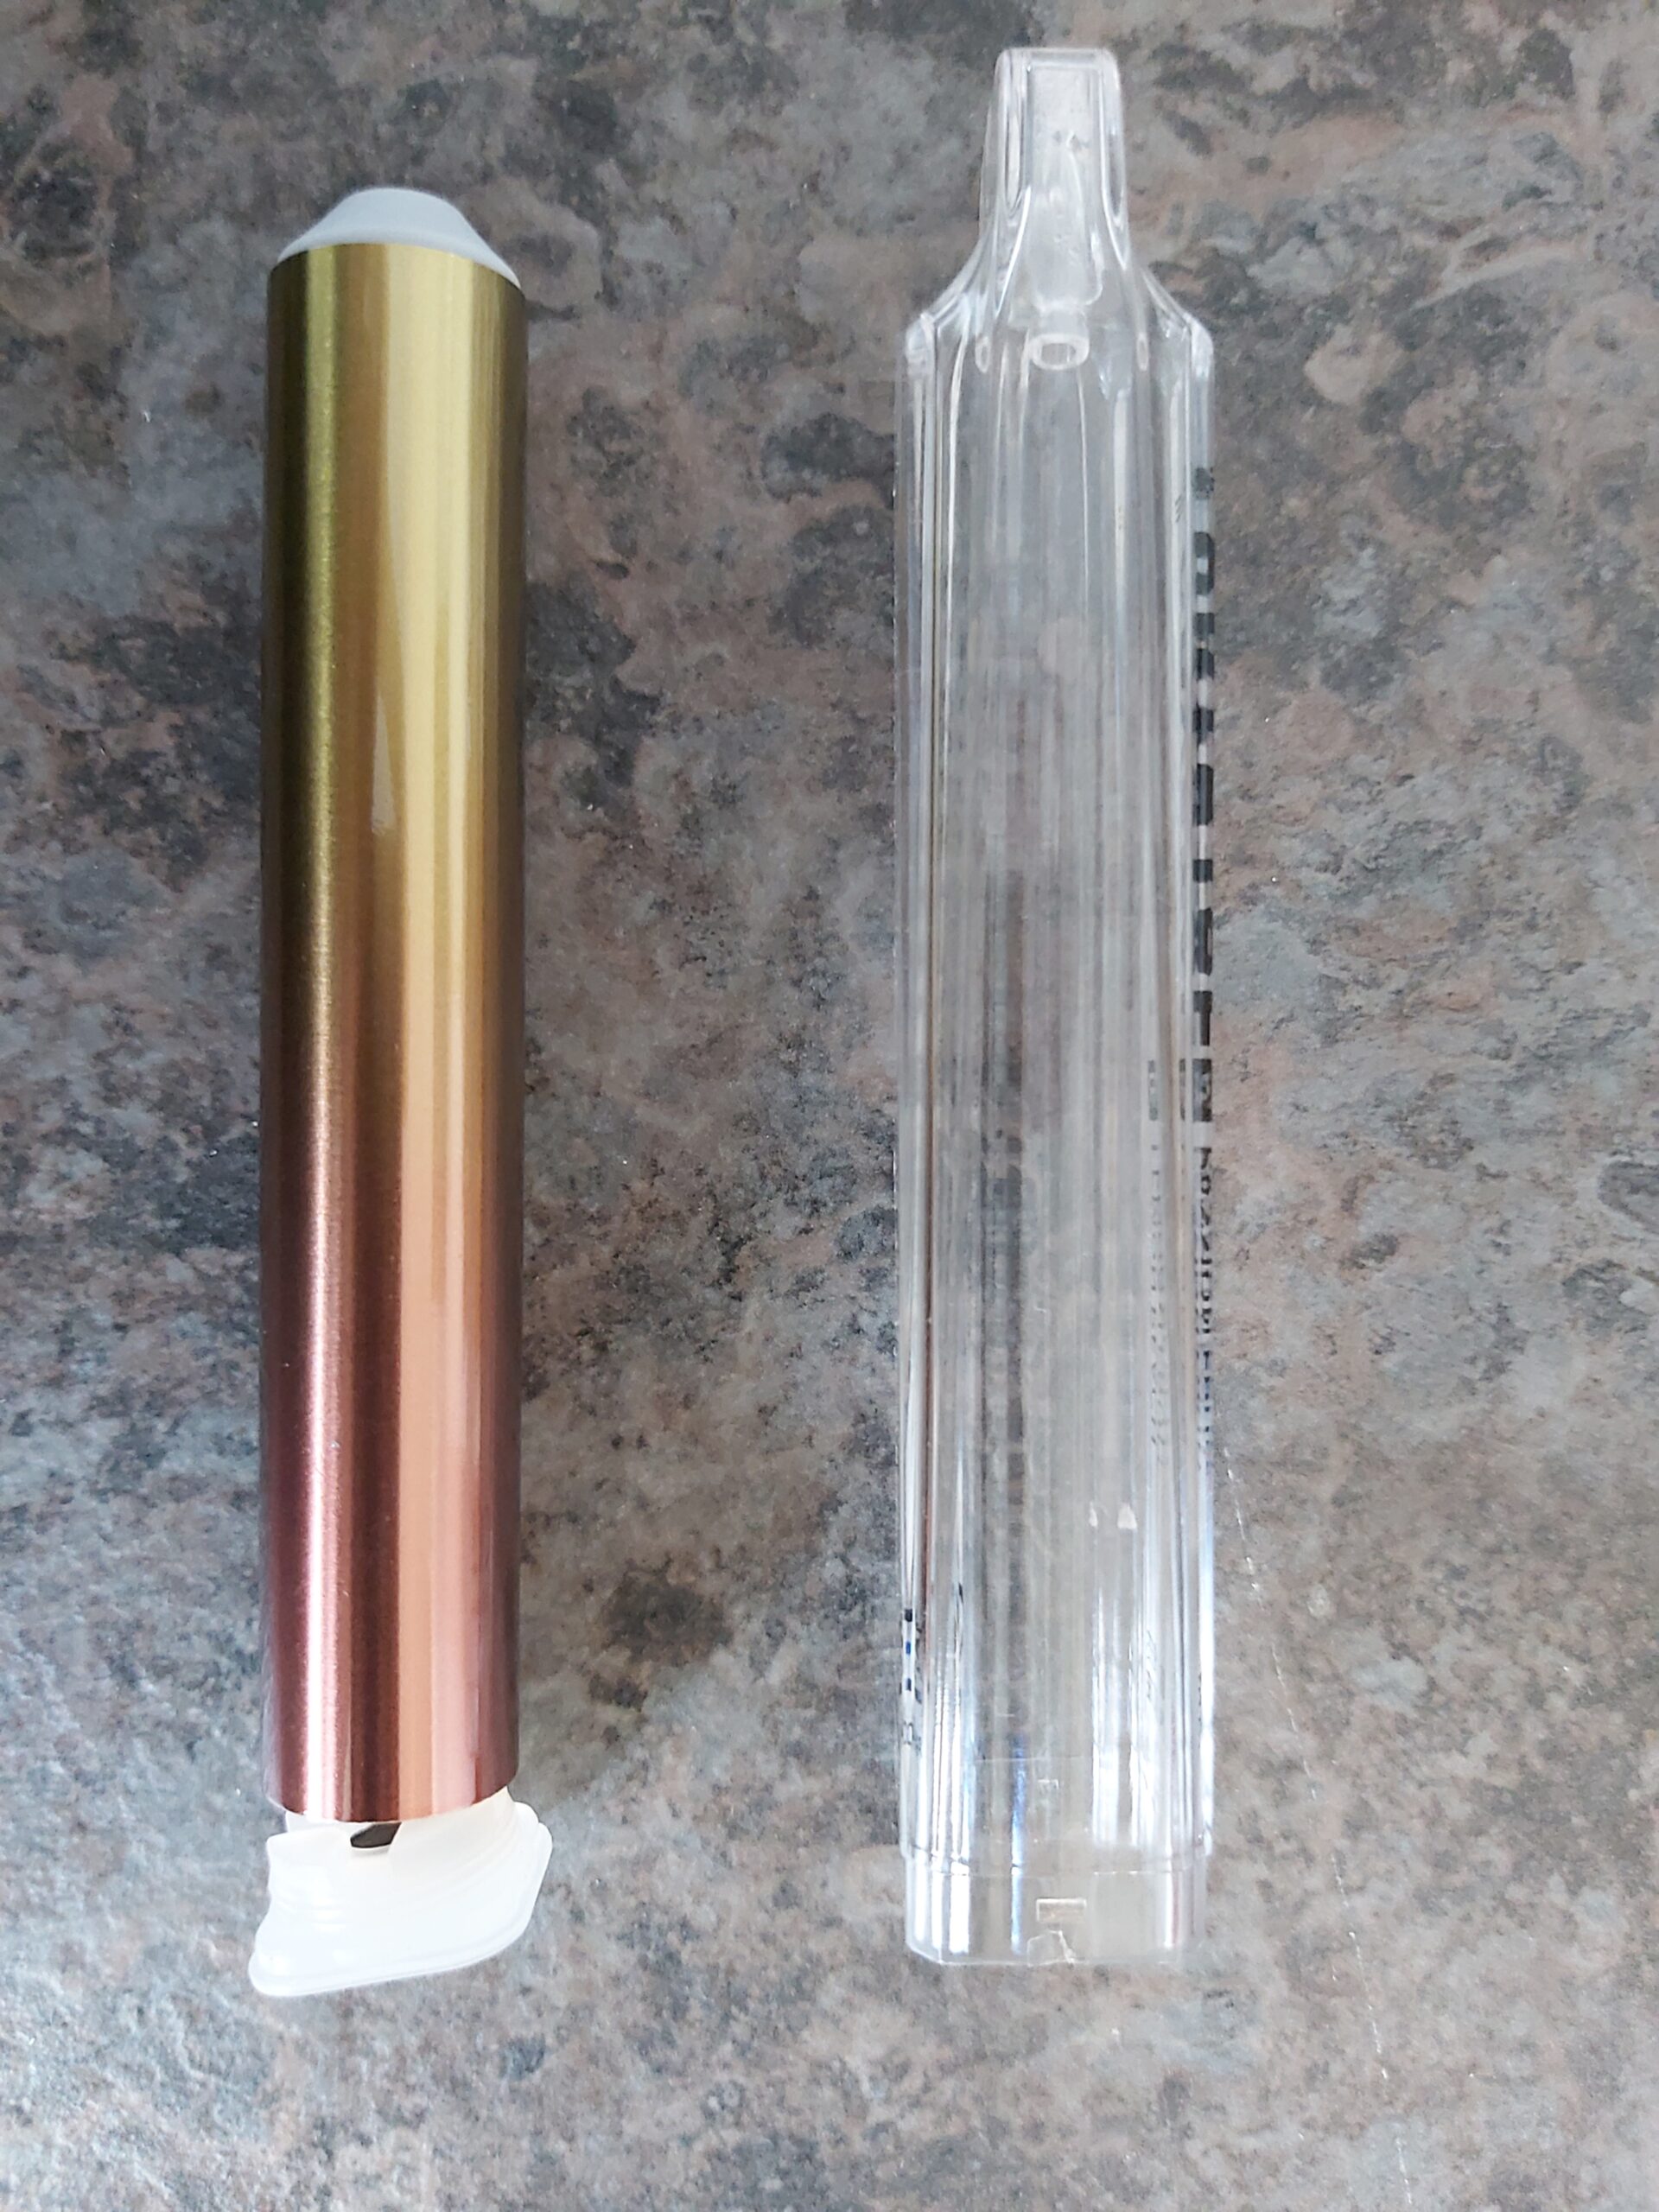
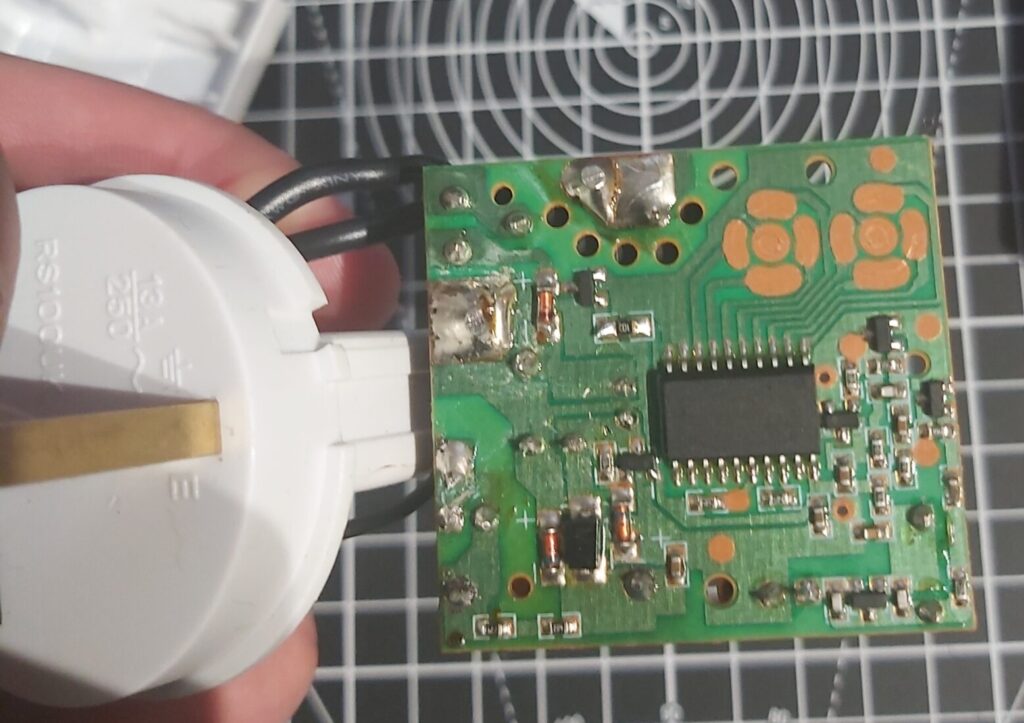
Now you should be able to pull the case apart and get access to the circuit board.
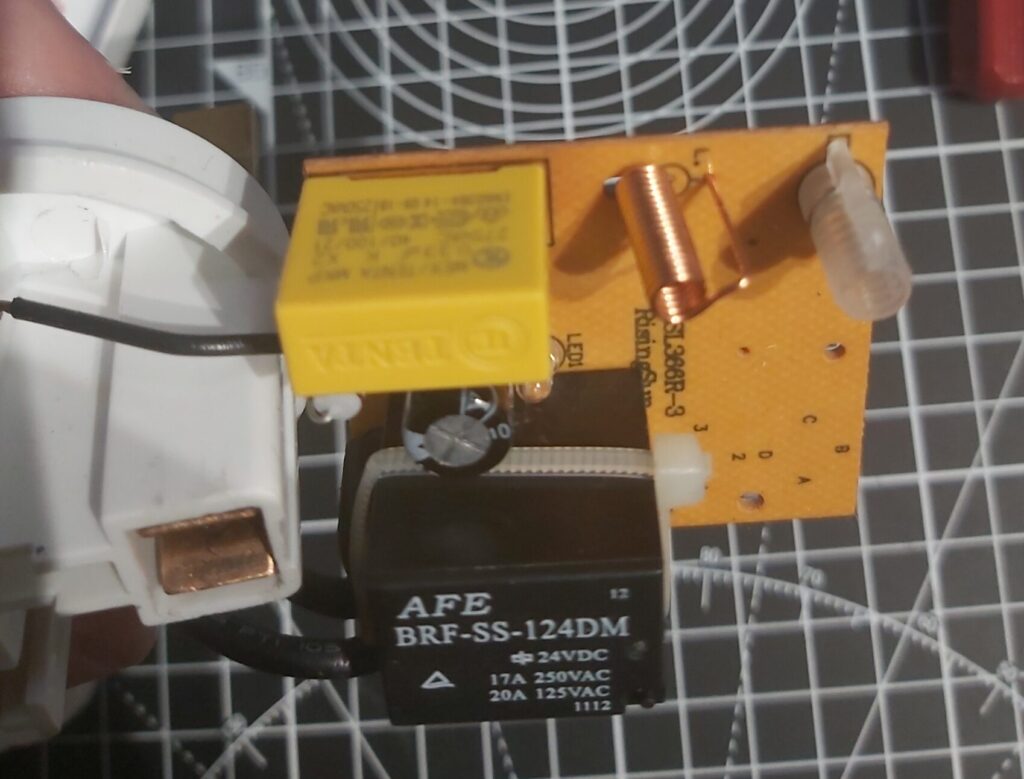
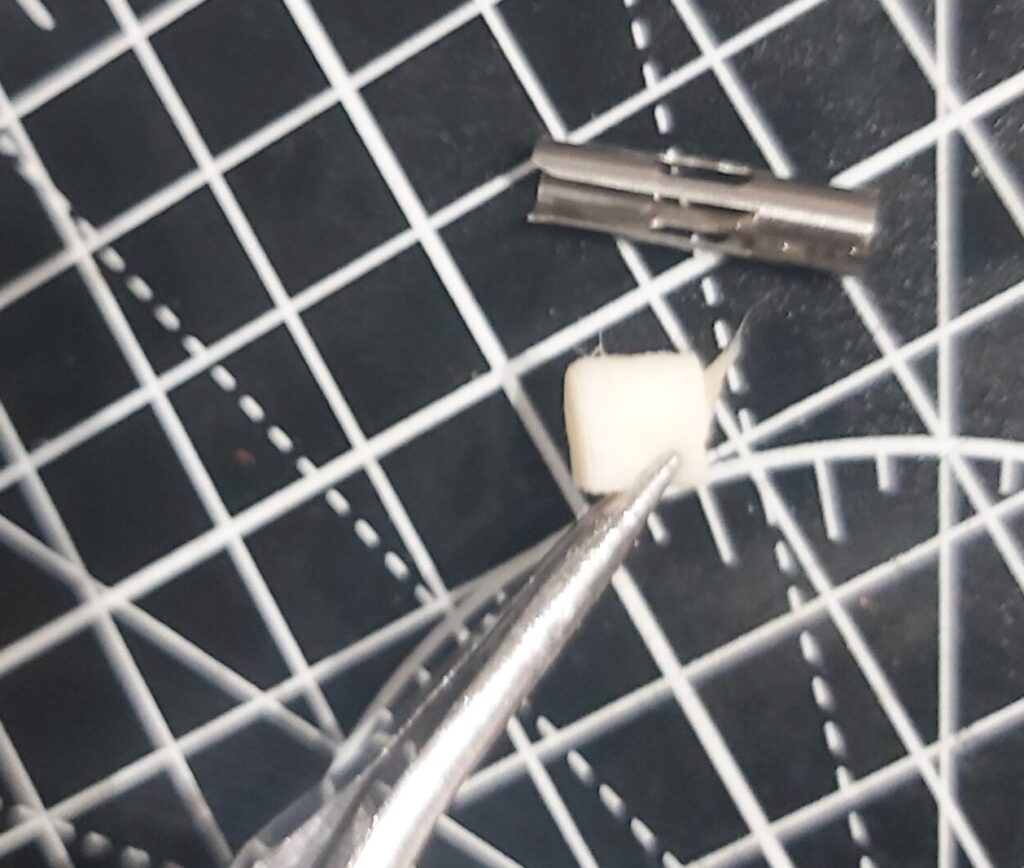
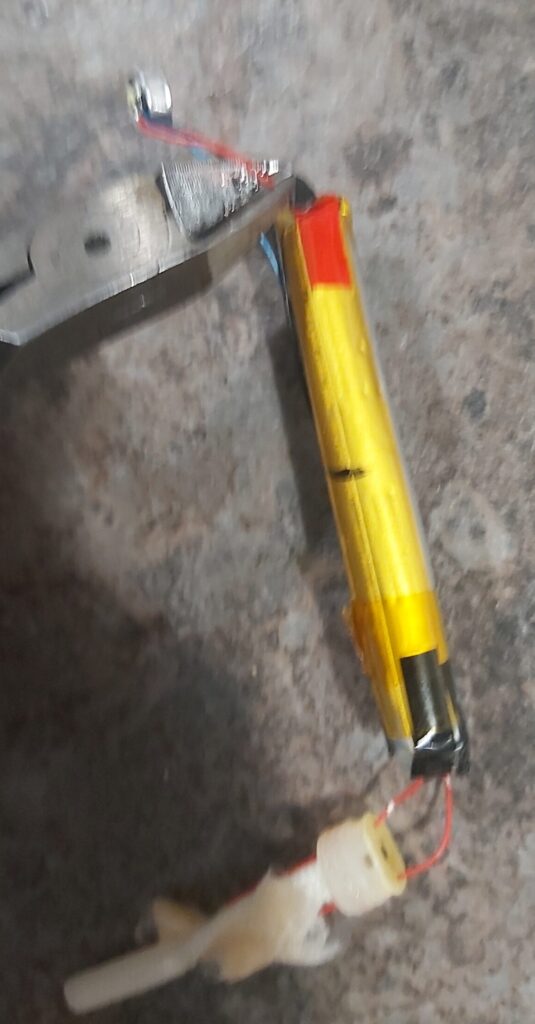
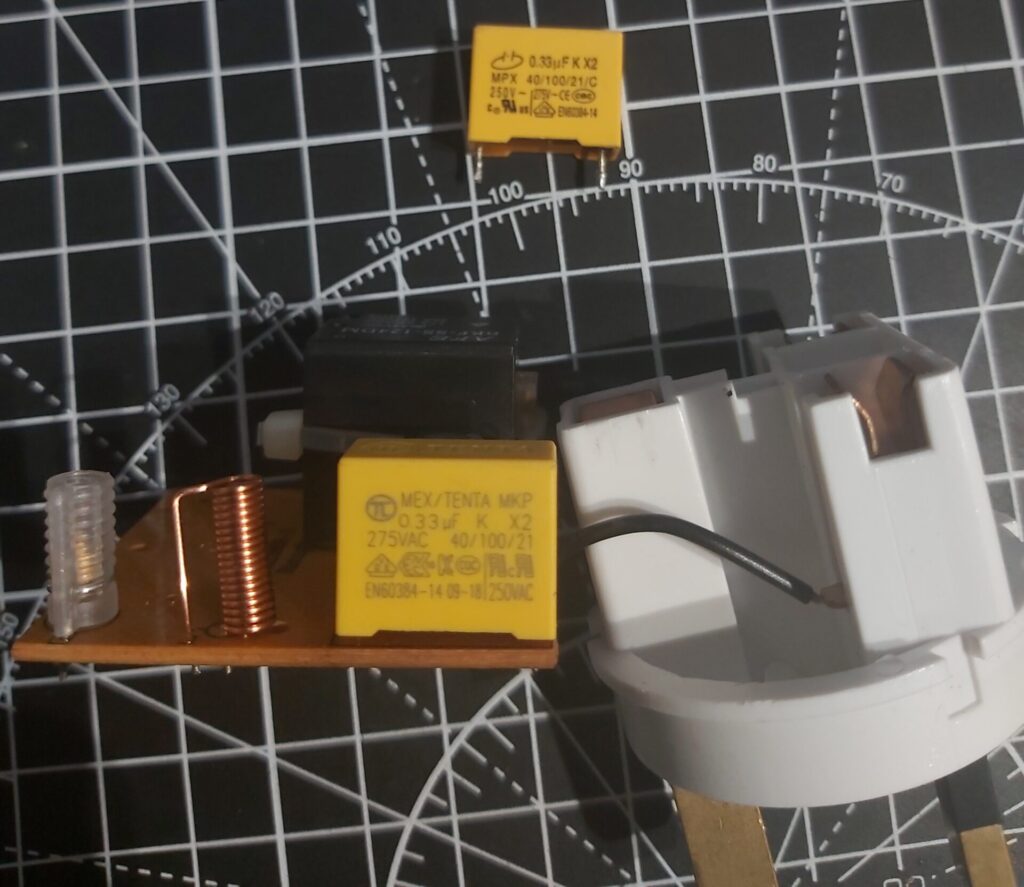
The big yellow capacitor is the safety capacitor and the specs are Safety Capacitor MKP or MPX X2 0.33uF 250-275VAC. The capacitor has a 15mm pitch, you can try to bodge in other pitches as there it some room in the case but for an easy life go for 15mm. I managed to find my replacements on ebay.
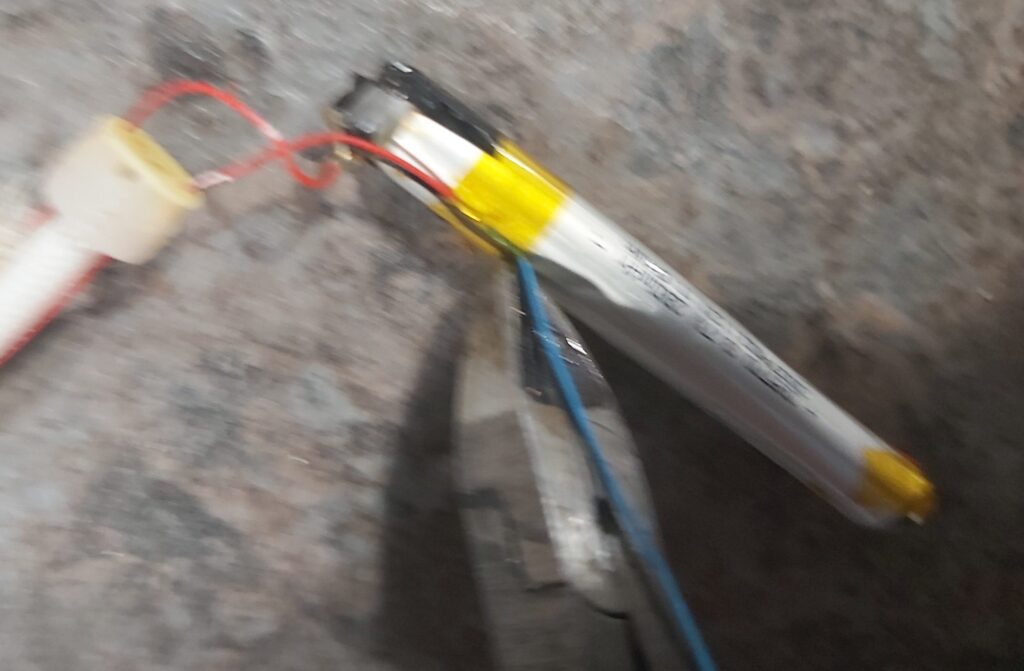
Use a soldering iron to heat up the old solder and if you have one use a solder sucker to remove the majority of the solder around the legs. Once you have done that can heat the legs and it should pull free of the circuit board. Once you take the old capacitor out then you can measure the capacitance with a multimeter to confirm whether its broken or not, the correct reading should be 322nF or 0.33uF. There was no visible damage to the capacitor I removed but it was only measuring 83nF so there was a definite problem.
Once the new one is in then you can start putting all of the parts back together and give it a test with the remote once the case is fully assembled. Never plug it in and test without the case being back on properly.
Finally check that the switches on the plug and remote control are all set correctly then hopefully you will have a few more years of operation.
This chap on Youtube has a video on this subject too that may be handy:
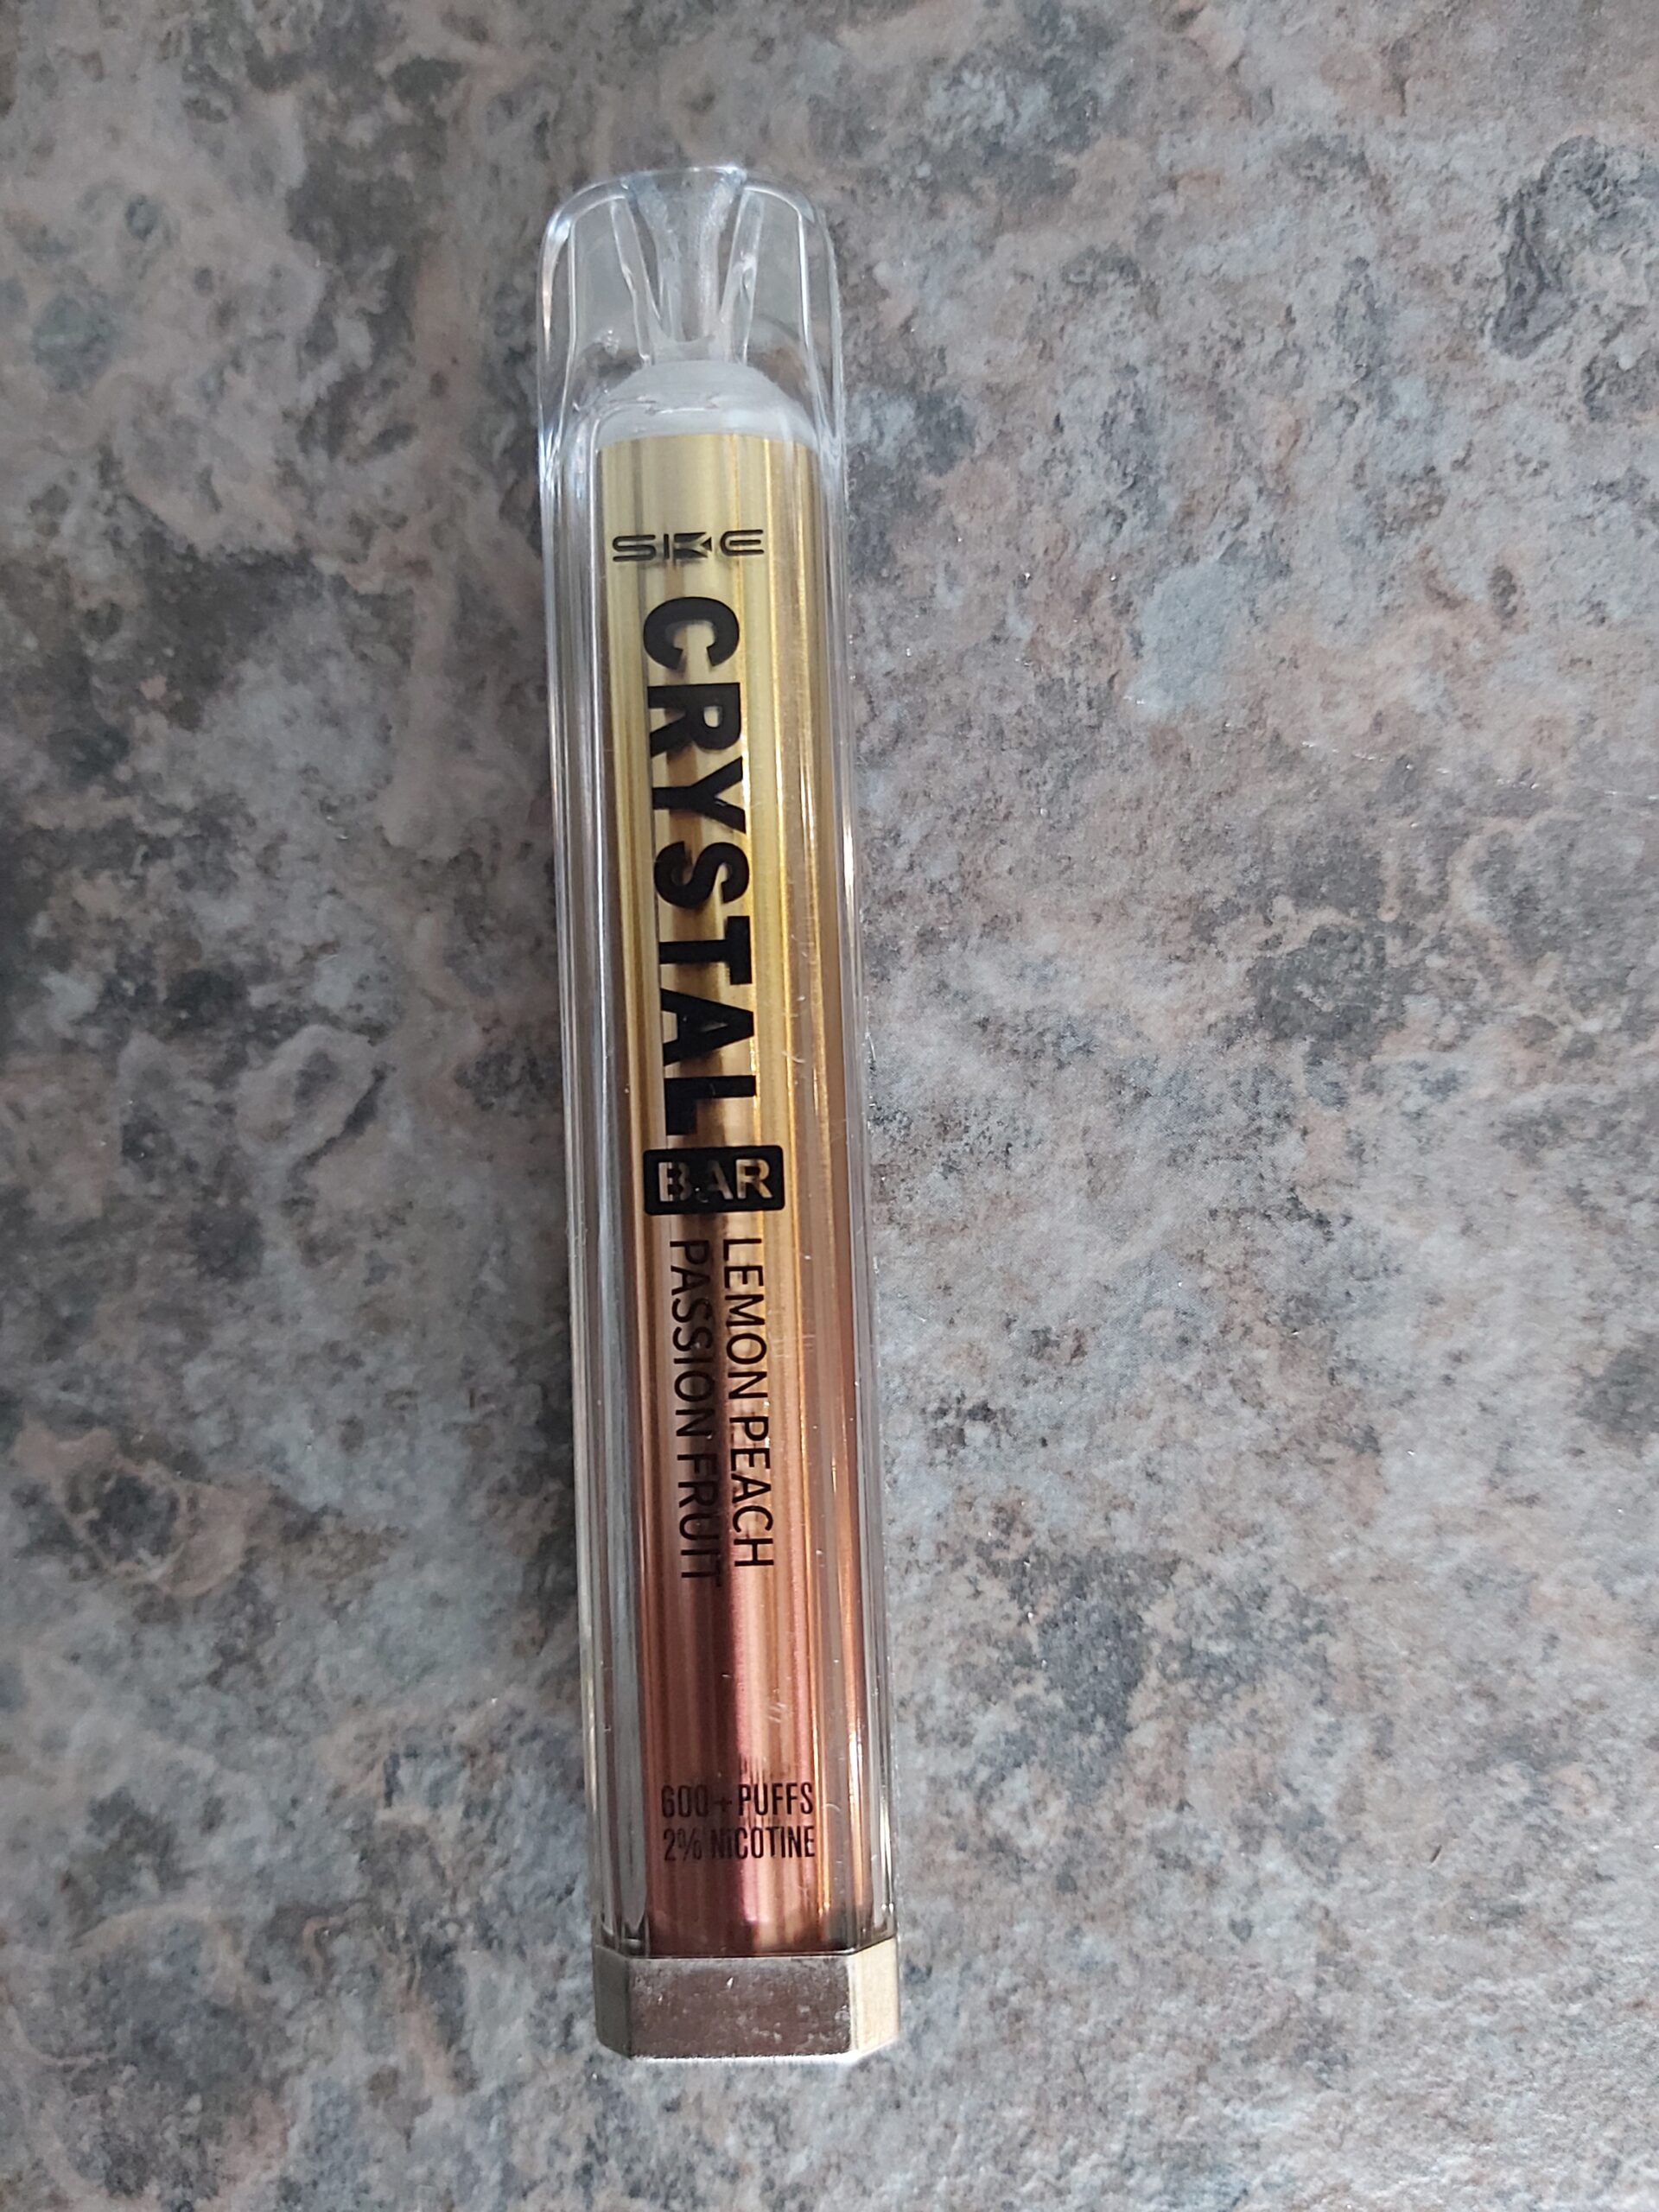
RSL3660R-UK UK Plug Programmable Wireless Remote Control Sockets Electrical Outlet Switch RSL-3660R-UK.