Runescape – Stealing Creations Guide

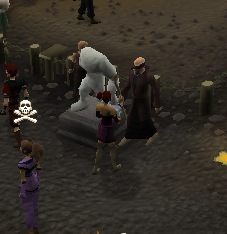
Stealing creation or SC for short is a member-only teamwork based mini game located in lvl 13 wilderness. On the game skillers and players killers work together to beat the opposing team.

The stealing Creations Portal

The stealing Creations Portal

How to get there?

How to get to stealing Creations

How to get to stealing Creations

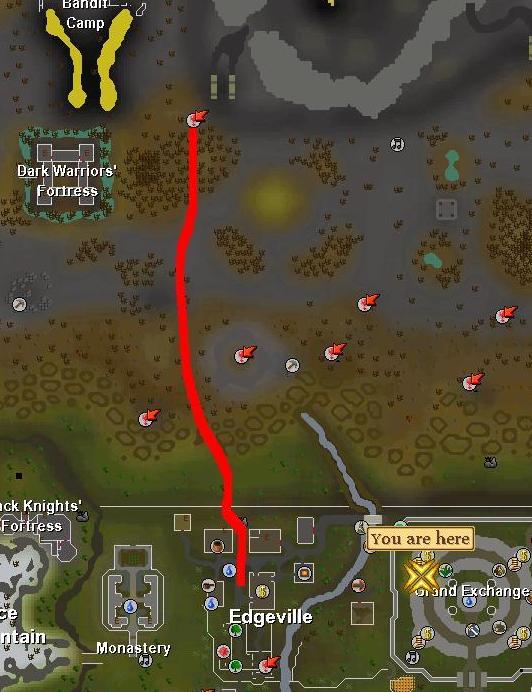
Stealing creation is located in the “Mystic camp” south-west of the wilderness volcano , and north of Edgeville and the Grand Exchange.

1_The easiest way to get there is using a games necklace to teleport to the wilderness volcano and then run south-west to the mystic camp.

2_If you got the ancient magicks spellbook you can cast carrallangar teleport ; this spell teleports you to the graveyard of shadows (next to clan wars) and then you just have to walk south-west to the mystic camp.

3_If you are in Edgeville or GE you need to jump the wilderness wall and run north until you reach the mystic camp. (BEWARE OF REVENANTS!!)

Getting started

Once in the mystic camp you need to talk to the HEAD MYSTIC (he is always south of the small purple portal).YOU CAN NOT BRING ITEMS TO THIS MINI GAME

Talking to the head mystic at SC

Talking to the head mystic at SC

After the tutorial you can choose two different styles of game : Clan match or Free for all match.

As the name suggest “Clan match” allows you to fight against different clans while Free for all is for anyone wanting to play the mini game ; you can choose a team by climbing over one of the two stiles (red or blue team).

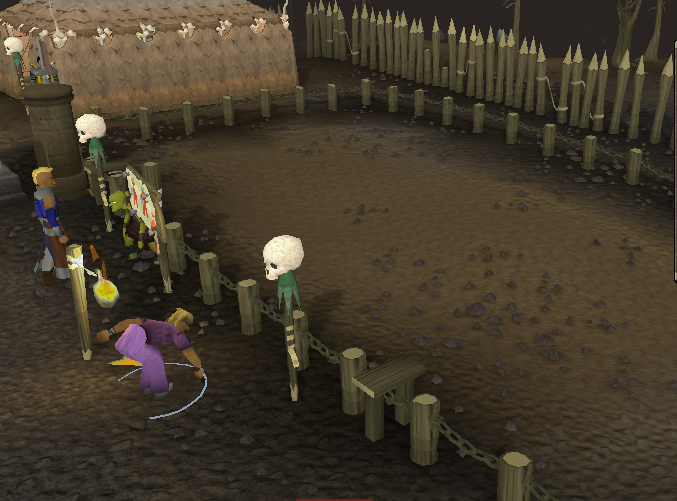
Free for all matches can be started by jumping into one of the fenced off areas located west of the portal.

Starting a free for all SC game

Starting a free for all SC game

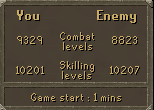
While you are waiting, you will see a small interface indicating how many combat and skill levels each team has and the numbers of players.

Number of players, combat levels and skills

Number of players, combat levels and skills

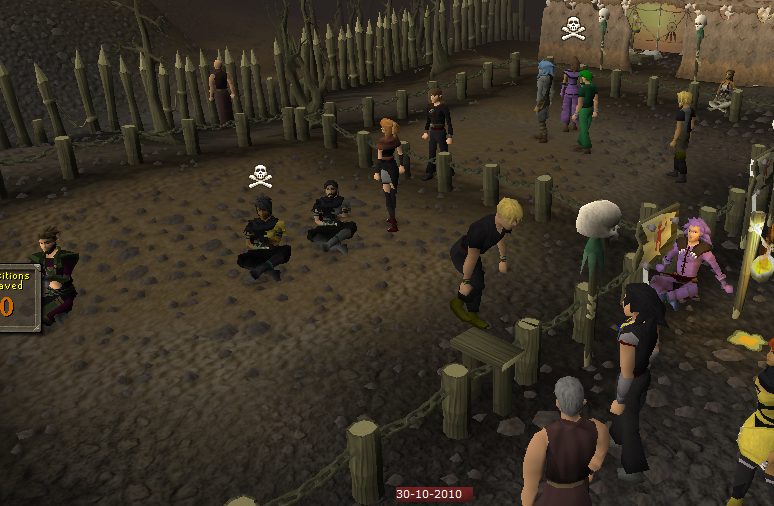
Clan matches can be started by entering the large waiting area located east of the portal.

Starting a clan SC game

Starting a clan SC game

The first member of a clan that enters the waiting area will be made CLAN LEADER ;the clan leader can issue challenges or offer alliences to other clan leaders.To do this you have to right click another clan leader and choose the option “ally” or “challenge” ; a clan can have a maximum of three allied clans.

Playing SC

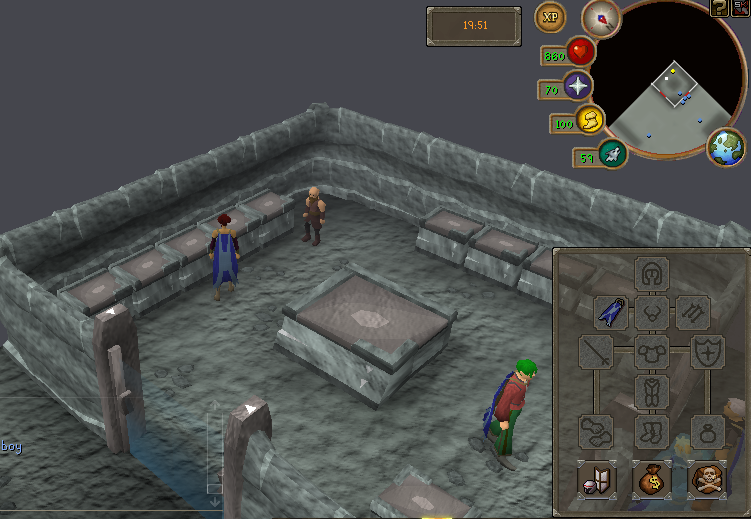
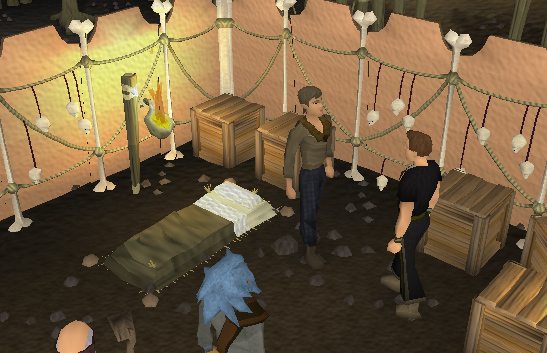
Once in the game you will be placed in a room with tables in which you or your team can deposit the sacred clay item they have made.

Start of an sc game - the lobby

Start of an sc game – the lobby

Once outside your team base there are two things you can do, be a skiller, or kill skillers ^^.

Gathering sacred clay

There are different ways of gathering sacred clay but each class of clay need a specific level.
lvl 1 —> no requirements
lvl 2 —> lvl 20 in the skill
lvl 3 —>lvl 40 in the skill
lvl 4 —> lvl 60 in the skill
lvl 5 —> lvl 80 in the skill

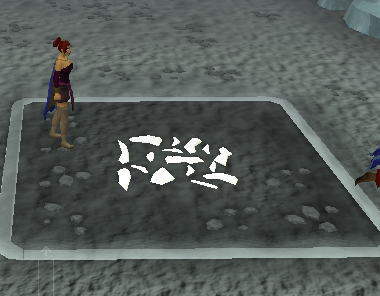
You can take sacred clay straight off the ground (lvl 1 ) and no skill is needed.

level one clay gathering

Level one clay gathering

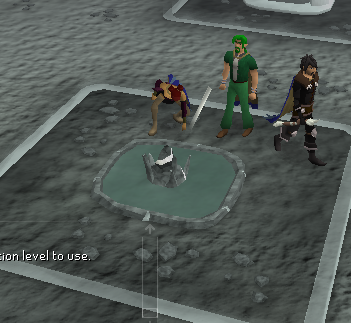
You can also harpoon it using the fishing skill ,you can see what lvl you need right clicking the pond.

fishing at SC to gather clay

Fishing at SC to gather clay

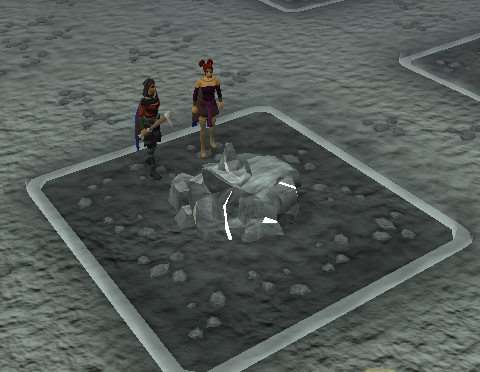
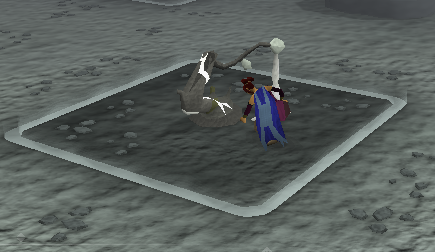
You can also mine sacred clay from a rock using the mining skill ,right-click the rock to see the level needed.

You can also harpoon it using the fishing skill ,you can see what lvl you need right clicking the pond.

Mining at SC to gather clay

Mining at SC to gather clay

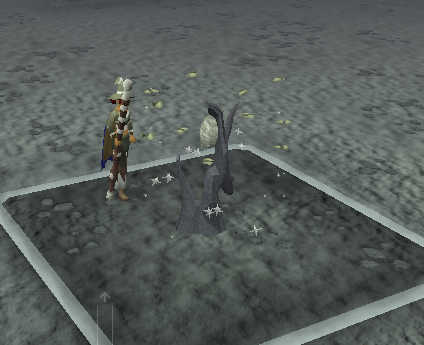
Similarly,you can chop sacred clay using the wc skill ,right-click tree to see level needed.

Woodcutting at SC to gather clay

Woodcutting at SC to gather clay

And finally,catch swarms of sacred clay using the hunter skill , right-click the swarm to see lvl required.

Butterfly catching at SC to gather clay

Butterfly catching at SC to gather clay

Creating items

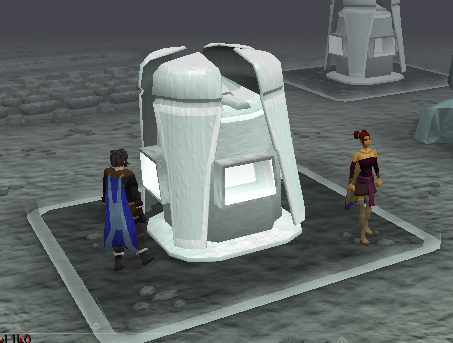
Once you got some sacred clay it’s time to look for a “creation kiln” click on it an a menu will appear.

SC Creation Kiln

SC Creation Kiln

This menu is divided in four sub-menu’s one tab for weapons,another for armour,equipment and potions.
Each item have specific bonuses and are taken away if you die or the game ends.Again, you will need a certain lvl to make different items.

Controlling Resources

To control a resource you need to build a barrier around it, you wil need different construction levels for different barriers.Only members of your team can cross the barrier however players of the opposing team can break down the walls and you will need to repair the barrier and remember the higher class the barriers , the more damage they can take.

Combat

Another way of helping your team is by attacking the other team members.Any foe you defeat will drop all of his items (not if he was using protect item prayer) which you can pick and deposit at your team base.If you die you will respawn either at your base or the closer resource your team controls.

Armour and food can be either made using the creation kiln or taken from your base ,but taking items from your base will reduce your score.

Food can be made from different sacred clay classes.
food class
class 1 —> 40 life points
class 2 —> 80 life points
class 3 —> 120 life points
class 4 —>160 life points
class 5 —> 200 life points

Pickpocketing

If you dont want to fight but still want free items you can always pickpocket players in game.
However you can only pickpocket players that got up to 20 lvls more than you in thieving.

Obstacles or life savers…

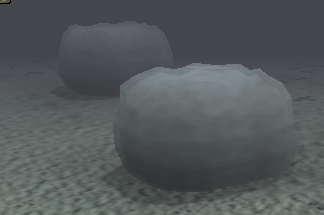
Fog banks: Once inside them , nobody can attack you or even see you in the mini map as you disappear from it.

SC fog bank

SC fog bank

Rift : All you have to do is click the rift to jump it.

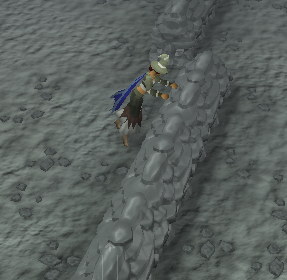
Wall: All you have to do is click the wall to jump over it.

SC walls

SC walls

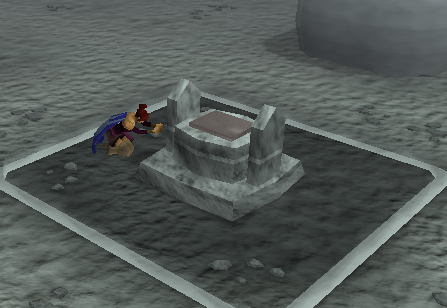
Altars: In this game altars not only recharge your prayer points but also your run energy and summoning points.

SC altars

SC altars

Familiars: can be summoned in game to carry sacred clay items and to fight foes , the familiar combat lvl depends on the type of clay used to produce the pouch.

clay class 1—> 1 item storage —> 25 cb lvl
clay class 2 —> 6 items storage —> 37 cb lvl
clay class 3 —> 12 items storage —> 58 cb lvl
clay class 4 —> 18 items storage —> 93 cb lvl
clay class 5 —> 24 items storage —> 139 cb lvl

Rewards

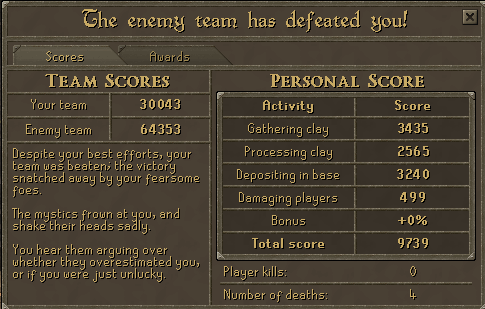
After 20 mins , you will be send back to runescape and an interface will appear showing your score your team score and what team has won.

SC rewards

SC rewards

The awards are:
Most clay gathered
Most processed clay
Most clay deposit
Most damage done
Most players killed
Most deaths
Highest personal score
Lowest personal score

To claim your rewards talk to the reward mystic east of the portal.

SC rewards

SC rewards

All reward items will give you double xp when training a certain skill.

Runescape – Guide To Hunting Revenants

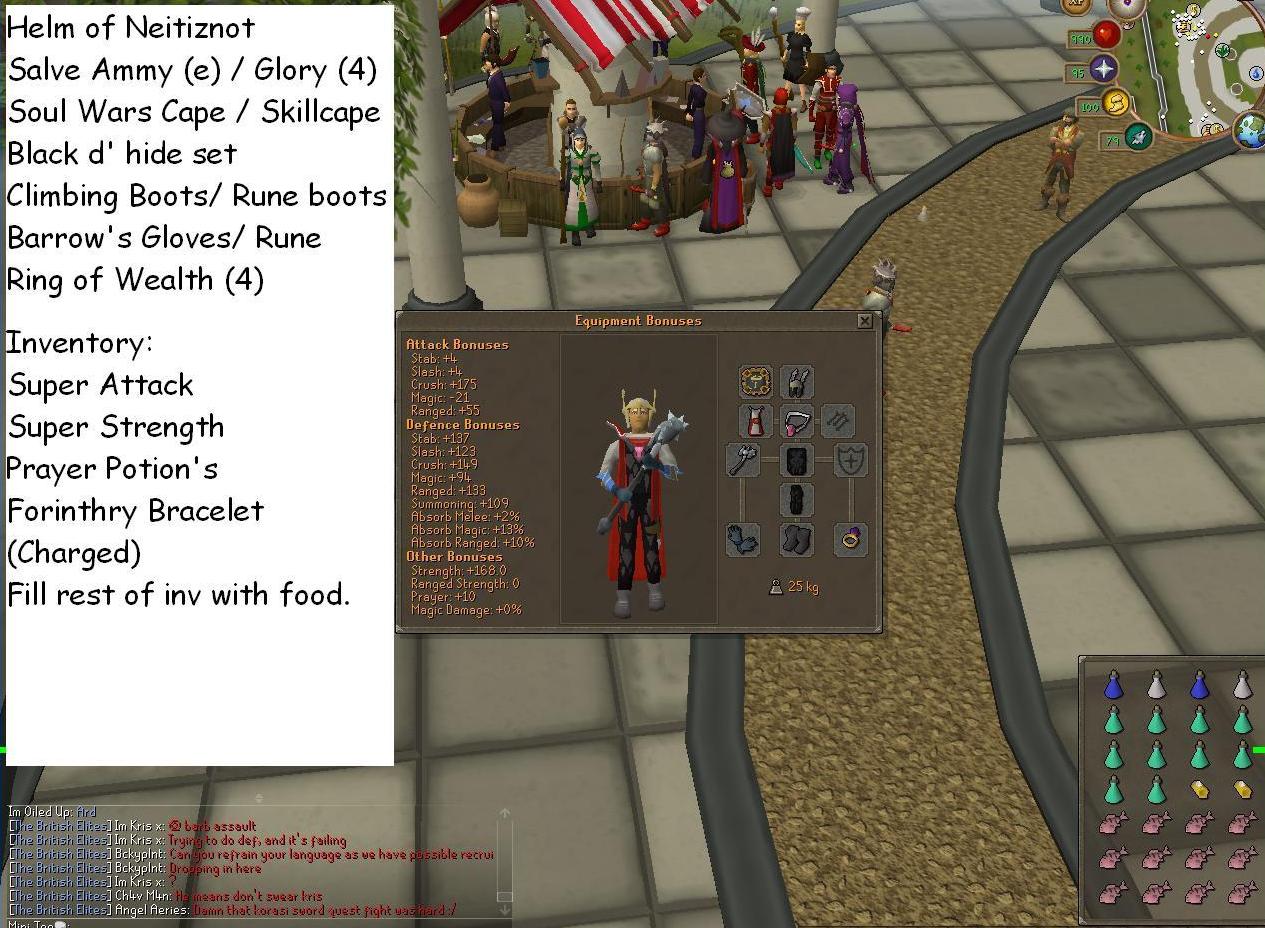
Rev hunting can be very profitable but also a little risky as it takes place in a pvp wildy area. This guide will show you what gear to wear to hunt them effectively without losing too much coin in the chance you get pked.

GEAR

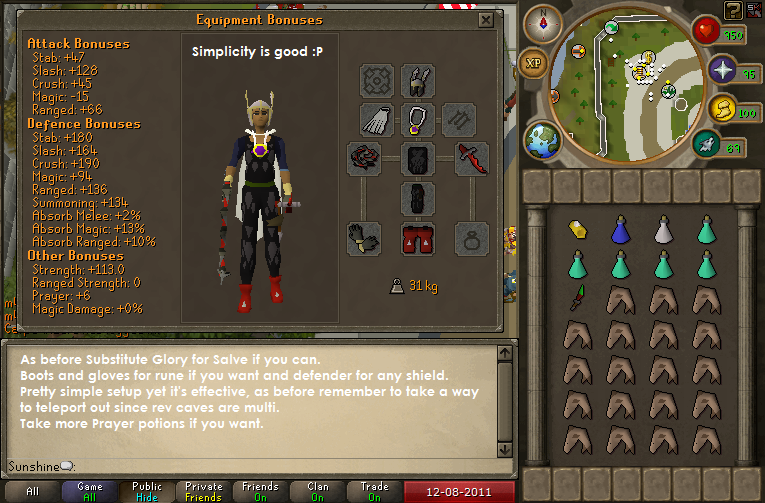
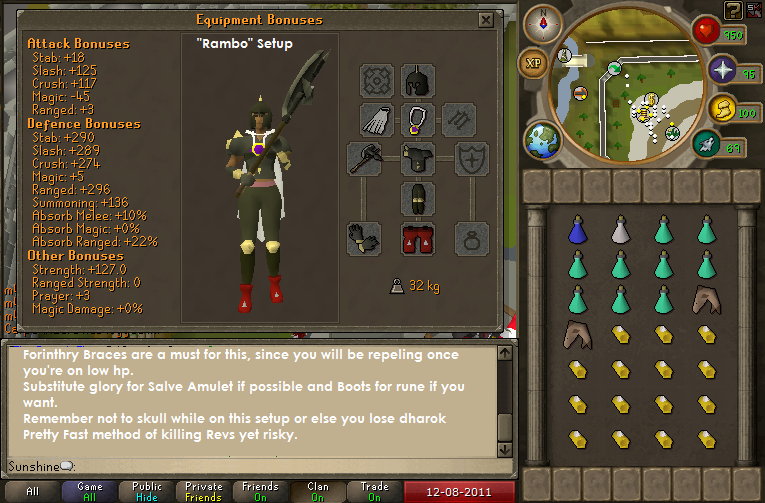
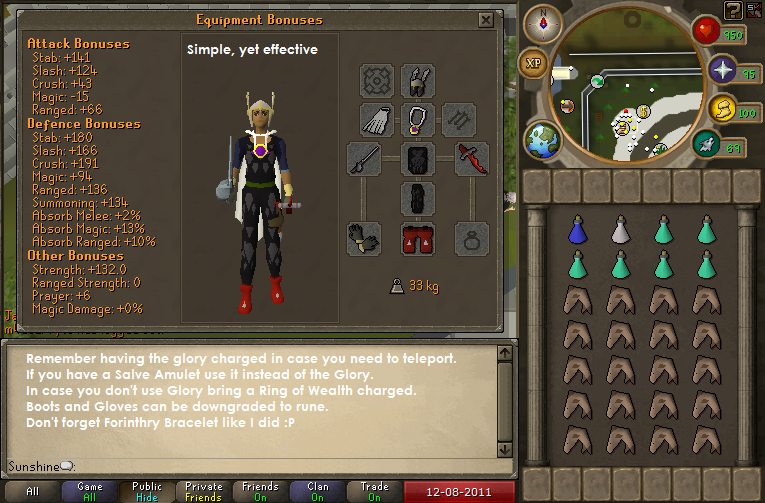
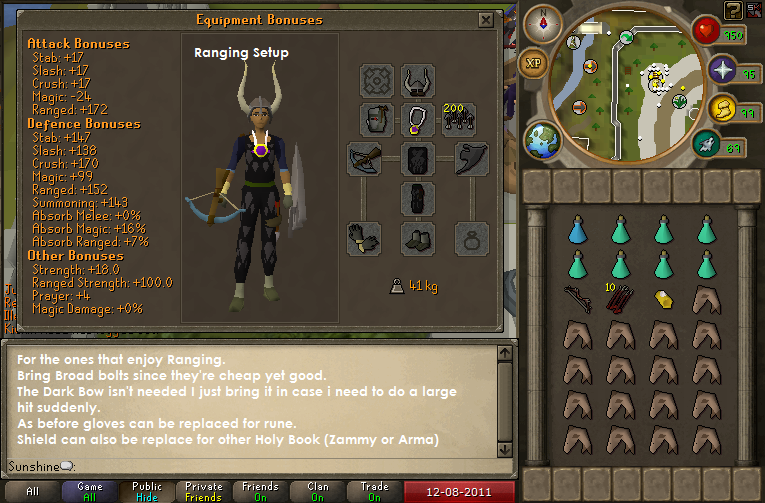
The bracelet in inventory is Forinthry Bracelet, you need to use this to “repel” the revs so that they don’t all attack you at once. Some setups:

Simple rev hunting gear thats effective and not that expensive

Simple rev hunting gear thats effective and not that expensive

With this gear you can kill the revs really fast if you are on low health

With this gear you can kill the revs really fast if you are on low health

Rev hunting rapier gear

My personal favourite since Revs are weak to stab and that’s what rapier is for, only difference between this and the first setup is basically no dds since with rapier you won’t need but you can bring it if wanted

Rev hunting ranging Setup

Rev hunting ranging Setup

Another setup for cheap and effective kills

Another setup for cheap and effective kills

Bring an antipoison if you feel like Killing the dragon without using charges on bracelet.

For familiars I wouldn’t recomment BOBs since they get attacked by the revenants a lot and you won’t want your supplies on the floor now would you? :p

Recommended familiars would be Bunyip Titans for healing and Unicorn.

Also remember to use repel on the bracelet if it’s your first time or else Revenants will be aggressive towards you and remember to re-do it every 1 hour.

Also remember! Revs are in wild which is a place where you can lose your items so don’t risk anything you’re not willing to lose

HOW TO GET THERE

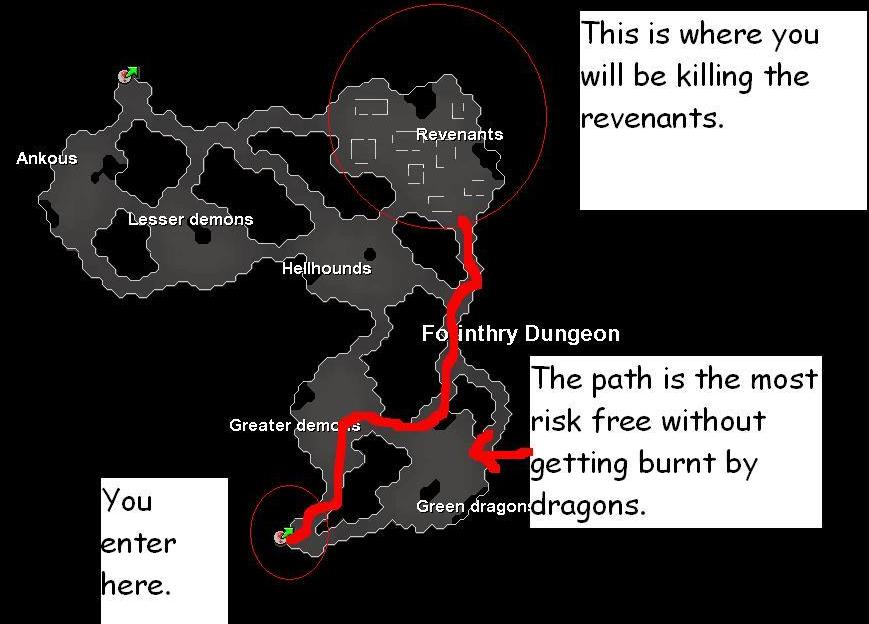
Revenants only found exclusively in the north-east corner of the Forinthry Dungeon in the middle of the Wilderness. Revenants of all types can be found here.

Whilst killing these monsters, you may encounter teams and single pkers.
If this happens i would advise using dragonstone enchanted jewellery to teleport out.

Re bank, hop worlds and head back up.

Entrance to the rev cave

Entrance to the rev cave

Once here Enter the cave

Getting through the cave to revs

Getting through the cave to revs

Once at the revs : Right click your bracelet and click repel, this will make the revs non aggressive to you for 1 hour

REWARDS AND DROPS

The Revenants will drop coins mostly but you can get some very valuble drops as seen below

Statius’s Warhammer
Statius’s Full Helm
Statius’s Platebody
Statius’s Platelegs
Vesta’s Spear
Vesta’s Chainbody
Vesta’s Chainskirt
Vesta’s Longsword
Zuriel’s Hood
Zuriel’s Robe top
Zuriel’s Robe skirt
Zuriel’s Staff
Morrigan’s Coif
Morrigan’s Top
Morrigan’s Chaps
Morrigan’s Axe’s
Morrigan’s Javelin’s

ALL THEESE DROPS CAN BE GAINED IN THE CORRUPT VERSION TOO

You can also get Stattues which can be exchanged in Edgeville to Mandrith

Broken statue 5,000gp
Third age carafe 10,000gp
Bronzed dragon claw20,000gp
Ancient psaltery bridge30,000gp
Saradomin amphora40,000gp
Bandos icon 50,000gp
Saradomin icon 75,000gp
Zamorak icon 100,000gp
Armadyl icon 150,000gp
Guthixian brazier 200,000gp
Ruby chalice 250,000gp
Bandos statuette 300,000gp
Saradomin statuette400,000gp
Zamorak statuette 500,000gp
Armadyl statuette 750,000gp
Seren statuette 1,000,000gp
Ancient statuette 5,000,000gp

IF YOU HAPPEN TO OBTAIN A DROP FROM REVENANTS IS TO TELEPORT OUT AND BANK.

Corrupt Dragon equipment can be gained as a drop too these contain :

Chainbody
Medium Helmet
Platelegs/Plateskirt
Square Shield
Spear
Battleaxe
Dagger
Scimitar
Mace
Longsword

More very rare drops you can obtain are brawling gloves used for 4 x the experience in the following skills:

Agility
Cooking
Firemaking
Fishing
Hunter
Magic
Melee
Mining
Prayer
Ranged
Smithing
Thieving
Woodcutting

Producing Works Of Art From Skyrim Screenshots

I have been playing around with Skyrim images on Photoshop and produced some wonderful works of art as a result. Here I show some very simple ways to have a go yourself.

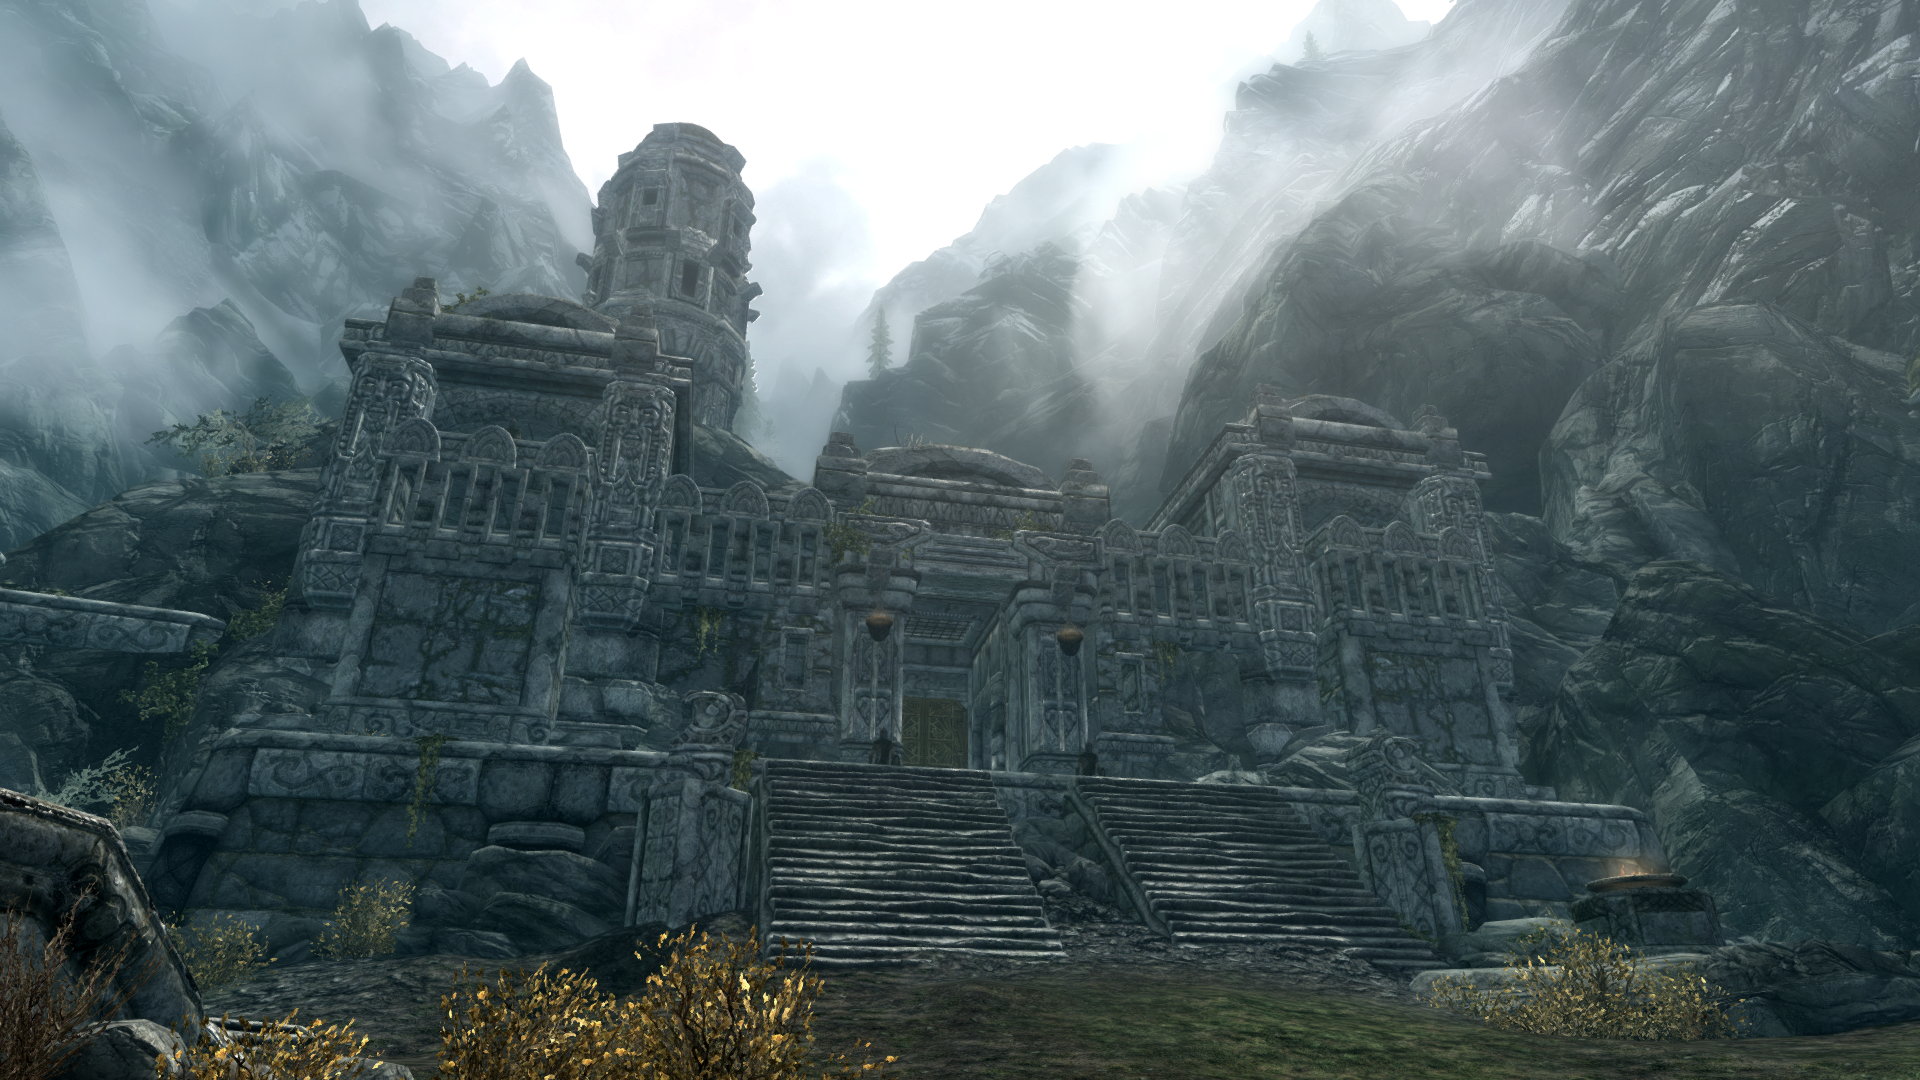
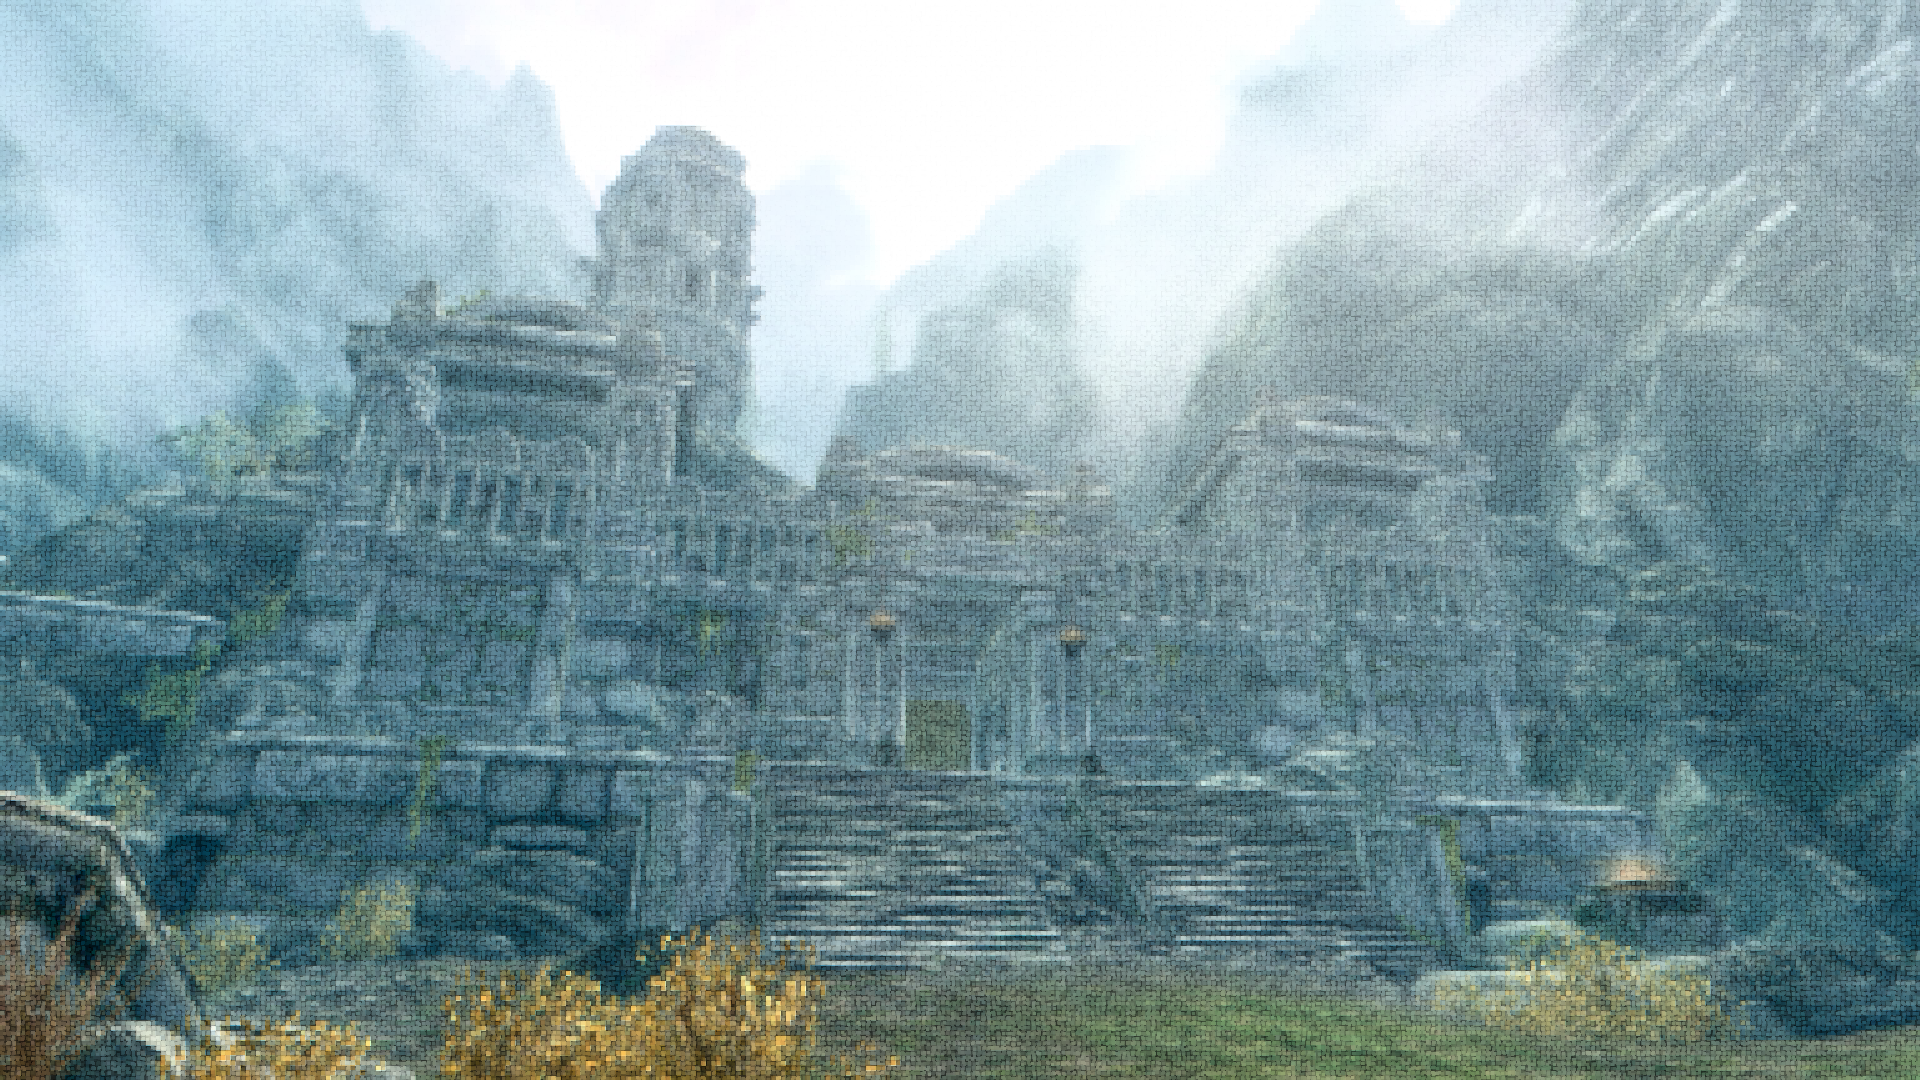
Here is the original image taken from the game, I think this game is so well done that the screenshot is a work of art in itself!

rpgskyrimscreenshotart1
Skyrim Screenshot Art Original Image

You can see how easy it is to manipulate this image in the below picture. Adding a simple patchwork filter to the image produces the following effect, making it seem as is the image has been stitched together:

rpgskyrimscreenshotart2
Skyrim Screenshot Art Patchwork Image

Another filter can be applied to make the image look like it has been drawn with chalk on a blackboard:

rpgskyrimscreenshotart3
Skyrim Screenshot Art Chalk Image

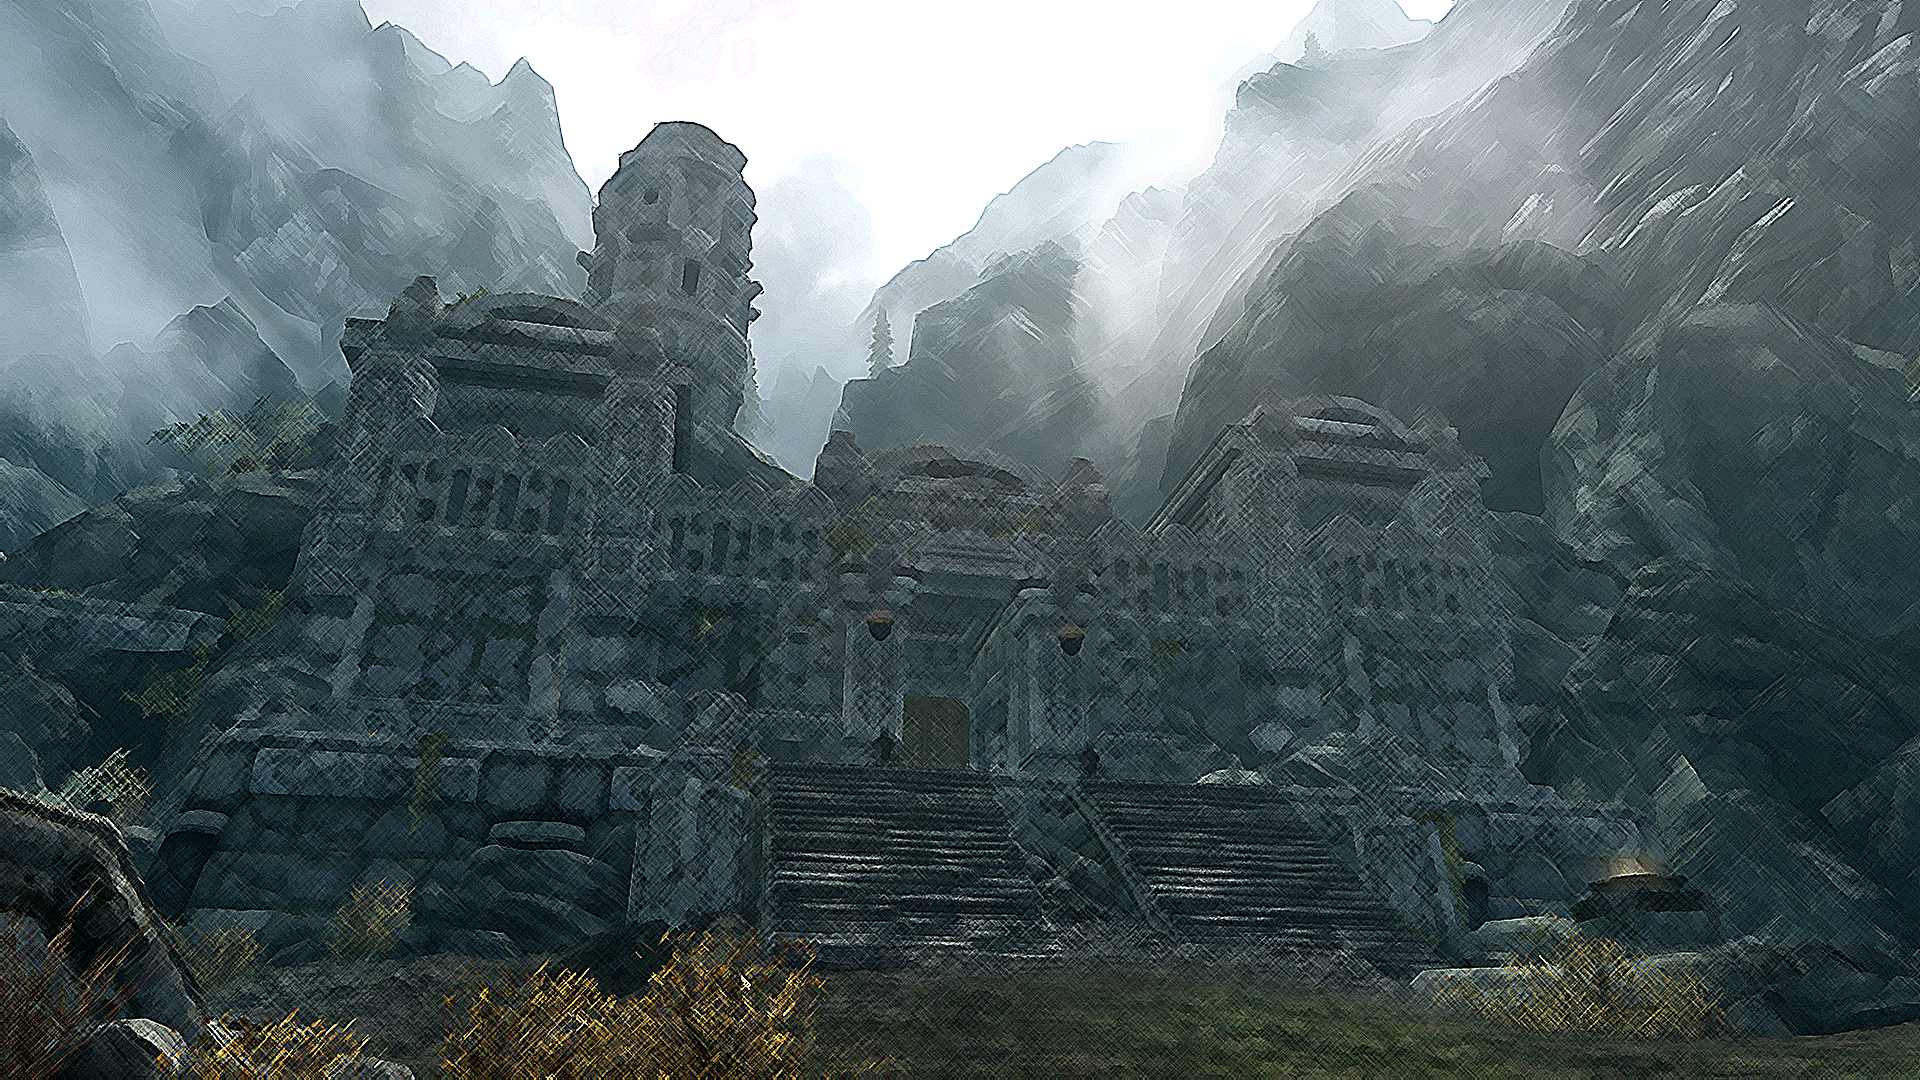
Using a brush stroke filter you can achieve a nice little painting look-a-like:

rpgskyrimscreenshotart4
Skyrim Screenshot Art Crosshatch Brush Stroke Image

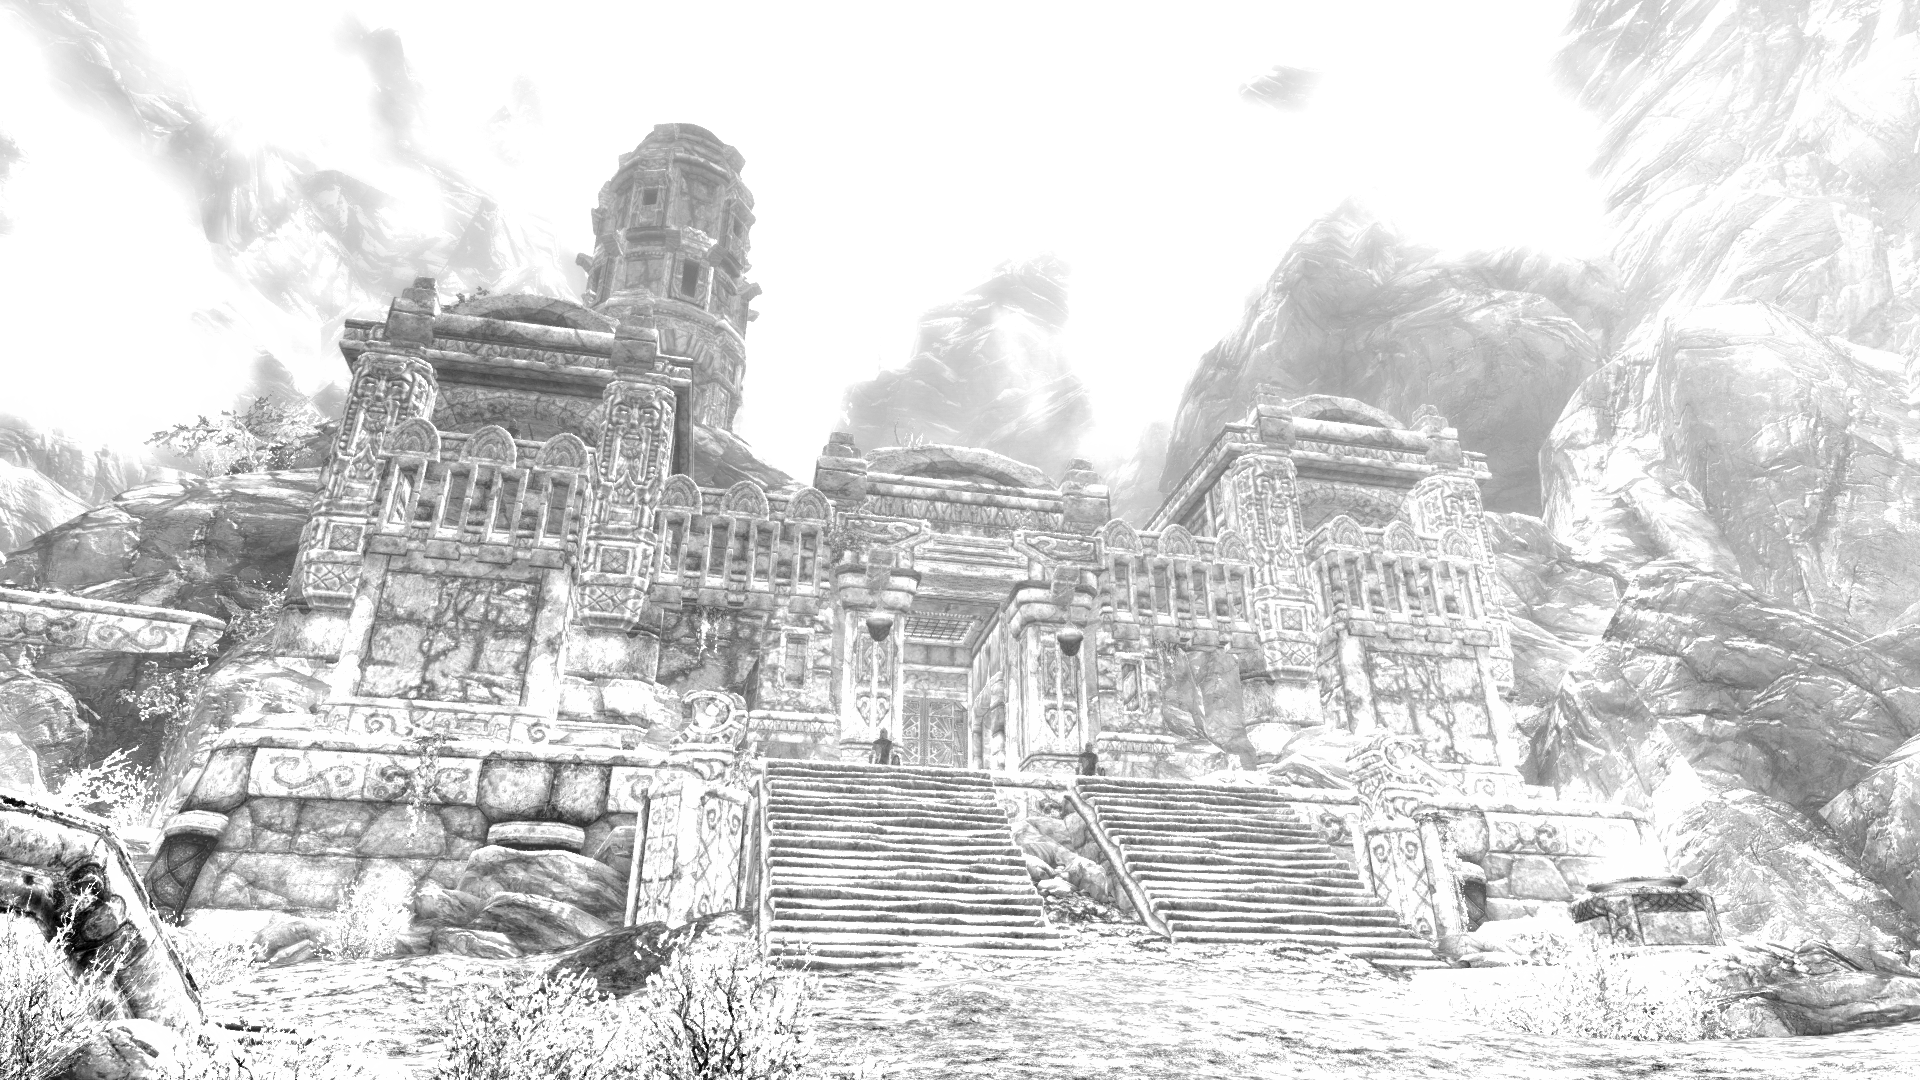
Finally, you can really go to town on manipulating an image, it took me a whole five minutes to make something that looks vaguely like I have drawn the whole thing with a pencil! Have a look below:

rpgskyrimscreenshotart5
Skyrim Screenshot Art Pencil Image

Runescape – Fishfling Guide

A nice distraction for fishing experience….

This is a safe minigame.
No items required.

To begin this game you need to find a fisherman

Fisherman Locations:
Catherby
Piscatoris
Fishing Guild (inside and outside the gates)
Shilo village
Gunnarsgrunn

The Fisherman
After speaking to a fisherman he will give you 10 competition tickets which you can use per week.

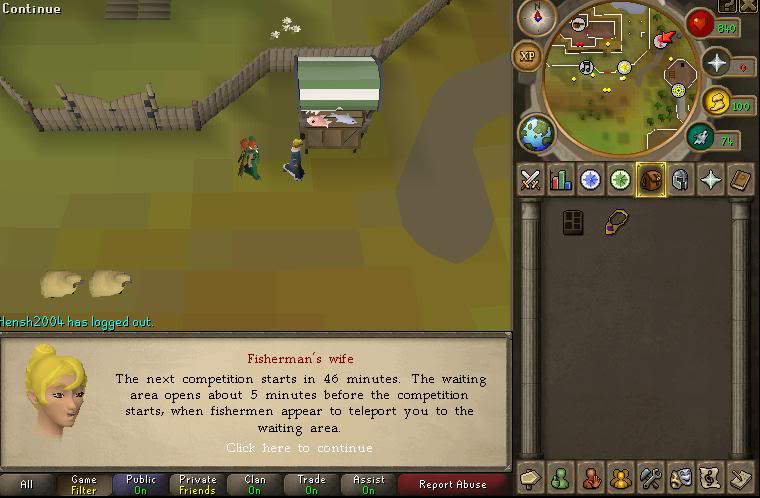
Best practice to use a skills necklace to teleport to the fishing guild. Until you win your first tackle box which will give you the time of the next game you can ask the fisherman’s wife when the next competition will take place. The fisherman will not be around until 5 minutes before the competition starts (hes probably down the pub or something).

Fishfling Guide - Time to Next Game

Fishfling Guide – Time to Next Game

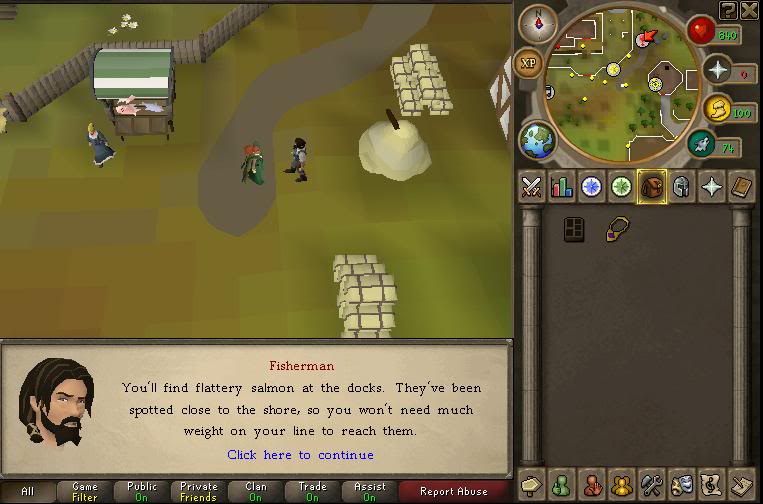
When he appears before you let him teleport you to Isla Anglerine ask him for any tips he has got about the fish. They are pretty general but are of this ilk:

Fishfling Guide - Teleport and Tips

Fishfling Guide – Teleport and Tips

Frankly I can’t be arsed with the clues, there’s enough time to work it out without them I managed to cut and paste all the screenshots in the same time but why not – use them if you want.

The Lobby
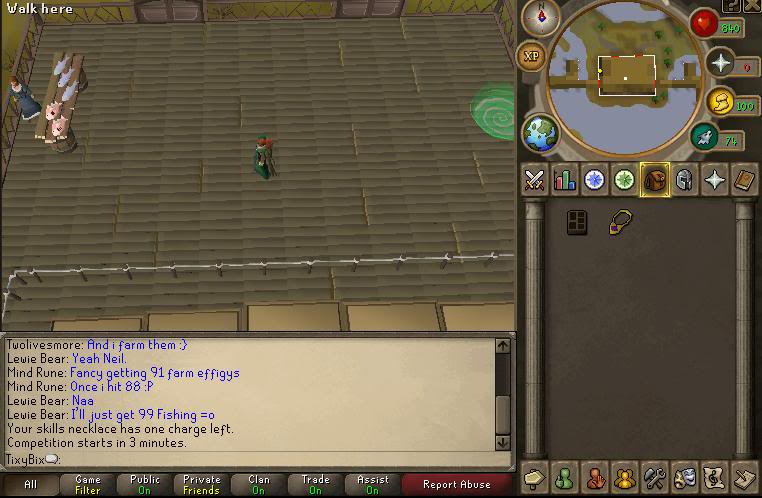
So here you are in the lobby.

Fishfling Guide - The Waiting Lobby

Fishfling Guide – The Waiting Lobby

The time spent here is normally used if other players show up to decide whether you want to work as a team or go solo. The indication that the game is about to start is when the word loading appears in the left hand top of the screen – to get ahead of the competition click when you see that coming. The game does count you down by the minute but those extra precious seconds are useful!

There are two main strategies to getting points in this game – finding the six 100% combinations of fishing tackle and getting the heaviest fishing haul that you can in 15 minutes. People who are going for exp only will just find the heaviest fish and not move around but may try and steal your combinations to maximise at the last minute. Don’t be bothering yourself with this nubberlight.

There are two medals up for grabs every round, one for 3 combinations and two for the 6. This guide will show you how to find the six and fish like your life depends on it maximising exp and medals so that you can get the fishing tacklebox reward (which isn’t brilliant tbh but you have to collect them all eh Jeppy?)

The Game
There are four areas – the docks, the river, the lake and the beach. You can do them in any order with six fish to find – so two areas house two fish. This is totally random.

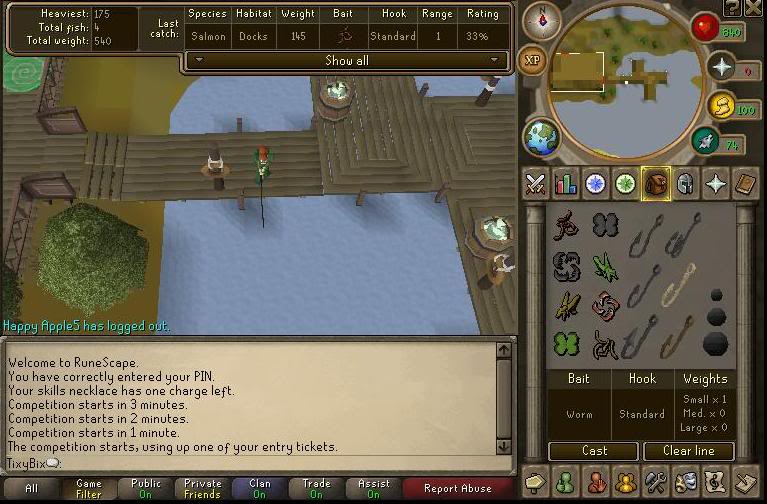
I always start at the docks to the east. As near as I can to the beginning of the jetty and immediately hook up this combination: worms, standard and one small weight. Lucky me I got 33% straight away – I must have got something right – the question will be what?

Fishfling Guide - Starting At The Docks

Fishfling Guide – Starting At The Docks

There is a system to this and it is infallible. We have to get 100% combination. It is sheer luck if you get near it on first hit. 33% for hook, 33% for the bait and 33% for the weight. Yes I know that adds up to 99% but stop being so flipping pedantic.

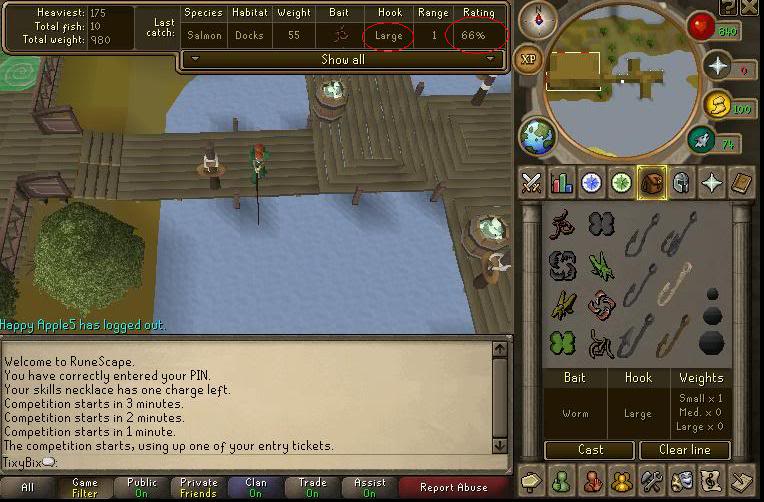
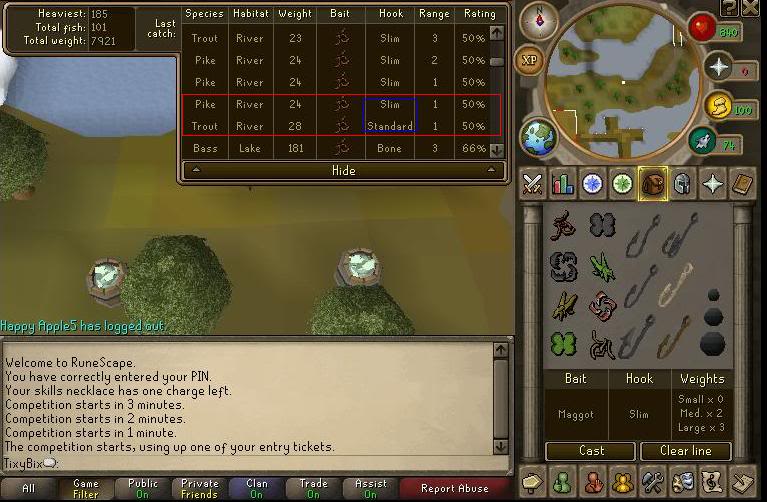
I always start with the hook – this is easiest. There are six hooks and they are in pairs. Standard and Slim, Large and Double and Bone and Hook. You need to be watching this line very carefully at this point. Watch that percentage its’ going to do one of three things, go up, go down or stay the same. If it goes up you are on a winner and you could switch for other in pairing to see if it goes up again, if it goes down then the last one you had was better go back to it and if it stays the same then you need to move to the last set of three. By power of deduction, you should find the optimum hook.

Fishfling Guide - Finding The Right Hook

Fishfling Guide – Finding The Right Hook

Now we need to move on to the weight. The percentage is going to be at LEAST 33% if not more after the hook – watch that percentage figure as you try the weights. That first small weight is range 1. This is the basic table of how you get the various weights:

1 small = range 1
1 small and 1 large = range 2
1 small and 2 large = range 3
1 small and 3 large = range 4
1 small and 4 large = range 6
2 medium and 3 large = range 5

Look I didn’t make this game – heaven knows whey 1 small and 4 large don’t make 5 but who are we to question eh?

This is the strict order that you place the weights on your rod. You need to click and wait for the change to happen. I think it’s safe to say that if you have only 1 small weight on and it’s only at 33% you can probably jump a couple of weights. You are looking to increase your hook percentage by a further 33%. When you find the right weight we are on to the last step, which is the bait.

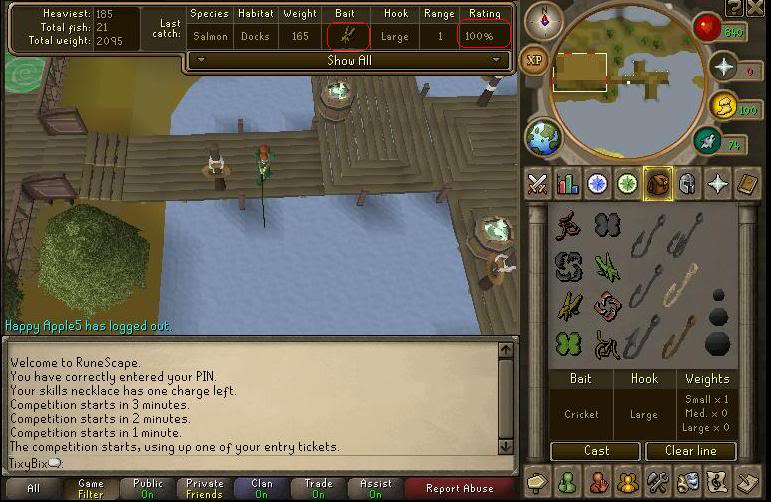
Fishfling Guide - Finding The Right Bait

Fishfling Guide – Finding The Right Bait

The bait which although has 8 options are categorised by shape and colour. If you are closing in on the 100% only move one step away to the bait you are using – red worm to maggots (brown worm) or to shrimp – (red) if you are way off then you will need to jump to two away at least to save time so if you are red worm go the distance to brown cricket or the other way to crayfish.

Watch the fish that you are catching as you are switching as this is when you ideally need to find the double fish in an area. Note the change in fish and why it changed but refocus on the fish you are doing. When you have got that one open up the table and put the settings to the other fish to start finding that one.

Fishfling Guide - Changing The Fish Type

Fishfling Guide – Changing The Fish Type

The heaviest fish is 199 – this fish will always have a 9 at the end of its number. In this game it was the herring. If I have found this fish I normally catch a few while I am there in hope of snagging the 199 as this helps your exp. If I don’t catch it within about 6 fish I move on and come back at the end. If you want weight over medals just keep fishing at the 199 to try and get the heaviest haul you can.

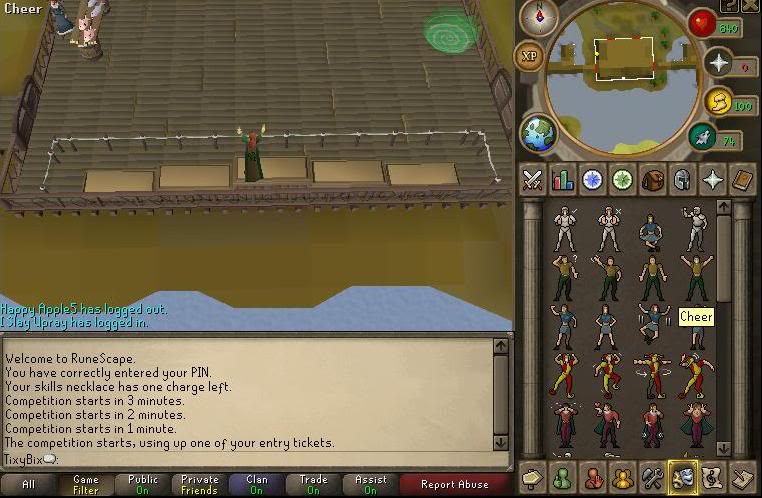
At the end of the 15 minutes you are teleported to the lobby – if you are in the first five you get to stand on the podium – if you get first place you can stand there making winning style emotes but you will find yourself on your own pretty quick as people tend to jump off and fly out of the portal.

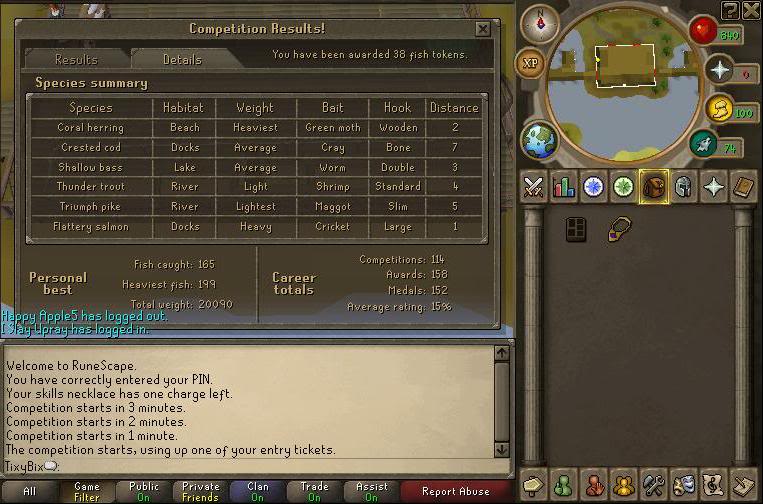
Fishfling Guide - The Competition Results

Fishfling Guide - The Competition Results

Fishfling Guide - The Competition Results

Fishfling Guide – The Competition Results

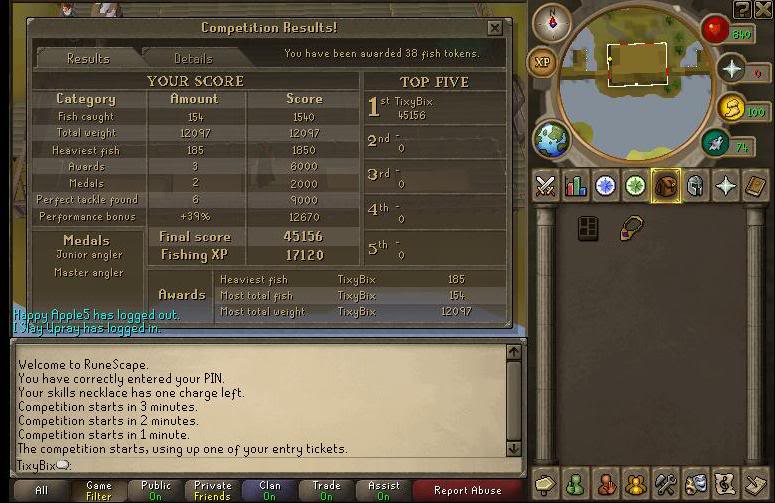
Your Score
Your competition details will come up at the end of the game and here comes the boring numbers bit. You will be judged on the following:

1. Total fish caught x 10
2. Heaviest fish x 10
3. Number of awards x 2000 (obviously playing on your own helps!)
4. Number of medals x 1000 (less than six is really irritating but there was a glitch at one point where the salmon didn’t show up if in same area as pike think this is fixed)
5. Perfect Tackle Found x 1500 (not really sure how they get this number could be randomly generated for all I know)
6. Bonus for Performance – I got 39% and challenge Jagex to tell me why.

The overall score is 1 – 5 added together and multiplied with 6. There is a cap of 40k of points with them maximum experience points given of reportedly 20k – I tend to get 17k unless the kids are driving me nuts or a Tesco delivery shows up

The Missing Medals
Yes TixyBix, but what about those two other medals you can get you are thinking. Well I say, I have never got them because I am a combination hunter but there are two others for grabs

Junior Angler -three 100% combinations
Master Angler – six 100% combinations
Heavy Catch -80% of fish caught being of the heaviest species (remember nubberlight up there?)
Efficient Fisher -average of 80% catch rating for each species you caught

Fishing Tokens
For every four fish you caught you will get a fishing token these can be used to trade in with the fisherman’s wife for either fish or a tackle box which take a combination of medals and tokens to get.

Beginners Tackle Box is 20 medals and 110 tokens
Basic Tackle Box is 50 medals and 230 tokens
Standard Tackle Box is 110 medals and 470 tokens
Professional Tackle Box is 230 medals and 900 tokens
Champions Tackle Box (so the legends speak of) is 500 medals and 1860 tokens

These can be replaced free of charge should you be marauding round the wilderness with it looking for penguins from the fisherman’s wife ( she probably could use the company) and they have slots for fishing tools and bait starting with one of each. The first boxes ability to tell you the time of competitions is a far greater reward although the fisherman’s wife won’t see you so often…

The last box gives you five fishing tools slots 3 bait slots which can hold 1000 bait and two slots for gloves.

This will give you more bank space but I think its safe to say that it is not applauded as one of the greater rewards in the world of Runescape.

There is probably more to add to make this guide the most informative but you weren’t planning on going on mastermind as a specialised topic were you? The main thing is this – its fun, it gives me about 68k an hour fishing exp and 170k fishing exp a week with my ten tokens in 2 and a half hours and is a welcome break from flogging the monk fish to death.

Enjoy!

Runescape – Castle Wars Guide

Introduction

Castle wars is a Runescape spin on the well known game Capture The Flag. The rules of the game are similar; to score a point you must capture the opponent’s flag in their base, and take it to your own base. The team with the most points at the end of the 20 minute long game wins.
Simple though it is, there are various tactics and hints that can help you win for your team. I will address these in my guide.

Equipment

As far as equipment is concerned, I always try to bring at least 2 styles of combat when playing Castle Wars, if not 3. In Castle Wars capes and helms, and food are not allowed so that is why they are not present in my equipment guide. I’m going to assume that you are able to afford and wear rune and above items, if you aren’t then just wear the corresponding lower levelled items. I’ll also assume you can’t afford the new ancient armours (Torva/Pernix/Virtus), if you can then you won’t need this guide!
Top tip – bring Ava’s device from animal magnetism to Lanthus to receive the effects of Ava’s device during castle wars.

Gear – Melee

Castle Wars Melee Gear

Castle Wars Melee Invent

Gear & Invent – Melee

Weapon: Chaotic maul/CLS/CR>Godsword>Whip>Korasi>Dragon scimitar
Platebody: Barrows>Bandos>Dragon>Rune
Platelegs: Barrows>Bandos>Dragon>Rune
Shield: Dragon defender>Rune defender
Amulet: Fury>Glory>Power
Gloves: Best RFD gloves>Regeneration brace>Combat brace
Boots: Dragon>Rune (or infinity if mage defense is an issue)
Ring: Berserker>Warrior>Recoil
Ammo: Best you can afford for the corresponding weapon

Inventory

As extra items I like to bring a spec weapon, a ranging body for magic protection, a bow if you are binded, and a shield for tanking.

Spec weapon:
Defensive: SGS>Enhanced Excalibur>Excalibur
Offensive: Dragon claws>AGS>Korasi>Dragon dagger
Body: Karils>Arma (negative melee bonus)> D hide
Shield: Divine>Elysian>Chaotic shield>Spectral>DFS>Arcane>Blessed>Spirit shield>Rune kite
Bow: Chaotic crossbow>Rune crossbow>Crystal bow>Magic shortbow
Potions: Extreme melee>Super melee>melee potions
Pouch: The best you can use

Gear – Ranged

Castle Wars Range Gear

Castle Wars Range Invent

Gear & Invent – Range

Weapon: Chaotic crossbow>Rune crossbow> Crystal bow>Magic shortbow
Body: Armadyl>Karils>Dragonhide
Legs: Armadyl>Karils>Dragonhide
Shield: Divine>Elysian>Chaotic shield>Spectral>DFS>Arcane>Blessed>Spirit shield>Rune kite
Amulet: Fury>Glory>Power
Gloves: Best RFD gloves>Dragonhide vambraces
Boots: Ranger boots>Snakeskin
Ring: Archer>Recoil
Ammo: Best you can afford for the corresponding weapon

Inventory

In the inventory I like to bring some melee platelegs in case I am outnumbered by attackers, and I need to boost my defence, and I bring a spec weapon, potions and a familiar. You can also bring a few enchanted bolts to in your inventory to unleash devastating special attacks. If you bring a spec weapon with different ammo you will also need that type of ammo in your inventory.

Spec weapon:
Defence: SGS>Enhanced Excalibur>Excalibur
Offensive: Dark Bow>Magic shortbow
Platelegs: Barrows>Bandos>Dragon>Rune
Potions: Extreme ranged, defence>Super ranged, defence> Ranged, defence
Pouch: The best you can use

Gear – Magic

Castle Wars Mage Gear

Castle Wars Mage Invent

Gear & Invent – Mage

Weapon: Chaotic staff>Staff of light>Ancient staff (wands are good too but provide no damage boost)
Body: Ahrims>Battle robes (no set effect)>Infinity>Mystic
Legs: Ahrims>Battle robes (no set effect)>Infinity>Mystic
Shield: Divine>Elysian>Farseer shield>Arcane>Spectral>DFS>Blessed>Spirit shield>Rune kite (or zamorak book for magic attack bonus, though you will die more easily)
Amulet: Arcane stream>Fury>Glory>Power
Gloves: Best RFD gloves>Infinity>Mystic
Boots: Infinity>Mystic
Ring: Seers>Recoil
Ammo: Runes for your corresponding spell(s)

Inventory

As a mage I always bring melee armour, because magic robes are so weak. I also bring a melee weapon, because when in melee armour it is very difficult to not splash with magic attacks.
Spec weapon:
Defence: SGS>Enhanced Excalibur>Excalibur (or use staff of light, which is wielded)
Offensive: Melee weapons
Weapon: Chaotic maul/CLS/CR>Godsword>Whip>Korasi>Dragon scimitar
Platebody: Barrows>Bandos>Dragon>Rune
Platelegs: Barrows>Bandos>Dragon>Rune
Potions: Extreme defence>Super defence> defence (+ extreme magic potion if you want to boost damage, or normal magic potion if you want to your boost magic level for a spell)
Pouch: The best you can use (Wolpertinger gives a nice damage boost for magic)

Hybrid tactics

As I stated before, it is foolish to not bring 2 or more types of combat to castle wars, due to enemies using protection prayers and the variety of circumstances you will face. For example, ancient mages with ice spells are highly sought after to freeze opponents, most notably enemies holding a flag. Ancient mages are also capable of producing the best damage per second, however they have the most expensive supply cost. Rangers are very useful for killing mages and flag holders, and warriors are good all round players, their high defence armour gives them good resistance, and their weapons are very powerful against nearby rangers and mages.
Because of the use of all 3 types of combat in castle wars, I always bring 3 types of combat. Here is a typical setup I might use.

Castle Wars Hybrid Gear

Castle Wars Hybrid Invent

Gear & Invent – Hybrid

The equipment used is as stated in each individual class, but beware that you will not have enough space to bring boots/gloves/amulet/rings for each class when you hybrid, so you have to compromise. When using magic, it is best to always use magic boots and gloves, because the other types of boots and gloves have high negative bonuses to magic, whereas magic boots and gloves give no negative bonuses to the other classes. RFD gloves provide high bonuses to all classes, so for hybriding purposes, I strongly recommend them.

Tactics & Gameplay

When you visit Castle Wars, you can enter the waiting lobby by choosing one of 3 portals, the red portal will put you on the zamorak team, the blue portal will put you on the saradomin team, and the green portal will put you on the team with the least players. Personally I would not recommend the green portal, as it increases the chance of you losing the game, so unless rewards aren’t important to you, you should go to the red and blue portals, scout each one for the best players, and join the team with the highest levelled players. This can improve your chances of winning.
When you enter a lobby, you will be presented by a timer which tells you how long you have to wait until the next game. As there are 5 minutes between consecutive games, you will see most of the players run in when the timer reaches 5 minutes. If you wear certain god items, you will be transformed into a type of animal whilst you are in the lobby.

Castle Wars Waiting to Start

Castle Wars – waiting to start

As well as the general multicombat style of fighting in Castle Wars which is found throughout Runescape, there are also specialised tactics which can be used in Castle Wars. When starting the game there are a variety of items you can use to aid your combat. These have unlimited stock, but your inventory is not unlimited, so you have to manage your space. A very common tactic in Castle Wars is to take enough bandages at the beginning of the game to fill your inventory, and then rinse and repeat when you die. At this point I should probably point out that this is a SAFE mini game, and you will re spawn in your base when you die, and you will keep all of your items.

The other equipment available for pickup includes catapult ammo, explosive potions to destroy rocks underground, pickaxes to cause rock falls underground, barricades to stop people from moving in a certain direction (these can be attacked and destroyed), tinderboxes to burn barricades, flares to direct catapult attacks, ropes to climb up the battlements, and repair kits to repair the front gates of the castle. Repair kits are much neglected; I have never seen someone use one.

On the top of the battlements, there are catapults which can be used by anyone, provided that they pick up some catapult ammo from the tables on the ground floor of the base. The catapults are a great way to get your own back on high levels if you are a low level, because any player can use them, and they are extremely powerful, if slightly annoying. The catapult shots can fire anywhere except for the enemies base, and have a very high radius of impact. Because they can’t reach the enemies base, a usual target for shots is the island in the middle, so you should be careful when you are on the middle island.

Castle Wars Catapult

Castle Wars Catapult

The battlements are a good place for rangers and mages to attack other players invading their base, as it offers protection from warriors, and almost all castle wars players are warriors.

Castle Wars Battlements

Castle Wars Battlements

In Castle Wars there are 3 basic player types, those that defend their castle, those that attack the other castle, and those that run to the middle and attack other players (most players do this). As a defender, it is your job to stop all enemy players from taking the flag. The best strategy for this is to place barricades along the top floors to slow enemies. It is also very helpful to have an ancient mage to freeze enemies going for the flag. You should fill your inventory with barricades to replace those that get destroyed when you are defending.

When attacking, the most important thing to remember is defence. You will need substantial magic defence to stop yourself being frozen, but you will also need good melee defence or you will be killed in seconds. A typical tactic employed by players is to equip mage defence gear, eg armadyl, karils, dragonhide, and use protect from melee with a defence potion to block melee attacks. A few useful tips for improving magic defence are:

1.Equip a staff, all staves have good magic defence
2.If you can afford it, use a spectral spirit shield, this gives the best magic defence bonus, with a great melee defence bonus too.
3.Invest in an amulet of fury; it gives great all round defence bonuses.

I would not recommend trying to capture the flag with 70 or lower defence, such an attempt is very unlikely to bear fruit. On reaching the enemy based, a very common situation is to be faced with a large number of barricades, and to die trying to clear your path. Because of this, you should plan an assault with other players so that the damage is spread between all of the attacking players, and so that the barricades can be cleared more effectively.

Castle Wars Barricades

Castle Wars Barricades

If you plan on playing as a ‘run to the middle’ player like most players (and me), then there are still tactics to apply to certain situations. If you meet a magic user, a great way to annoy them is to use the special attack of the seercull bow, which reduces their magic level by 1/10 of the damage you hit. This is especially effective against ice barrage users, who will be unable to use ice barrage if you hit above 55, and because they are unlikely to be carrying chaos runes, they will be unable to use ice burst instead.

If you want to try a more efficient way of killing, you could try to assemble all of your team players in a clan chat (or better, bring your clan!), and give them directions. Piling enemies will see them die much faster, and result in less opponents attacking you at a time.

When you see an enemy running with a flag, a useful tactic is to attack them with the dragon spear/zamorakian spear special attack to stun them for a couple of seconds. This can be very valuable when they are in high magic defence gear and they are not being frozen.

Sometimes when an enemy flag runner holding your flag dies, one of your team members might manage to take the flag, and another tactic known as flag holding comes in play. If your team holds your flag, then in order for your opponents to score, they will have to kill that team member and take the flag off them.

Various tactics can be utilised to ensure this doesn’t happen, if your team is in the lead, then your team should guard the flag holder, and set up barricades around them. It is beneficial for the flag holder to have use magic attacks, because when holding the flag you can only attack with the flag, which is very weak, or use magic. With enough ancient mages, barricades, and attackers, you can guarantee your team a victory by flag holding.

Rewards

Castle Wars Rewards Shop - Decorative Armour

Castle Wars Rewards Shop - Consumables

Castle Wars Rewards Shop - Miscellaneous

Castle Wars Rewards Shop

Various rewards can be bought with the use of Castle Wars tickets, which are gained by winning or drawing a game, 2 tickets for a win and 1 ticket for a draw. The most obvious choice is the Castle Wars armour, which can be mounted in the skills hall of a POH, or worn in Castle Wars to great effect. The lowest levelled armour gives a 10% damage boost inside Castle Wars, this increases by 5% per set, but the armour sets only have a defence bonus comparable to steel, mithril, adamant, and rune respectively. You only need to wear the body, platelegs and shield to gain the set effect.

You can buy parts of a ballista with tickets, but in my experience the catapult is far more powerful than the ballista, so it’s somewhat a waste of tickets. You can buy potion sets for tickets, but these potions can only be used inside a game of Castle Wars, so they are useful if you have a low number of tickets floating around and nothing else to buy. I wouldn’t buy them unless you have serious money making problems, because much more money can be made by money making, buying potions, and then playing Castle Wars.

You can also buy decorative capes and hoods to show off your Castle Wars achievements, or you can buy the new halos or faithful shield. The halos each reduce the drain rate of certain prayers. Guthix reduces the rate of attack prayers, Saradomin reduces the rate of defence prayers, and Zamorak reduces the rate of strength prayers. I personally can’t find much use for these, because they don’t work for protection prayers, and in most situations I would prefer a helmet with strength or defence bonus. I currently own the faithful shield, which gives a nice +6 prayer bonus with stats comparable to a rune kite, and looks very nice, sporting the new particle effects recently added to Runescape.
Runescape – Guide To Hunting The Giant Mole

1. Gearing up

Giant Mole Gearing Up

Giant Mole Gearing Up

2. How to get there

The Giant mole is found in the Falador Mole Lair, just under Falador Park. The player will need a spade to get there and a light source to see. The mole lair is a Multicombat area, so teams of players can easily coordinate their activities to slay giant moles.

Use a spade to dig on one of the mole hills in falador park:

3. Inventory

-SPADE
-LIGHT SOURCE
-TINDERBOX
-Falador Elite Shield.
-Special Weapon (DDS + Claws > DDS + Dragon Halberd > …)
-Teleport runes to falador and lumbridge.
-Combat pots.
-Prayer pots and food if you are not using the teleport method.
-Pouches
-Cannon + cannonballs
-Tireless run scrolls > Energy pots > Boots of lightness+Spottier cape

4. Summoning

Offensive familiars that are attacking the giant mole will walk towards the mole when it runs away from you, and give you a general direction of where the mole’s new location is.

Terrorbirds can restore your energy using Tireless Run scrolls.

5. Prayer

Always pray piety/turmoil and protect from melee, after killing the mole it won’t respawn for 2 minutes. Enough time teleport to lumbridge (or anything else close to an altar), pray and teleport back to falador.

6. Gear

Helm: Neitz > Verac
Chest: Bandos > Torso > Proselyte > Verac
Legs: Bandos > Proselyte
Cape : Fire Cape > Soul Wars > Skill Cape > Spottier Cape
Boots : Dragon > Boots of lightness
Gloves: Barrows
Ring : Berserker (i) > Berserker > Wealth

Shield : Rune defender > DFS
Weapon: Chaotic Rapier > Chaotic Long > Zamorak Spear > Godsword > Whip.
Special: DDS + Claws > DDS + Dragon Hally

7. How to kill it

The Giant mole will always spawn in the middle of the lair. Set up your cannon there. Equip your Dragon Dagger (S) and do specials to poison it.

Killing The Giant Mole

Killing The Giant Mole

At half health and under, the giant mole starts digging around the cavern to escape. There are several different locations that the mole can resurface around the cave. These are the resurfacing locations. There is one in the centre, one in the top left of the cave, one in the top right, one on the hill, one below the hill, 2 on the far right of the cave and one in the centre.
When it burrows, it raised a huge cloud of dust than can extinguish an unprotected light source, always bring a tinderbox! Covered light sources such as the Bullseye lantern and Candle lantern are not affected.

An excellent way to fight the mole is to be able to run almost constantly. The mole lair is quite large, so run energy is easily depleted once the mole starts burrowing. A terrorbird can be very helpful, energy pots or even Oo’glogs Energy Pool help too. Falador Elite Shields can be operated to find the mole easily.

The value of teams, especially larger ones, is that team members can stay at locations where the mole can surface after burrowing away, allowing the team to spread out and find the mole again very quickly.
After killing the mole it won’t respawn for a good two minutes. Quickly teleport to lumbridge, pray at the altar and tele back to falador for cheap prayer points. The mole will always respawn in the centre.

8. Rewards

The mole will always drop Mole claws and multiple Mole skins, each of which Wyson the gardener (in Falador park) will exchange for Bird’s nests. Bird’s nests can contain valuable Seeds and other items and, when crushed, become Crushed nests, a valuable item that is often highly in demand by players training Herblore.

The mole drops 2 charms at a time.

Other drops: Blood, Law, Nature and Death runes. Various rune weapons. Rune Kiteshield. Rune Square Shield. All gems. Rune bar. Up to 100 noted yew logs.

Clues: Hard and elite.

Effigies: Yes.