Lootshare is a way to split up drops for a team or friends chat. Its used a lot for masses (whether it be the friends chat or group system). To use lootshare, you need to be in the friends chat with lootshare enabled or group at all times. You can turn on lootshare by clicking on the little icon at the bottom right corner of the friends chat interface:
Lootshare icon Toggle
Lootshare will split drops between the players that have lootshare enabled. You will see in game messages such as “You have received: 63,166 Coins” or “Junglebiscuit has received: 1 Bones” for all drops a boss drops at a time. The player with the highest lootshare points (discussed below) will have the best chance for the drops. For the formal write up on the RS wiki, check out: https://runescape.wiki/w/LootShare
What are lootshare points?
Lootshare points, also called LSP or lootshare potential, is the background system that determines who gets drops in a lootshare group. Each person has a certain amount of points. No one is able to check or see how many points they have; this is why there is sometimes mystery behind people’s LSP as there’s no real way to ever know yours or anyone elses. Basically the higher your LSP, the higher chance you have at getting drops!
Lootshare points reset down to zero eventually. Jagex has confirmed that this is at 10% per day. So, if you don’t use, you lose it! If you are at 10m LSP and do not boss for a day, tomorrow you will only have 9m LSP, then the next day you’ll only have 8.1m LSP, then 7.29m, and so on. The same works with negative LSP going closer to 0 from the other side.
Pets are NOT effected by lootshare and are instead based on the top dpser or highest damage dealt by a single person. This person will be the one who gets a roll at the boss pet.
Another important note: you have to be within 16 squares of a boss for lootshare to work, same as normal drops, and you will not see or receive anything if you are too far away.
Here are some examples:
1. There is a 10 person mass. One person gets a 10m drop (say a Cywir wand or similar). The person who got the drop is lootshare picks up the drop and owns the 10m item. Everyone in the group, including the person who got the drop, now gets a split of the lootshare points. This is the item value divided by the amount of people with lootshare turned on (i.e. 10m/10=1m). Each person gets 1 million lootshare points, but the person who got the wand also loses 10m points to have a net of -9m lsp.
2. A 23 person AoD mass gets a Praesul Codex worth 493m. Each person gets 21.43m LSP points. The person who got the codex is now at -471.57m LSP.
3. A Vindicta mass is going on with 9 people. There is an uber rare drop of 1 dragon bone. Each person gains about 263 gp of LSP.
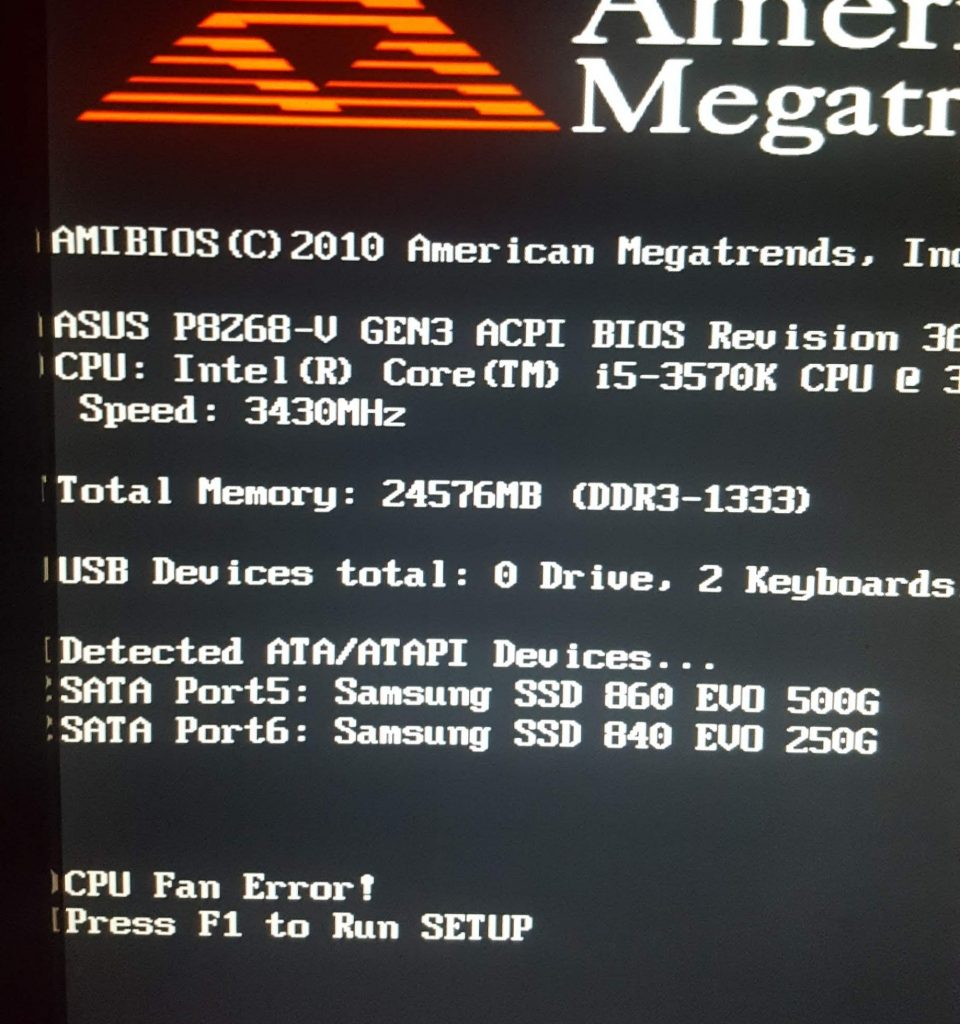
So, you have lots to do, you go to turn your PC on and before it even considers starting you are hit with an error:
“CPU Fan Error!”
CPU Fan Error On Bootup
The first thing to do is check the fan is ok and is plugged in correctly but if you have done that and it seems good then this can be an annoying problem to solve. On my computer I would restart a few times and then all of a sudden for what seems like no reason it would work and go straight through as if everything is normal.
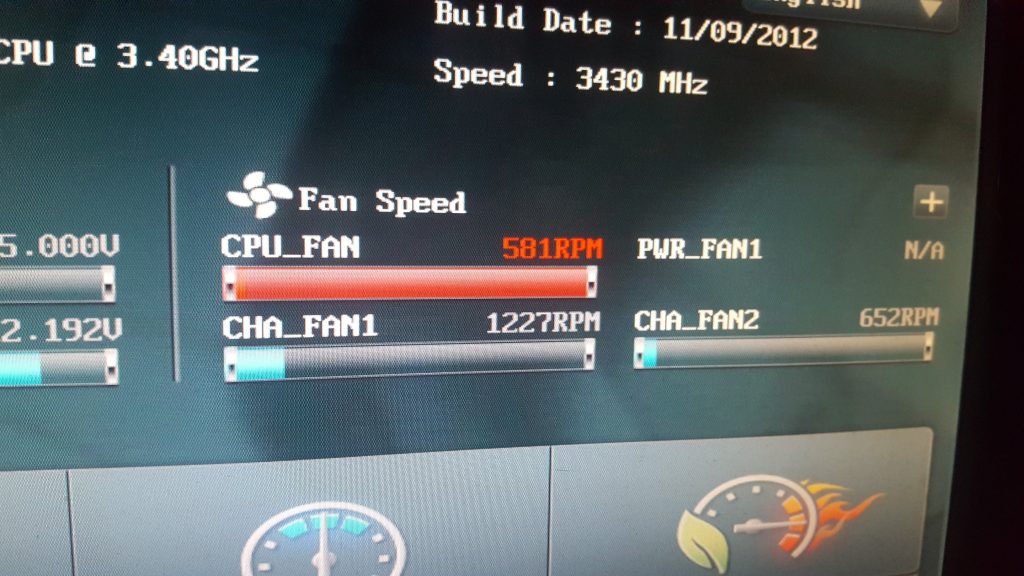
That error alarm is normally triggered when the RPM of the fan goes below a set speed. Luckily that speed is configurable in the BIOS settings on most systems. So when the computer starts up press DEL or F1 or whatever button it is to get to the BIOS. Once there on my PC I could see the actual fan speed reported on the main page as below:
Checking The Fan Speed From BIOS
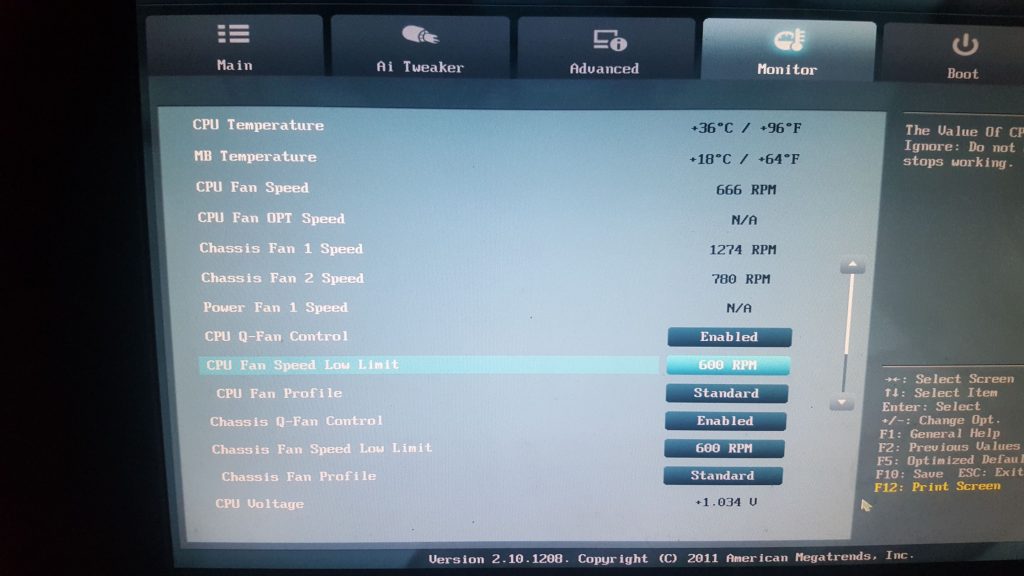
You can see above it is spinning at 581 RPM. To check and change the trigger limit I had to go to advanced settings then click on the “monitor” tab which then had a setting called “CPU Fan Speed Low Limit” which was set to 600 RPM.
Checking the CPU Fan Low Limit
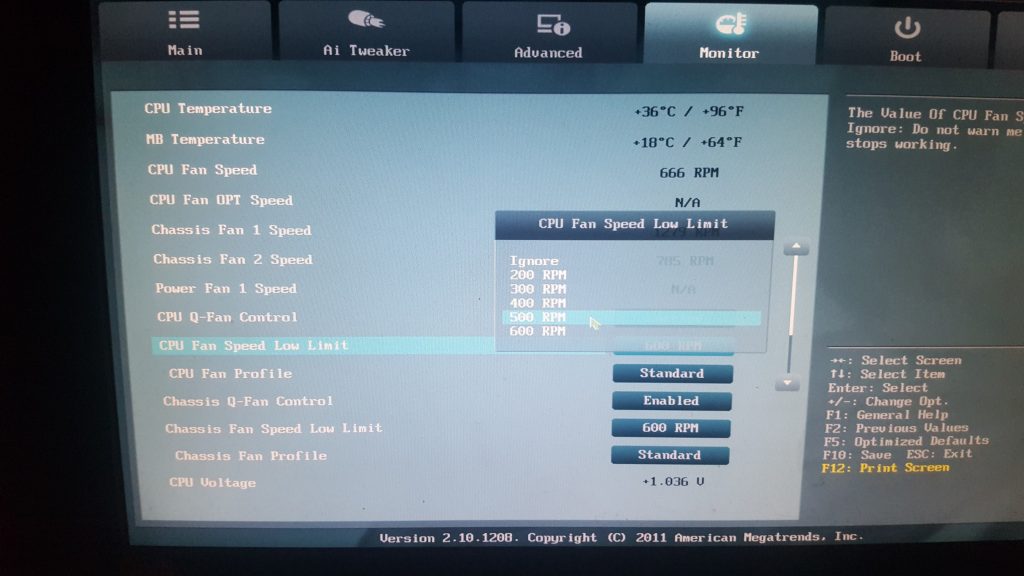
There is the reason we are getting the error, my fans spinning at 581 and the low limit is 600. So I clicked the button and a drop down list appeared, simply select a lower value, I went for 500 RPM which solved the problem and meant my PC started fine every time.
Royal mail now issue lots of tamper proof stamps which is great for protecting their revenue and making sure people don’t re-use but how does it affect the stamp collector? Well the traditional methods of removing stamps from envelopes like steaming doesn’t work on the new Royal mail stamps. So what do we do with tamper proof Royal Mail stamps if you are a collector?
One option is to simply cut around it and leave it on the paper. Nobody likes doing that normally unless its a particularly interesting postmark or something.
A second option I have heard works well is using a label remover such as Ambersil Label remover, you spray it on and it unsticks/comes off pretty much straight away. There are other options too like Cramolin or Goo Gone but I’ve not tried these.
A final tip is to spray a light coating of WD40 on the back of the envelope where the stamp is located, the area becomes transparent then wait a couple of moments the stamp will peel off with ease.
Note, it is illegal to remove and re-use a postage stamp! This is information for people collecting used postage stamps.
Please do comment below if you have had luck with any other methods!
Invention is tricky to understand with all the different components and its difficult to know what combines with what to get something that may help you get a bit more damage in combat or a few useful perks. There are lots of spreadsheets out there and posts but they seem to be written in code most of them so I’ll try to go through from a beginners point of view to help you understand how to start perking your armour and weapons and a suggest few nice ones to add to help start out.
First Step – Augmenting
The first thing you need to do to your weapon or armour is augment it. You can make an augmentor or buy it on the grand exchange. To make it you need divine energy, base parts, flexible parts, tensile parts, enhancing parts and powerful components. These all take time to get so if you don’t have time or have money then just buy one on the grand exchange. Once you have one just use it on your weapon or armour piece you want to augment and it will turn into an augmented version ready for the next step.
Second Step – Gizmos
So gizmos are things you need to make and on them you can generate perks which then attach to the augmented armour or weapon to provide a bonus. To start with you need to make gizmo shells (you can’t buy them). There is a weapon gizmo shell and an armour gizmo shell, you can also get a tool gizmo shell which I won’t be covering in this post. You make the weapon gizmo shell with blade parts, crafted parts and strong components at the invention bench. You make the armour gizmo shell with deflecting parts, crafted parts and protective parts at the invention bench. Once you have the shells then you can click on them “add materials” to get to the next step.
Update: If you have invention level 85 then you can use ancient gizmos. These need to be unlocked via a blueprint you can make or buy on ge but give access to more material slots and allow the use of ancient materials.
Third Step – Adding Materials
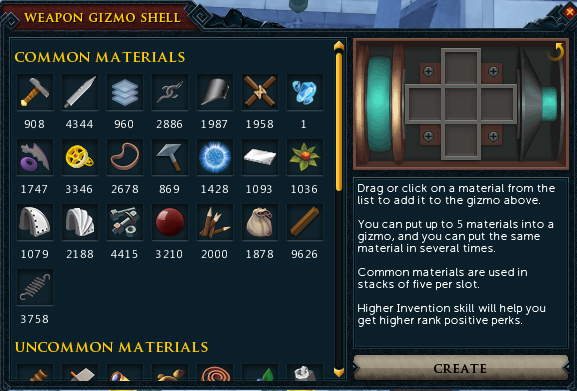
So clicking “add materials” on a gizmo shell will bring up a new window:
Runescape Adding Materials To a Gizmo Shell
As you can see from the image above, you click or drag the materials onto the five slots to see what possible perks you can get and then can create it if happy. When you click create you will not necessarily get the top one and may have to re-roll it a few times until you get what you want, you can also fail it. If you have enough materials to try again it will let you re-roll on another gizmo shell but it will use a new one, not the previous one. “But how the hell do I know what materials to add for what perks?” I hear you cry. Well that depends what you want to get out! In the next section I give some tips for those who want to add stuff but don’t want to research the full ins and outs of whats available.
Non-elitist Ok Perks To Get Started
On an augmented two handed weapon you can add two weapon gizmos, otherwise you can add one gizmo to main hand and one to offhand. Generally I would aim for precise and aftershock perks on weapons if you are after adding extra damage. The pros go for Precise 4 + Equilibrium 2 in one slot and aftershock 3 in the other but you don’t have to get those exact numbers, even aftershock 1 is better than nothing.
On armour you can have two gizmos on legs and two on tops. The main ones to aim for are crackling, enhanced devotion, impatient and biting. The pros will go for things like biting 3 which requires nox components and is too expensive for my tastes but you can get biting 2 for nowhere near the cost and is very helpful.
Weapons – Precise Perk
So to make the first one you want precise really, you can use precise 1-5 on its own instead if you can keep re-rolling until you get what you want. To get precise 5 add 5 armadyl components to the gizmo shell. You can’t get that many have a look at the other suggested combos on the wiki page which includes getting equilibrium with it:
Now aftershock perk can seem expensive as you need to use Ilujankan components which come from Anima Core Zaros items which are 18mil at the time of writing but only get you 1 component for disassembling but don’t panic, there is a way to get more. You buy an Anima Core Legs of Zaros and Anima Core Body of Zaros then augment them both (you don’t need gizmos on them). Then level them up to level 9 in combat and disassemble which will give you more Ilujankan components and enable you to make this expensive perk. More details and combos on the wiki page:
Crackling 3 is great and can be reasonably cheap to get by using explosive components gathered by disassembling hand cannons. Even if you only have crackling 1-2 its better than nothing. You can get it with secondary perks too as shown on the wiki:
This one is gained by using Faceted components which can be gathered by disassembling crystal items. A cheaper way to do it is by disassembling crystal flasks or light orbs. You can get enhanced devotion 2-3 quite easily:
https://runescape.wiki/w/Enhanced_Devoted
Armour – Impatient
Now this one can cost some money as it needs Zaros components and Zamorak components specially if you are after 3, I would go for 1-2 to start with as its a lot cheaper:
Now as I said above biting 3 is not worth it for most people but biting 2 can be got quite easily and cheaply using direct components. You can also try to get it with a secondary perk like venonblood/reflexes/mobile. The compnents you need for this are suggested on the wiki:
Now if you have learnt anything from this I hope it is that perking is worth it and doesn’t have to be expensive. Start with adding a few small cheap perks to get the hang of it and you can easily replace them over time when you get more cash or components.
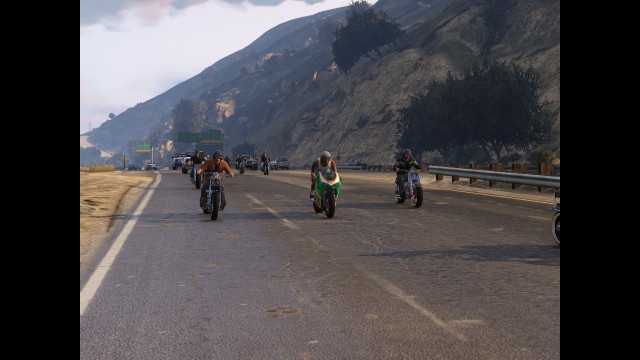
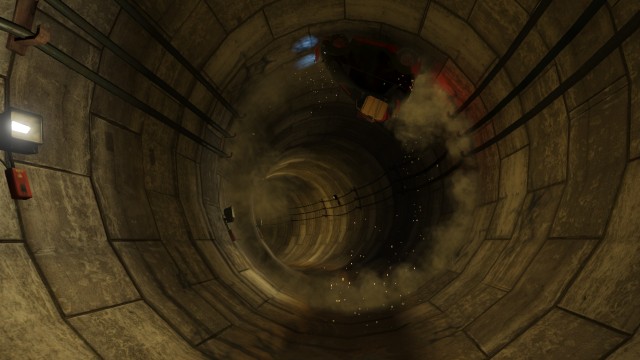
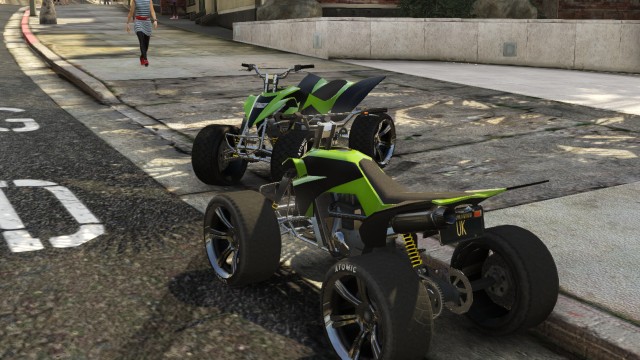
Here are a selection of game play screenshots from the game GTA V (GTA 5) by Rockstar: GTA V (GTA 5) Screenshots – Vespucci Beach – Paper Bag Man
GTA V (GTA 5) Screenshots – Shooting From The Back Of a Broken HelicopterGTA V (GTA 5) Screenshots – Senora Freeway – Motorbike ParadeGTA V (GTA 5) Screenshots – Sandy Shores Crew GatheringGTA V (GTA 5) Screenshots – Sandy Shores – Car Jumping The HelicopterGTA V (GTA 5) Screenshots – Pillbox Hill – In The SewerGTA V (GTA 5) Screenshots – Pillbox Hill – Great View From The Top Of A BuildingGTA V (GTA 5) Screenshots – Paleto Cove – SunriseGTA V (GTA 5) Screenshots – Paleto Bay – Fireball Explosion At NightGTA V (GTA 5) Screenshots – Pacific Ocean – View Of Venice Beach From AboveGTA V (GTA 5) Screenshots – Mount Gordo – Independence DayGTA V (GTA 5) Screenshots – Mirror Park boulevard – View At NightGTA V (GTA 5) Screenshots – Integrity Way – Car Lights In Reflection From Wet RoadGTA V (GTA 5) Screenshots – South Mo Milton Drive West Vinewood – Quad BikesGTA V (GTA 5) Screenshots – Grand Senora Desert Sunset Plus CarGTA V (GTA 5) Screenshots – Equality Way – Del Perro PierGTA V (GTA 5) Screenshots – Del Perro – Selfie StickGTA V (GTA 5) Screenshots – Great View of Cassidy CreekGTA V (GTA 5) Screenshots – Burton Station – Finish HimGTA V (GTA 5) Screenshots – Burton Car Park Crew Meeting
The Spring cleaner is an item I use a lot and make a lot of cash from, it can be confusing to set up and understand how to use it so here are some words and pictures to help you!
Where to get it?
You can get it from invention at level 43 or I think they still dish it out on treasure hunter now and then. If you have it sitting in bank then you should definitely start using it 🙂
Should I upgrade it?
Answer is yes you want the max upgraded version to Spring cleaner 9001 as it dismantles noted drops too then and you can get it instantly by buying springs on GE but its expensive (10K springs needed!) so don’t worry if not – Start using it anyway and it will upgrade as you go.
AHHHH WHAT DO I DO WITH IT, THERE ARE TOO MANY SETTINGS?
Don’t panic – All you need to do is set it up first time and then just take it with you on slayer tasks or even to boss kills and it will start dismantling stuff and sending the ore etc to your bank (so saves picking stuff up too!).
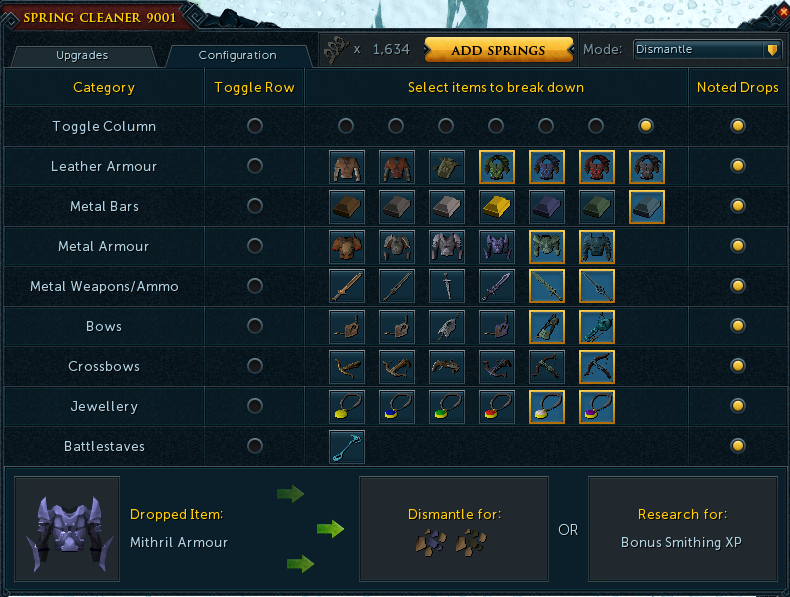
There are two modes, I only use dismantle mode. The rest is personal choice on what you want to dismantle and what you don’t. To start off copy my settings below and off you go:
Runescape Spring Cleaner Configuration Settings
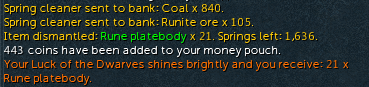
Make Money
So you will see messages appearing and have stuff appearing in your bank which is generally worth more than the normal drop! I got this today with a bit of combined luck of dwarves ring so it does work: