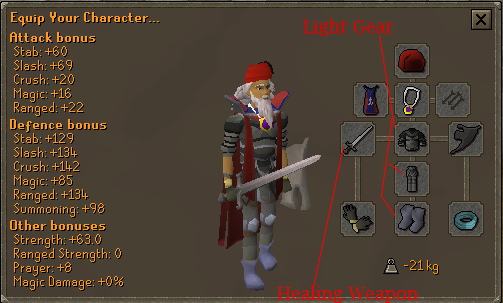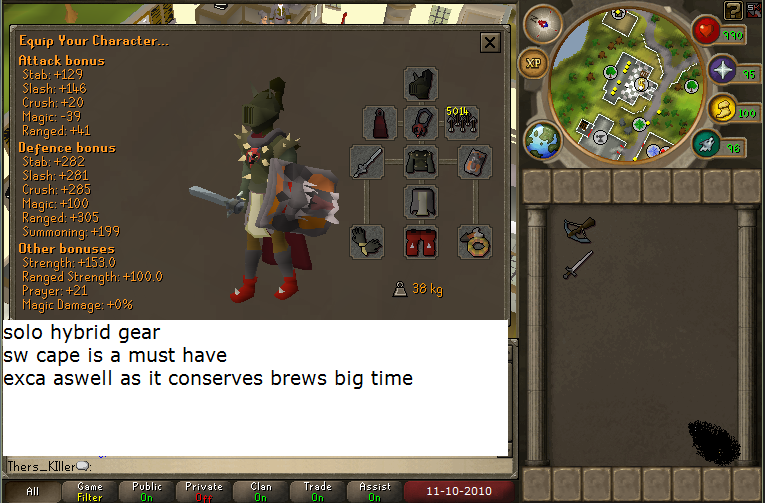

1.0 [ GEAR ]
There are many setups for Dagannoth Kings, the main type is a hybrid mixture of Range/Melee. I personally prefer Range/Melee but that’s my choice. The other being Mage, there are also 4 types of mage generally used when doing Dagannoth Kings (Surge, Slayer Dart, Barrage, Claws of Guthix.)
We will start with the gear setups, I have chosen to make them as cheap I see possible, as always you can swap out gear for better/your own varieties.
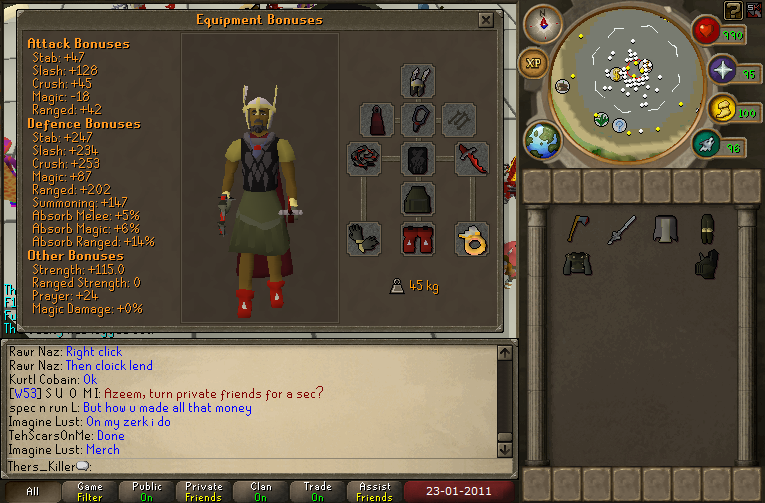
Melee and Range
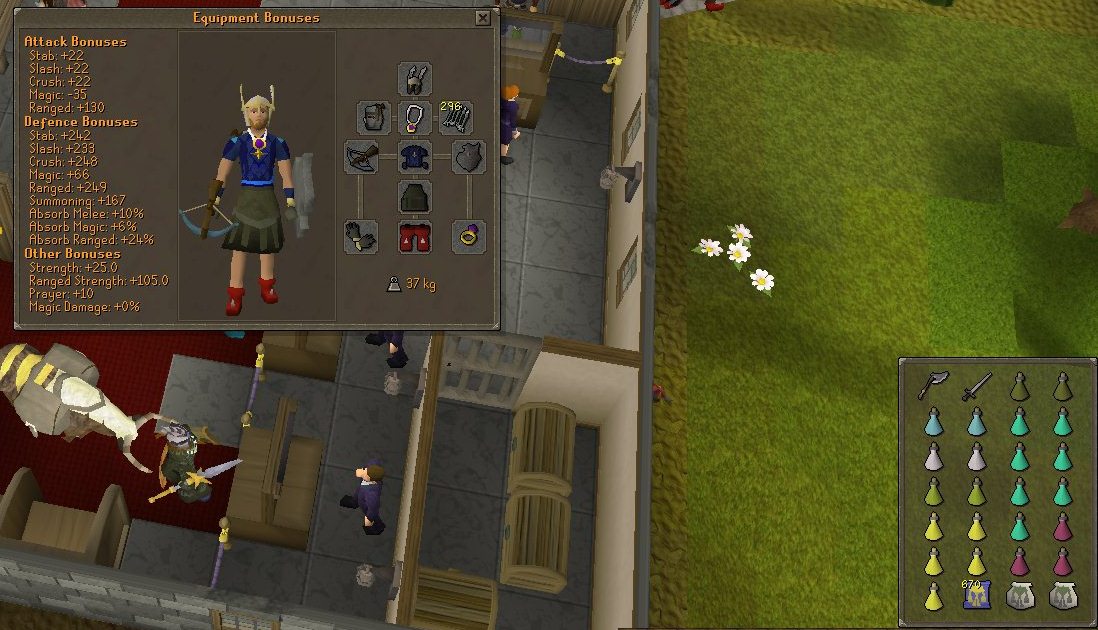
Dagannoth Kings Melee and Range Gear
Helm:- Helm of Neiziot < Verac’s Helm
Amulet:- Glory < Amulet of Ranging < Amulet of Fury
Body:- Blessed D’hide Body < Karils < Armadyl Platebody
Legs:- Rune legs < Verac’s Plateskirt < Bando’s Tassets
Boots:- Rune Boots < Snakeskin Boots < Dragon Boots < Bando’s Boots
Gloves:- Barrow Gloves
Shield:- Prayer books < DFS Weapon:- Hand Cannon < Rune Crossbow < Crystal Bow < Balmung < SGS < Claws
Ring:- Ring of Wealth < Archer Ring < Berserker Ring
Bolts:- Hand Cannon Shot < Broad Bolts < Ruby Bolts < Diamond Bolts (e)
Cape:- Fire Cape < Accumulator < Alerter < Soul Wars Cape
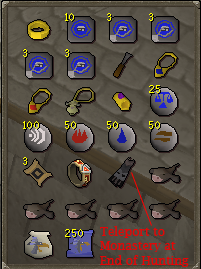
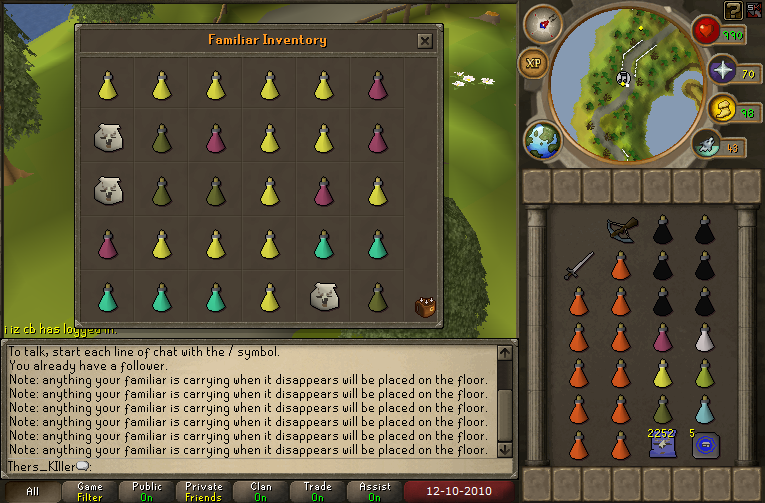
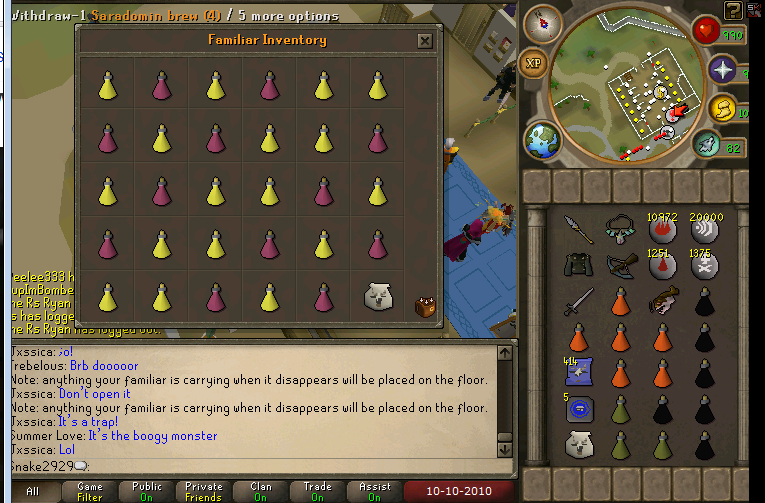
Inventory
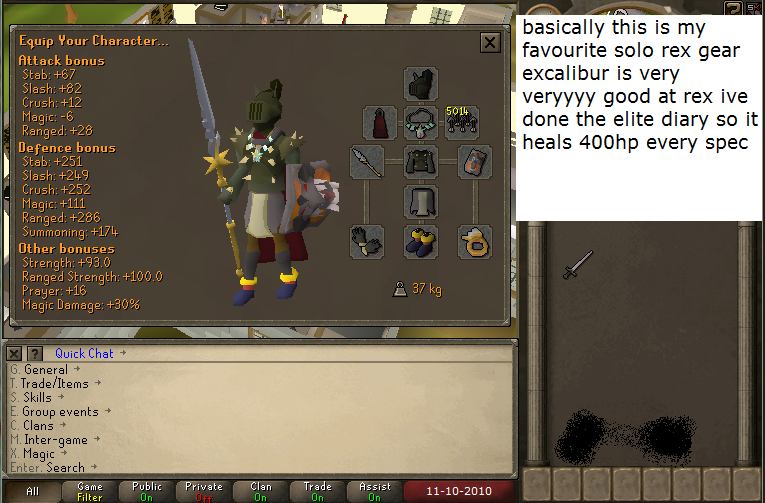
Balmung – Amazing against Dagannoths!
Enhanced Excalibur – Heals 200-400 depending on Seers diaries completed.
Antipoison++ x2 – Each potion lasts 48 mins in total
Extreme Ranging potion x2 – Use normal range potions if you don’t have 92 herby
Extreme Strength potion x2 – Again use Super Strength if you don’t have herblore level
Extreme Attack potion x2 – Again use Super Attack if you don’t have herblore level
Saradomin Brew x5 – Used to heal, gives a defence boost but lowers surrounding stats
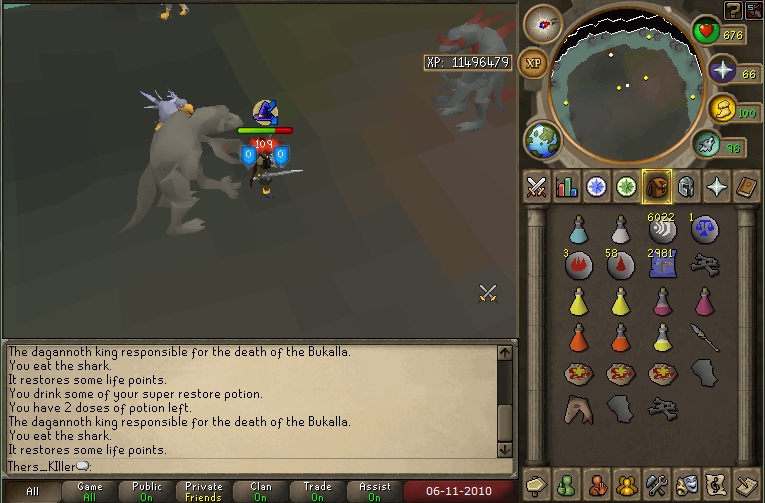
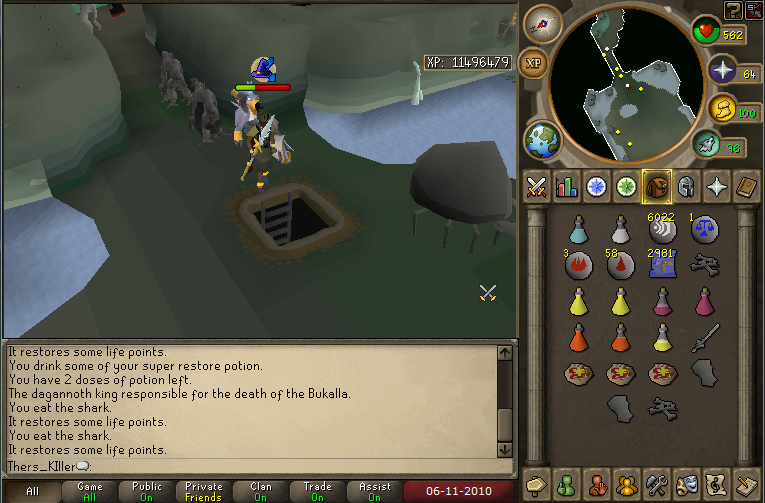
Super restore x3 – Restores the effect of Saradomin Brews + acts as a prayer potion
Prayer potion x7 – For restoring prayer potions
Titan x2 – Used along with the Titan scrolls to heal 90hp per special point used, very handy
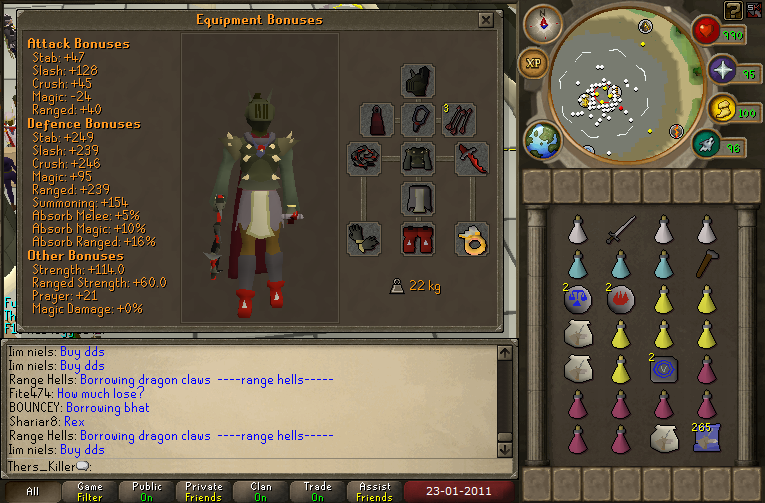
Mage Setup 1 – Surge
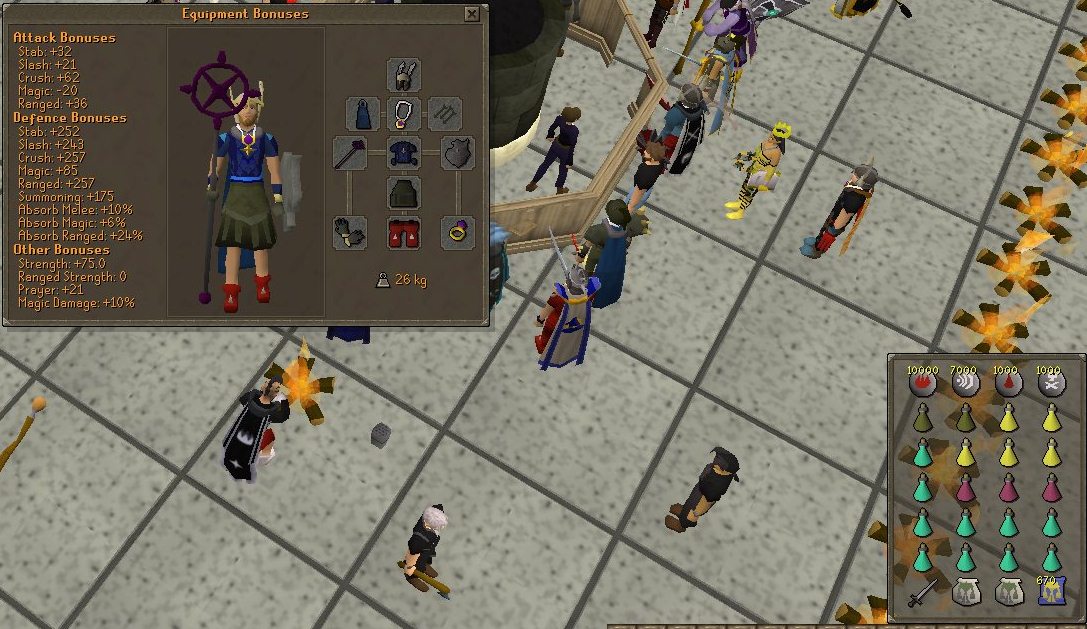
Dagannoth Kings Mage Setup 1 – Surge
Helm:- Helm of Neiziot < Verac’s Helm
Amulet:- Glory < Amulet of Fury < Arcane Stream
Body:- Blessed D’hide Body < Karils < Armadyl Platebody
Legs:- Rune legs < Verac’s Plateskirt < Bando’s Tassets
Boots:- Rune Boots < Dragon Boots < Bando’s Boots < Wizard Boots < Infinity Boots
Gloves:- Mystic Gloves < Barrow Gloves
Shield:- Prayer books < DFS Weapon:- Ancient Staff < Master’s Wand < Staff of Light
Ring:- Ring of Wealth < Seers Ring
Bolts:- N/A
Cape:- Fire Cape < Soul Wars Cape < God Cape
Inventory
Enhanced Excalibur – Heals 200-400 depending on Seers diaries completed.
Antipoison++ x2 – Each potion lasts 48 mins in total
Saradomin Brew x5 – Used to heal, gives a defence boost but lowers surrounding stats
Super restore x3 – Restores the effect of Saradomin Brews + acts as a prayer potion
Prayer potion x10 – For restoring prayer potions
Titan x2 – Used along with the Titan scrolls to heal 90hp per special point used, very handy.
Runes – 1k Fire Surge runes, choice to change between other spells if you wish.
Mage Setup 2 – Slayer Dart/ Magic Dart
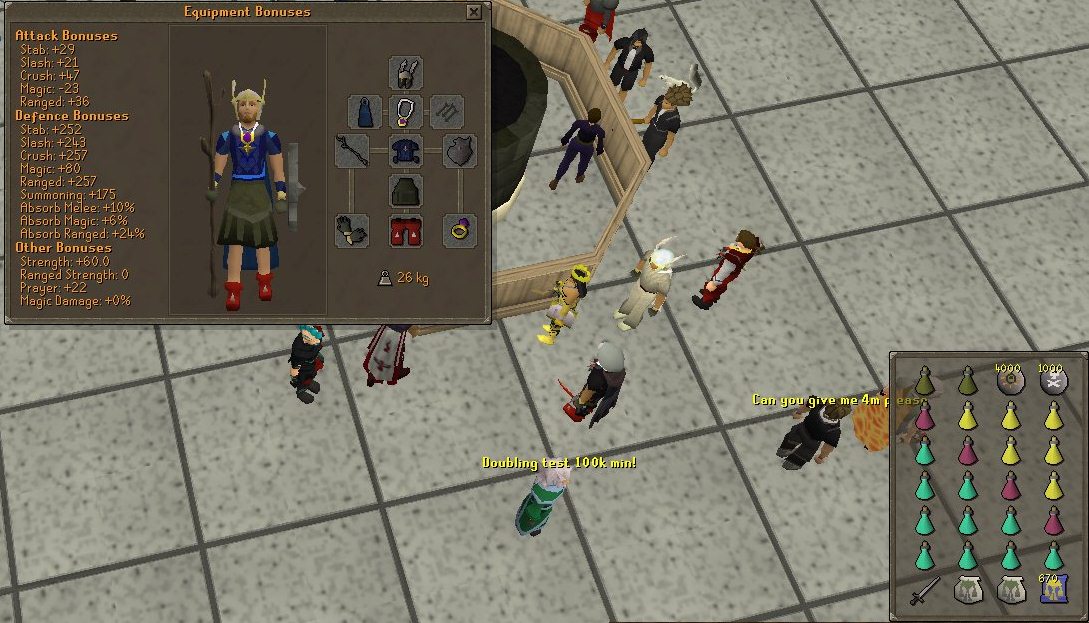
Dagannoth Kings Mage Setup 1 – Slayer Dart/ Magic Dart
Helm:- Helm of Neiziot < Verac’s Helm
Amulet:- Glory < Amulet of Fury < Arcane Stream
Body:- Blessed D’hide Body < Karils < Armadyl Platebody
Legs:- Rune legs < Verac’s Plateskirt < Bando’s Tassets
Boots:- Rune Boots < Dragon Boots < Bando’s Boots < Wizard Boots < Infinity Boots
Gloves:- Mystic Gloves < Barrow Gloves
Shield:- Prayer books < DFS Weapon:- Slayer Staff
Ring:- Ring of Wealth < Seers Ring
Bolts:- N/A
Cape:- Fire Cape < Soul Wars Cape < God Cape
Inventory
Enhanced Excalibur – Heals 200-400 depending on Seers diaries completed.
Antipoison++ x2 – Each potion lasts 48 mins in total
Saradomin Brew x6 – Used to heal, gives a defence boost but lowers surrounding stats
Super restore x4 – Restores the effect of Saradomin Brews + acts as a prayer potion
Prayer potion x10 – For restoring prayer potions
Titan x2 – Used along with the Titan scrolls to heal 90hp per special point used, very handy.
Runes – 1k Magic Dart – 1k Death runes 4k Mind runes
Mage Setup 3 – Ice Barrage/ Blood Barrage
PICTURE TO COME
Helm:- Helm of Neiziot < Verac’s Helm
Amulet:- Glory < Amulet of Fury < Arcane Stream
Body:- Blessed D’hide Body < Karils < Armadyl Platebody
Legs:- Rune legs < Verac’s Plateskirt < Bando’s Tassets
Boots:- Rune Boots < Dragon Boots < Bando’s Boots < Wizard Boots < Infinity Boots
Gloves:- Mystic Gloves < Barrow Gloves
Shield:- Prayer books < DFS Weapon:- Slayer Staff
Ring:- Ring of Wealth < Seers Ring
Bolts:- N/A
Cape:- Fire Cape < Soul Wars Cape < God Cape
Inventory
Enhanced Excalibur – Heals 200-400 depending on Seers diaries completed.
Antipoison++ x2 – Each potion lasts 48 mins in total
Saradomin Brew x4 – Used to heal, gives a defence boost but lowers surrounding stats
Super restore x4 – Restores the effect of Saradomin Brews + acts as a prayer potion
Prayer potion x10 – For restoring prayer potions
Titan x2 – Used along with the Titan scrolls to heal 90hp per special point used, very handy.
Runes – Runes for 500-1k Ice Barrage, 500 Soul runes for Blood Barrage as well
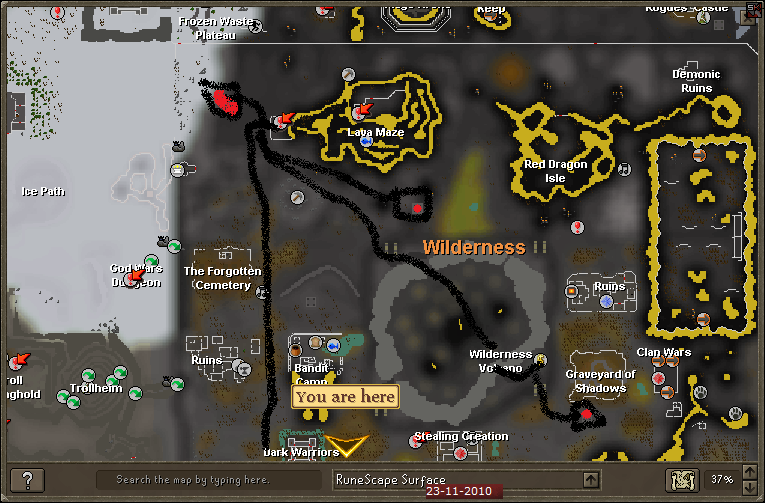
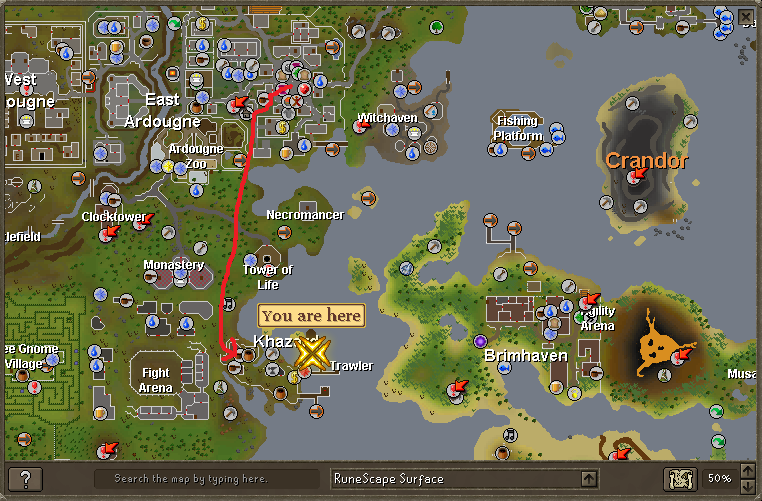
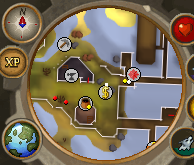
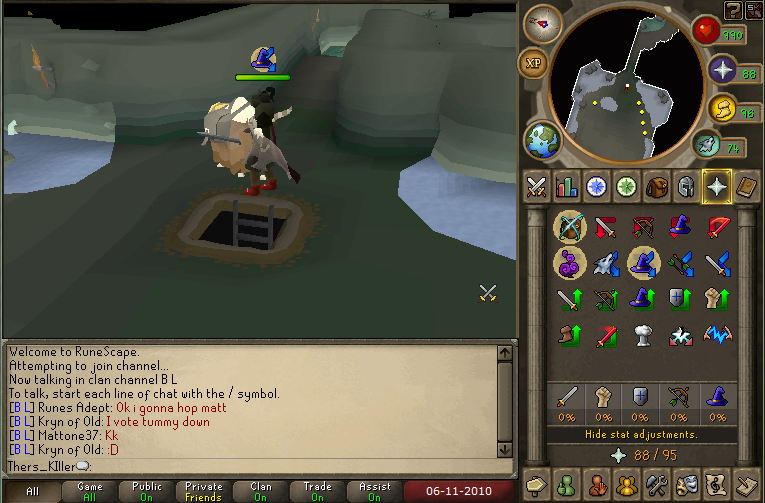
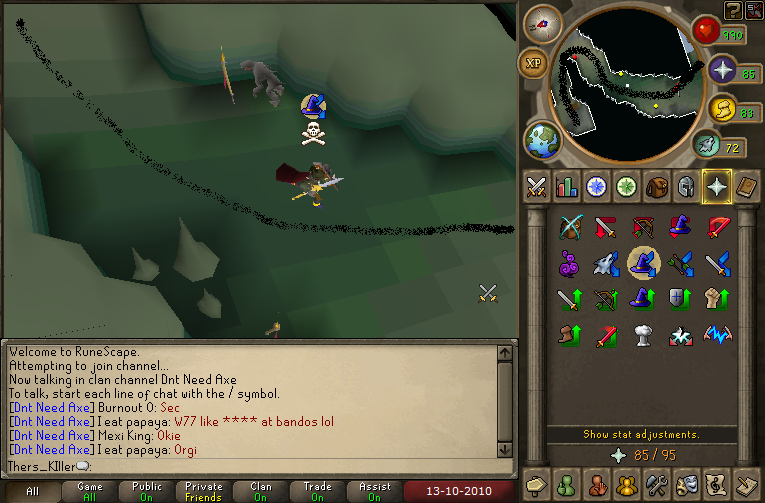
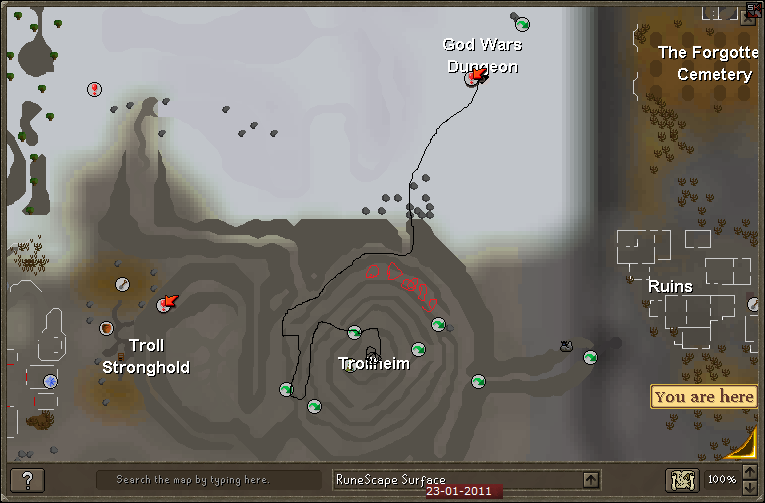
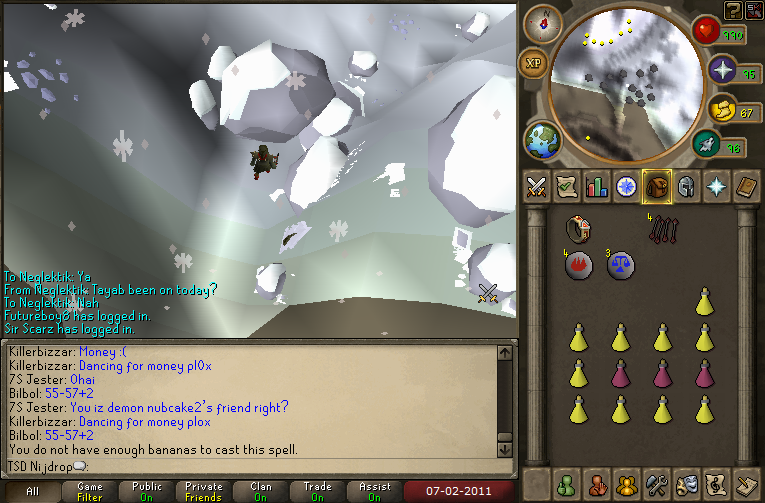
2.0 [ HOW TO GET THERE ]
VERY EASY

Dagannoth Kings easy way to waterbirth island
run from seers bank to relleka and go to the docks northwest
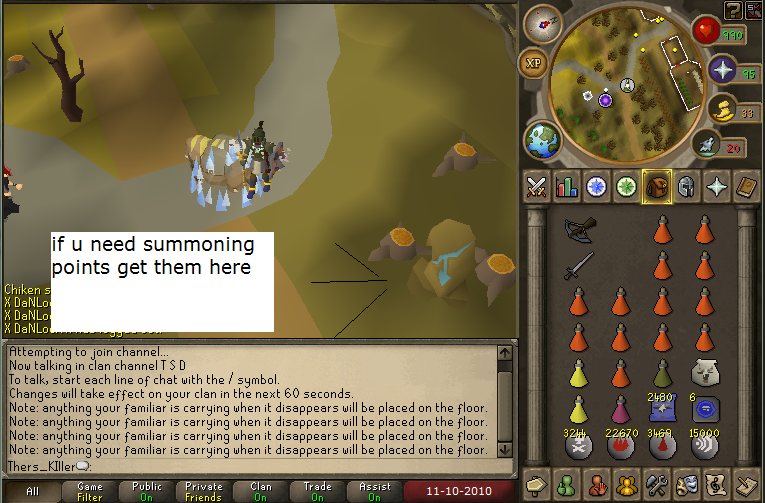
Dagannoth Kings obelisk near to waterbirth island
you will come across an obelisk, recharge if wanted/needed
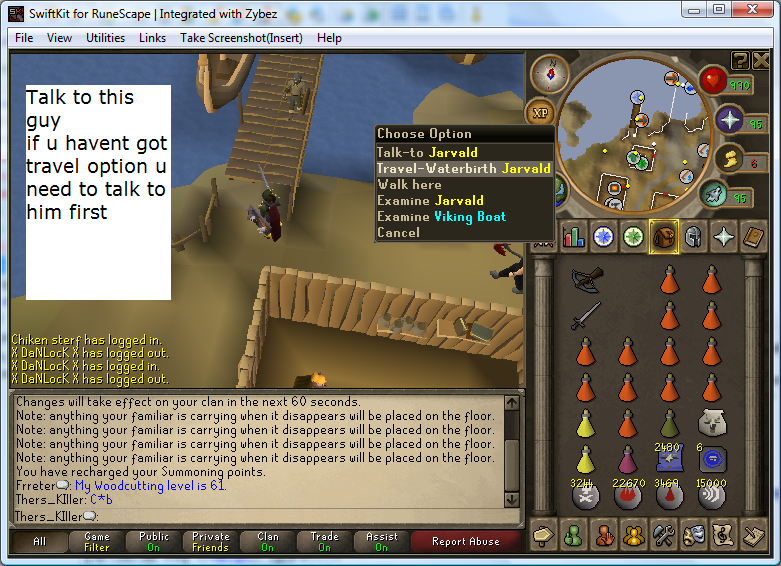
Dagannoth Kings jarveld route to waterbirth island
talk to jarvald to get to the island
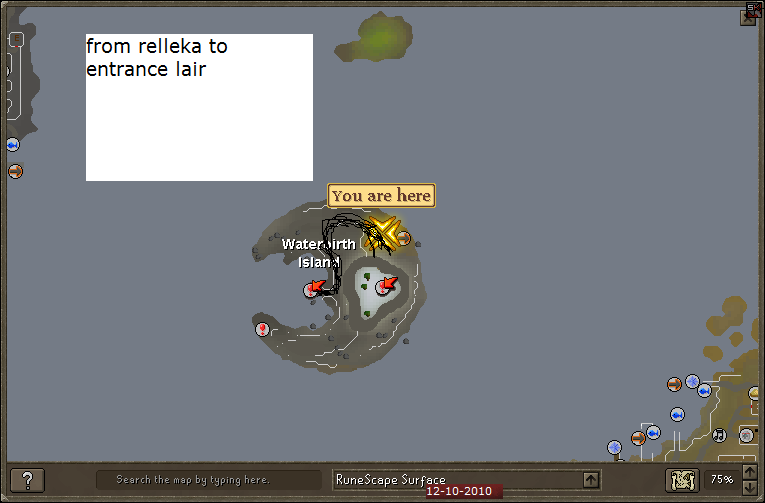
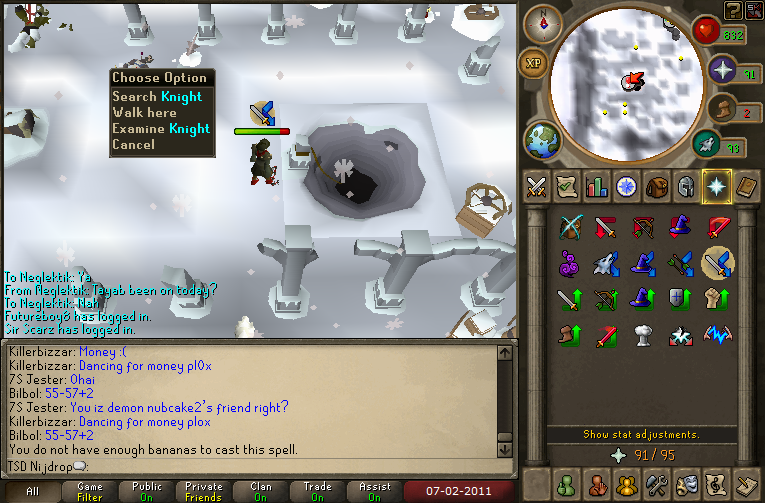
Dagannoth Kings route to cave on waterbirth island
Route from island to entrance lair

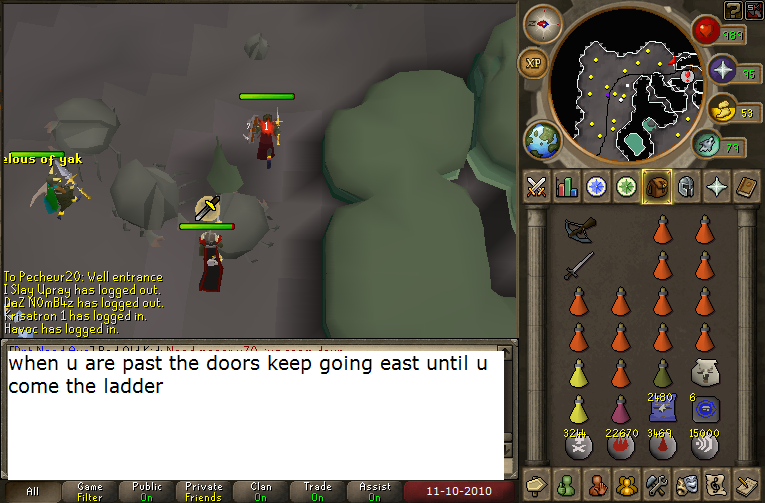
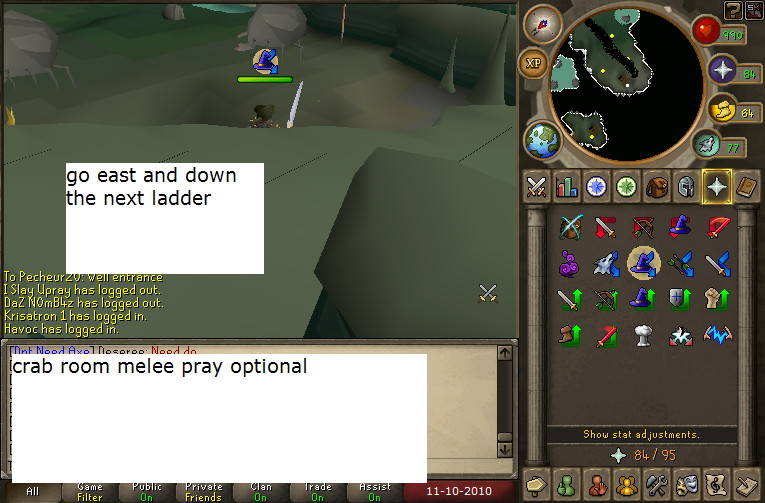
Door to Dagannoth Kings
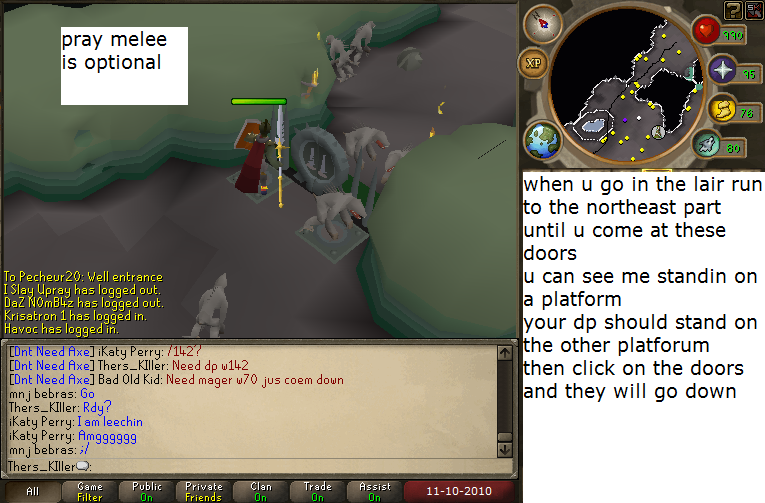
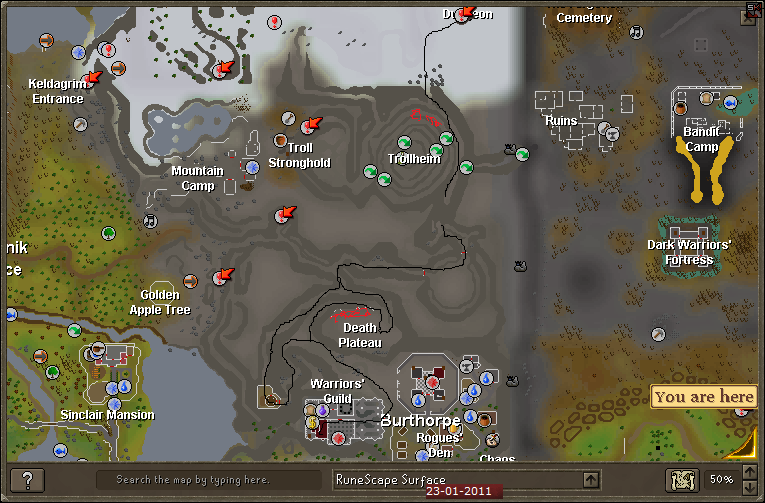
Rest at lair and find a DP if u havent got a friend coming with u
DP = door partner

Lair Door to Dagannoth Kings
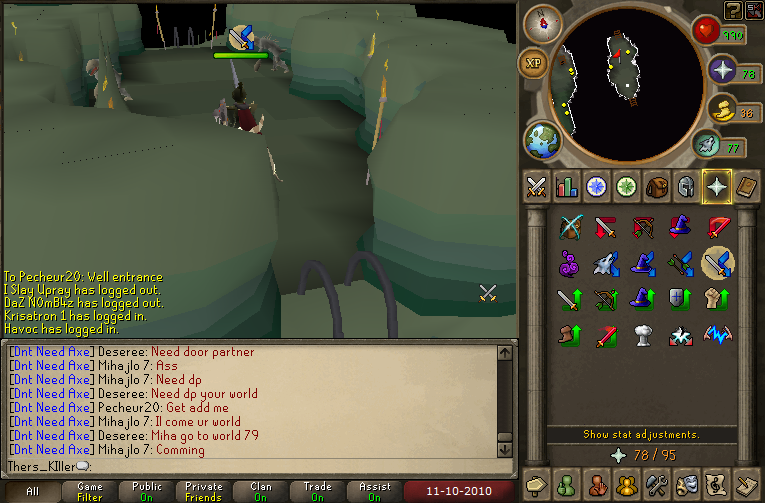
Lair Door Pressure Plates to Dagannoth Kings
At the Lair Door Pressure Plates to Dagannoth Kings
Lair Door Pressure Plates to Dagannoth Kings
Keep going east

keep going east
Route To dks

Route To dks

Route To dks

Route To dks
Route To dks
Route To dks
Route To dks

Route To dks
Route To dks
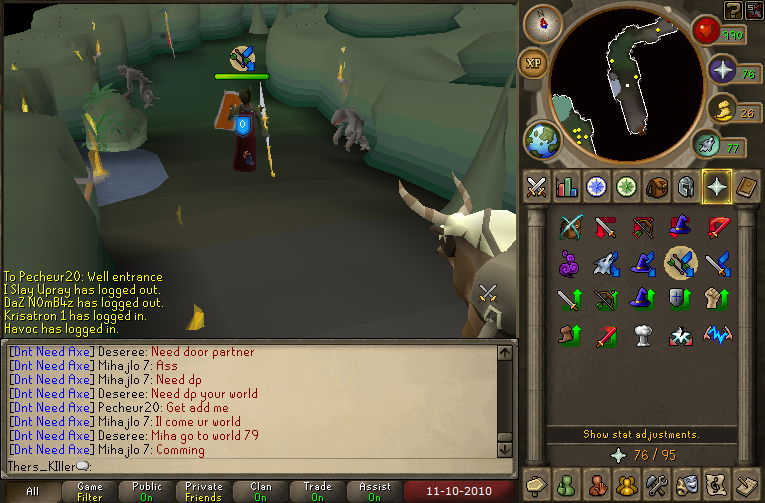
Route To dks
Route To dks
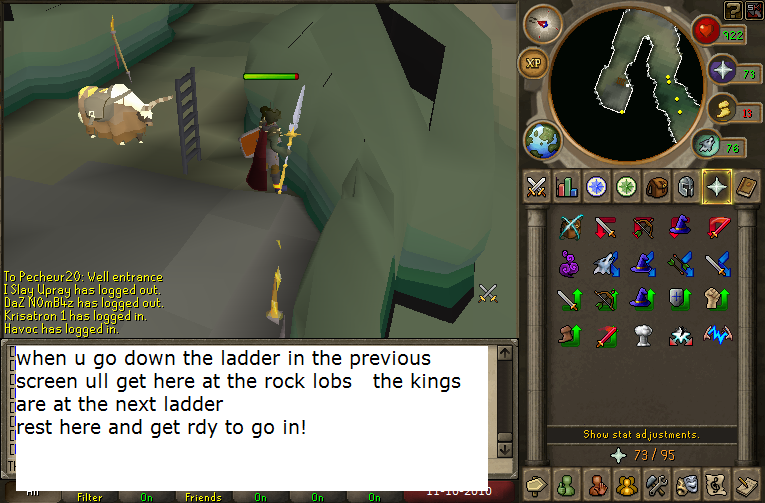
Route To dks
Route To dks
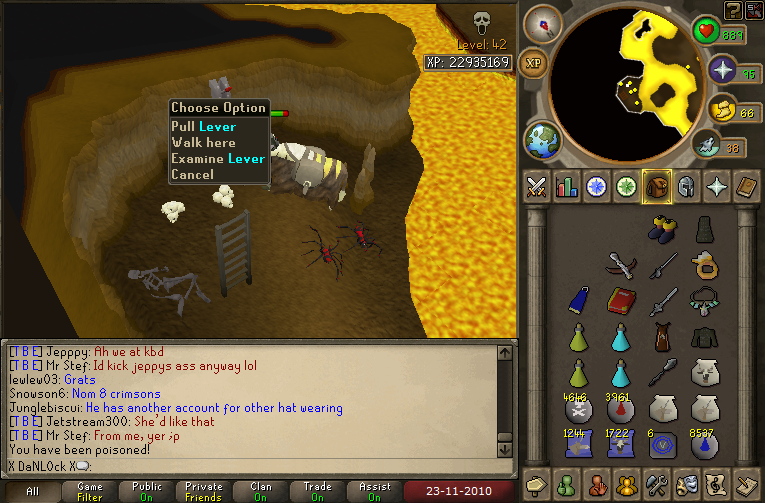
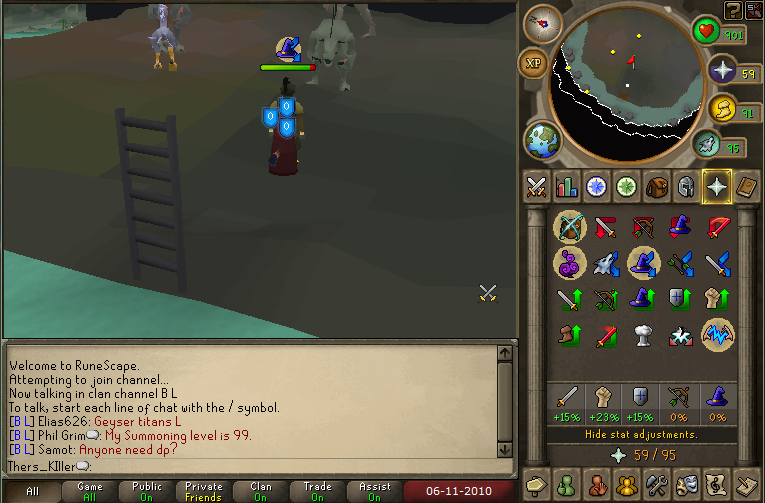
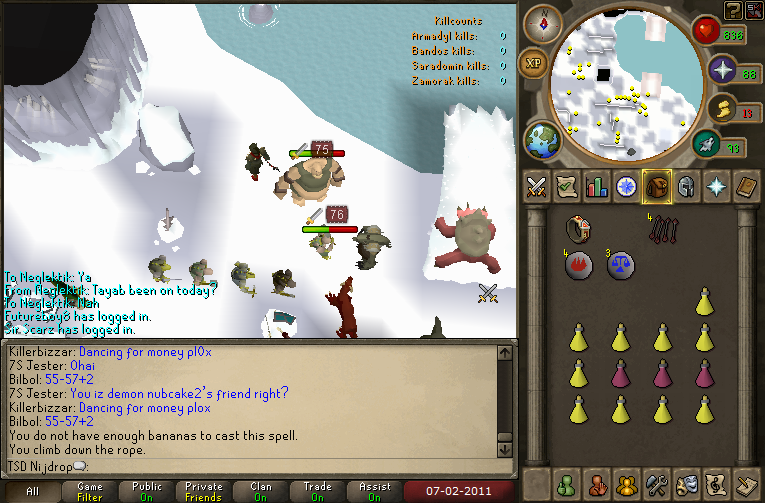
3.0 [ THE KILLING ]
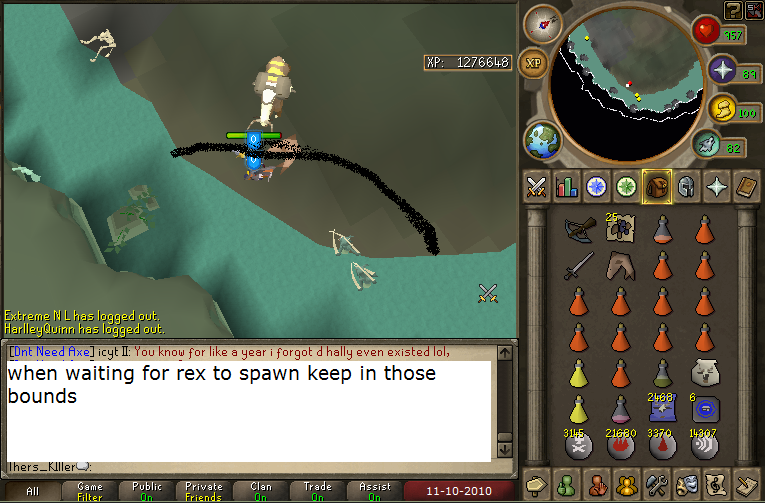
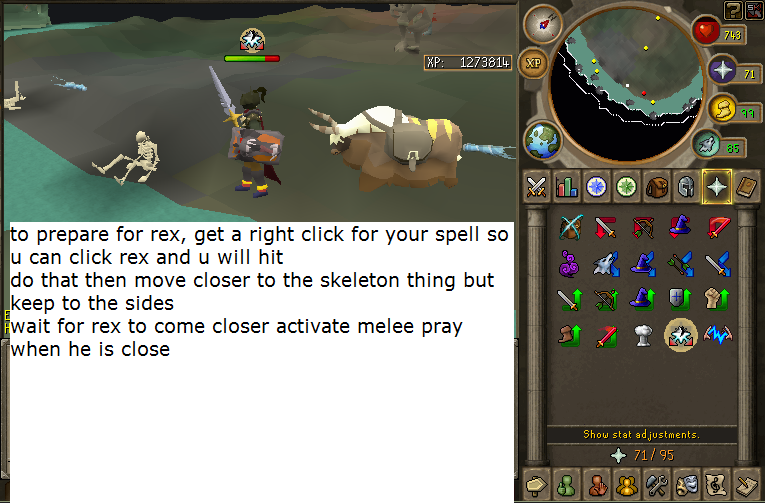
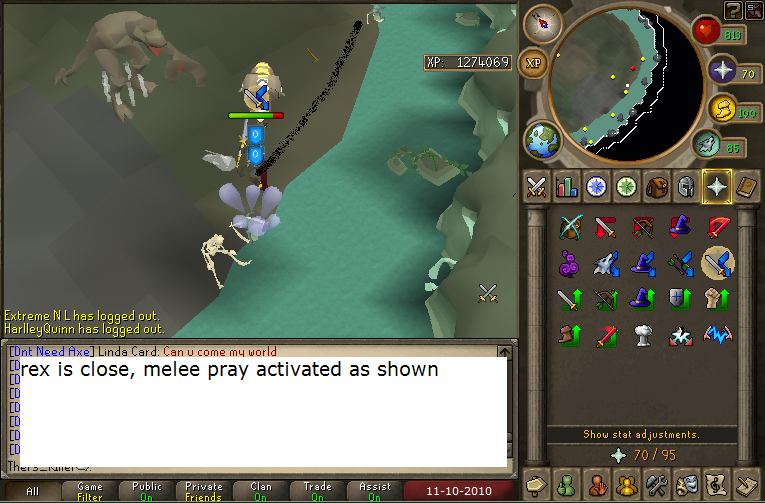
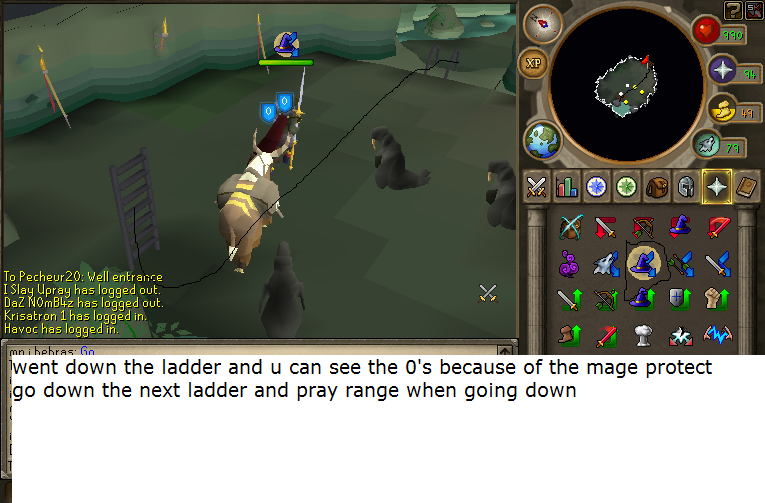
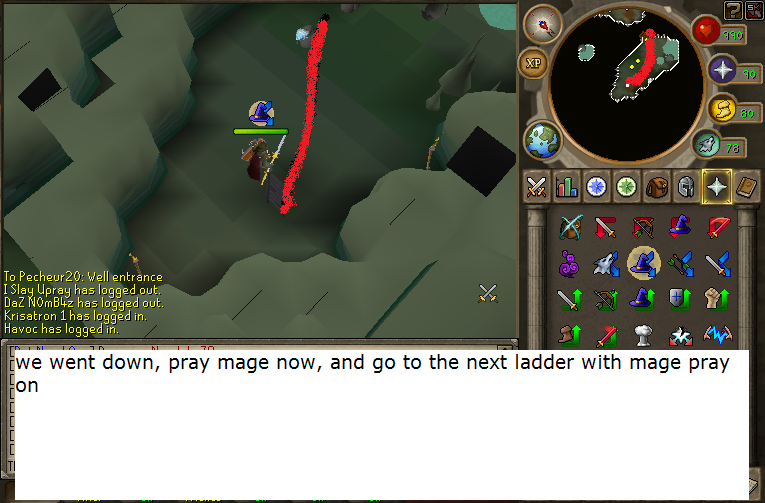
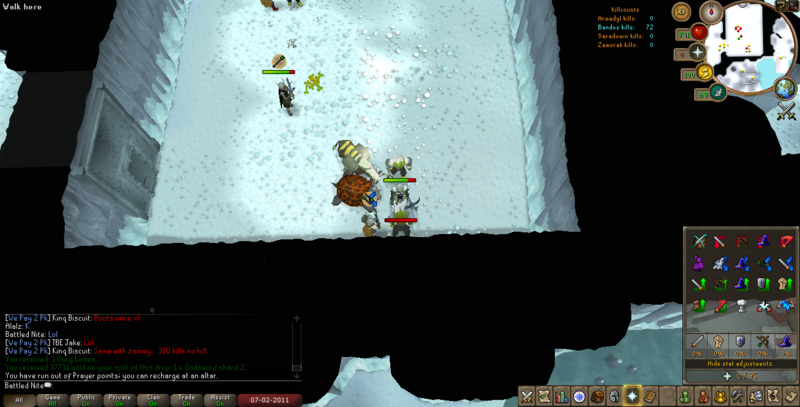
After this point, in a team situation the people who are maging need to descend down the ladder, praying mage, attack rex making sure not to Ice barrage him in place, whilst he has your attention you need to follow the next step of pictures/text to lure him into position. (You will need to tank supreme whilst this is going on)
Luring Rex
Luring Rex
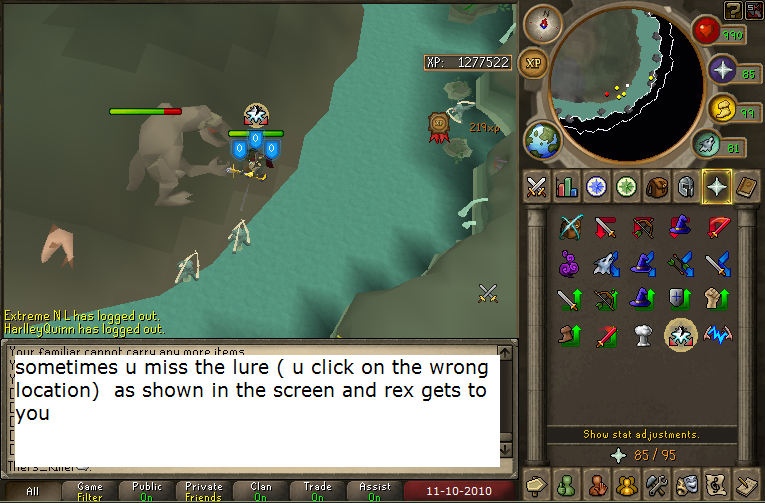
Go down the ladder, run as far south then run east along the south side of the island, Continue praying mage, step out and mage Rex to attract him to you, once rex has run south east towards you inform the melee/rangers to come in.
Luring Rex
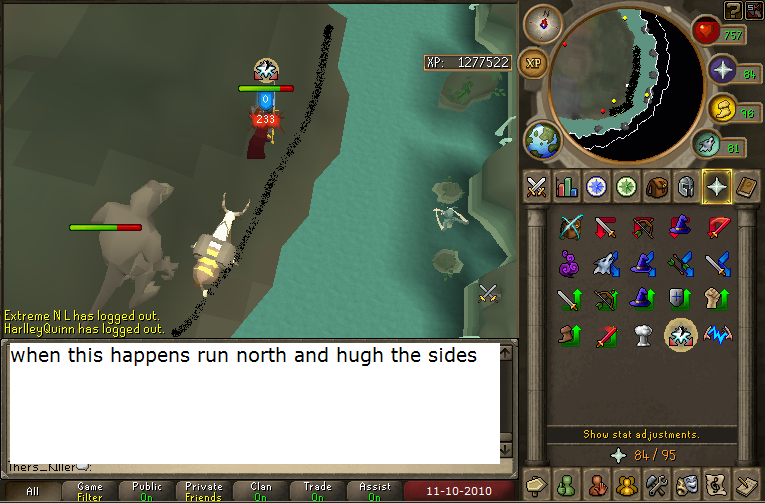
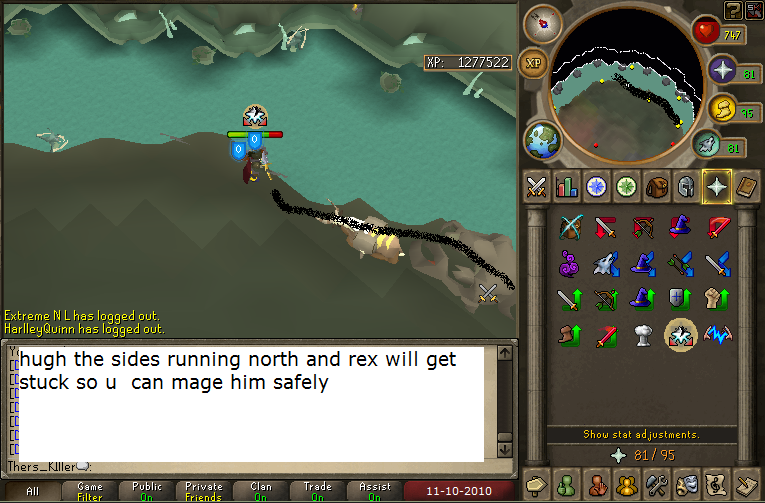
Once you have maneuvered Rex into this position, run north nut make sure to hug the east wall, you should eventually have Rex behind you and you want to end up in this position.
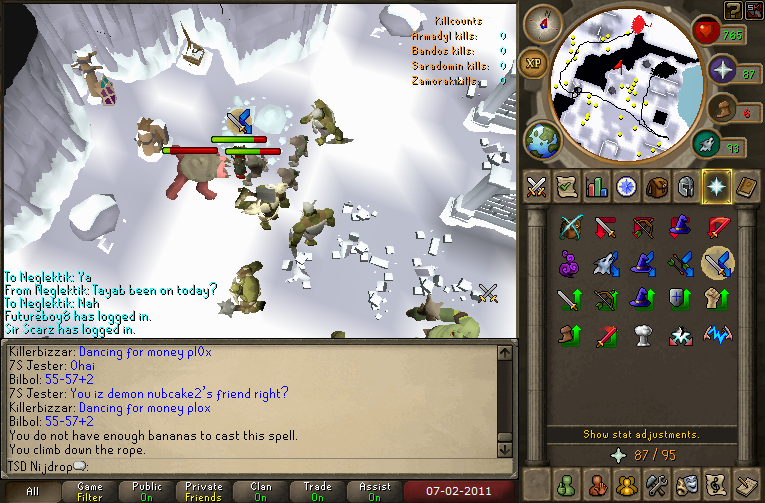
Luring and Killing Rex
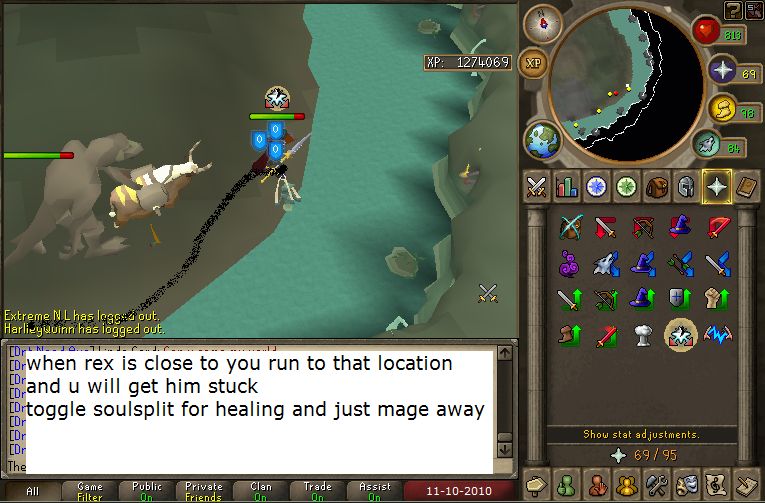
When Rex is dead, repeat the process, 1 person runs south (Lurer) staying quite close to the south/east walls, ensuring you don’t lure Prime/Supreme onto your team. Step out a little and wait for Rex to spawn, mage him and repeat the process of the lure.
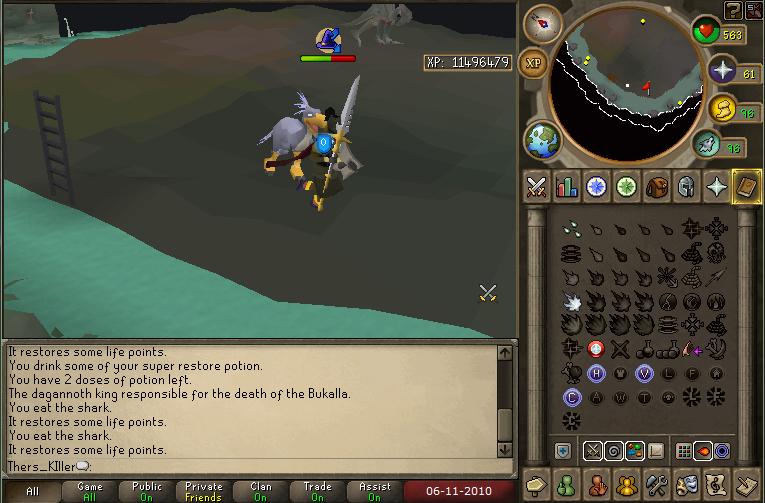
Killing Supreme / Prime
The initial killing spot of Supreme and Prime make no difference, you will be informed by the magers when Rex has been lured, only then should you enter the dungeon. Once you are in you will need to instantly Brew/Ext Def/OVL up, and melee Supreme all the time praying mage.

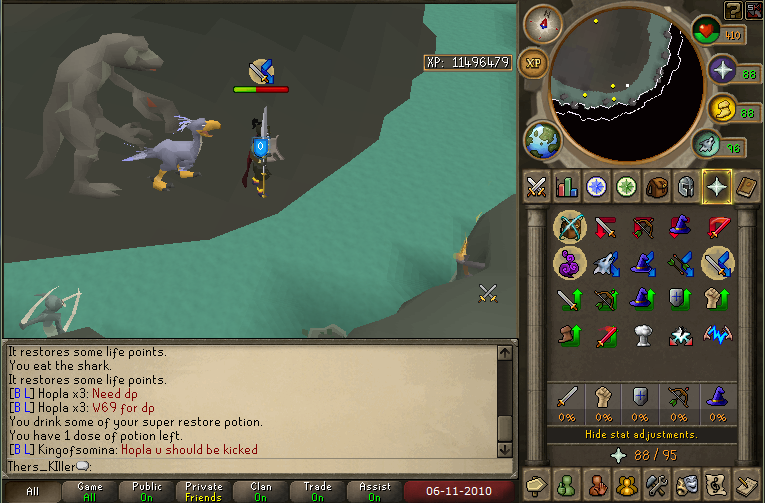
Killing Supreme / Prime
Once you have killed Supreme, run north and sit as close to the north wall as possible so that when Rex is killed and he spawns, he cannot run to you and start attacking, this makes it easier for the mages to continue with there lure process.
Killing Supreme / Prime
When you have downed Supreme and Prime, run north, be sure to not run into Rex as it will jump out of its lure spot.
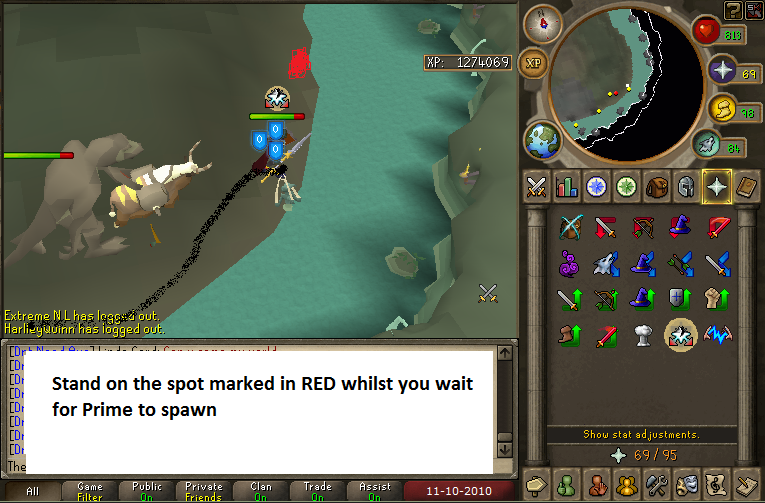
The following picture will show where you should be standing at all times whilst waiting for Prime to spawn, please note, if you don’t want Supreme to hit you whilst you are killing Prime DO NOT MOVE out of the location, allow Supreme to maneuver himself to you, he will auto attack you once he is close enough.
Killing Supreme / Prime
Once prime has attacked you, and he’s down, take care running out to the south praying Range, claw spec/ags/balmung/whip Supreme he usually drops in 30 seconds with 10+ people.
Run back north to the DD spot for Prime and repeat.
If Rex spawns at the same time as Supreme, quickly kill supreme, all melee players run north, having 1 lurer (leader of trip) meleeing rex, as well as the magers attacking. Rex should stick to the meleer. Run south, then wait for him to follow, hug him around the south wall following through to east and place him into the lure position for magers, just like in the mage guide above.
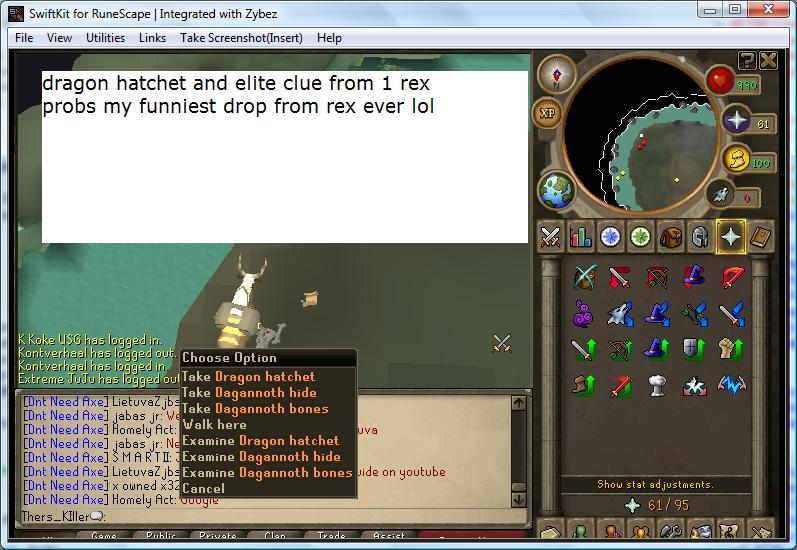
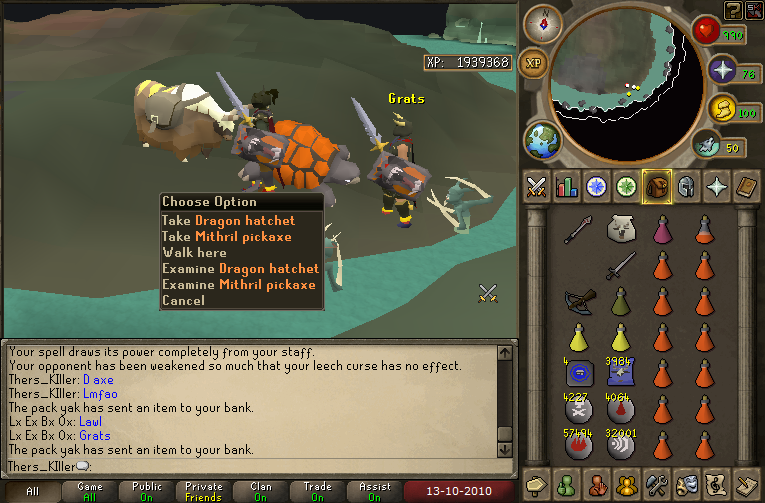
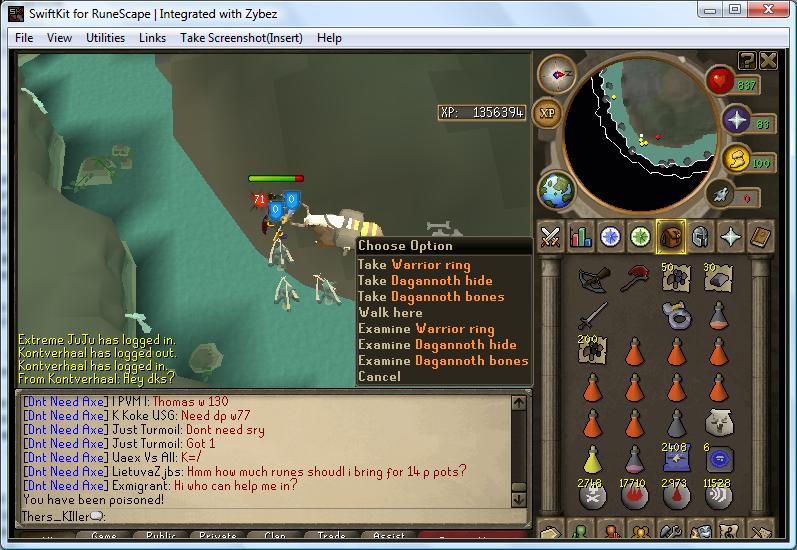
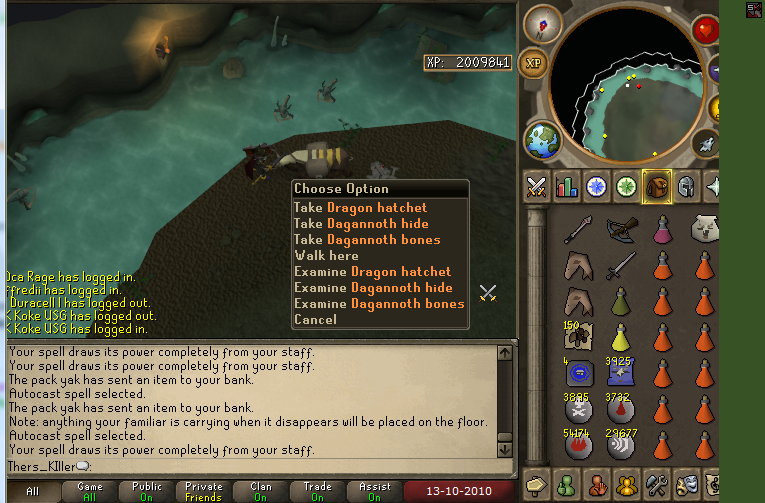
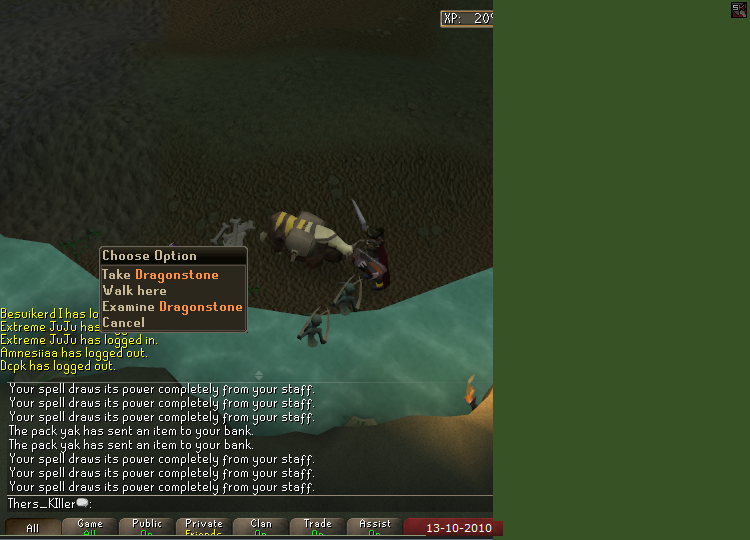
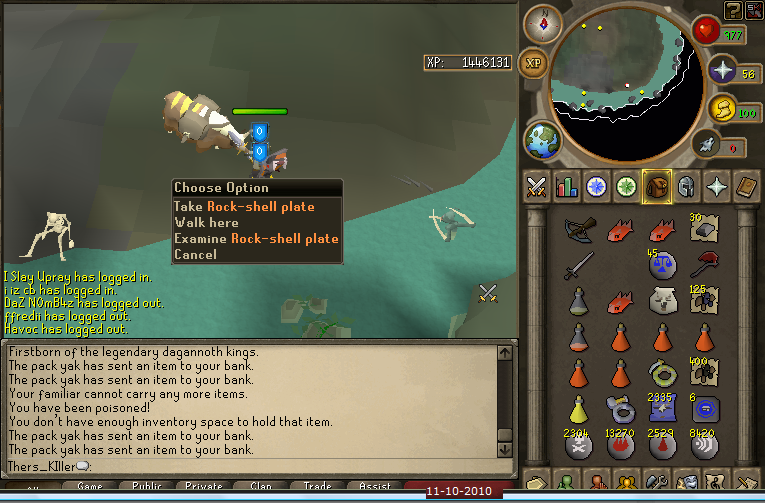
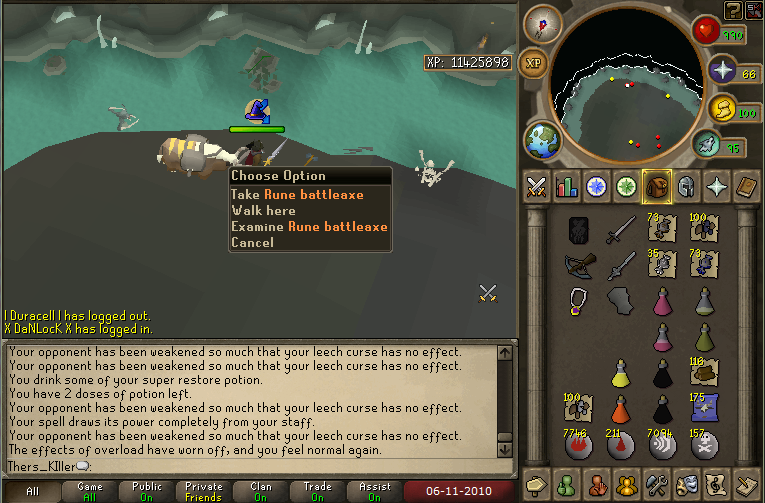
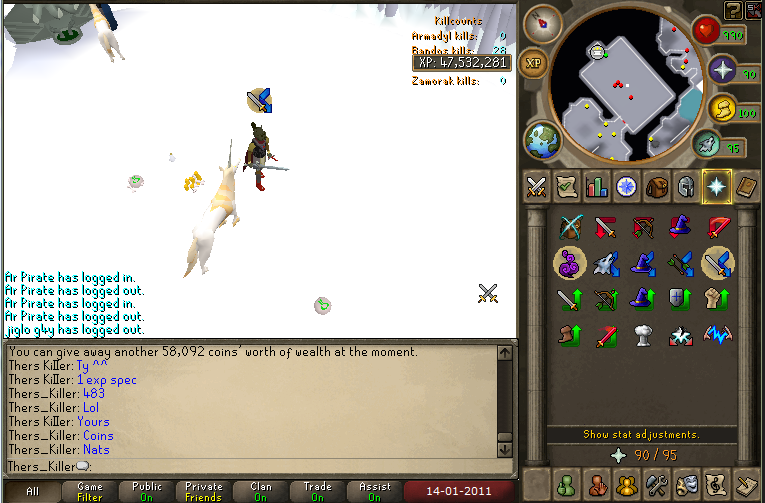
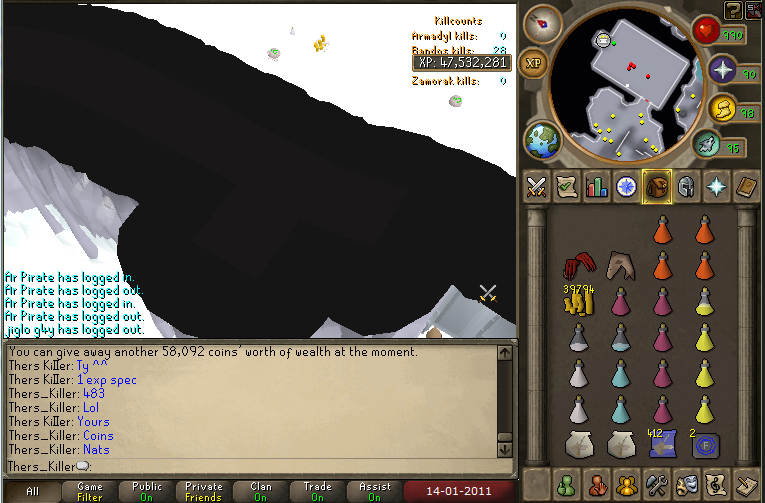
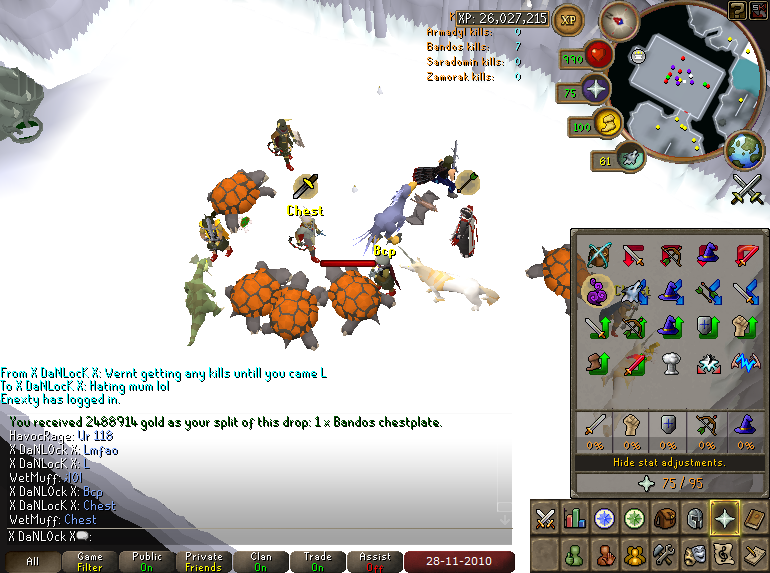
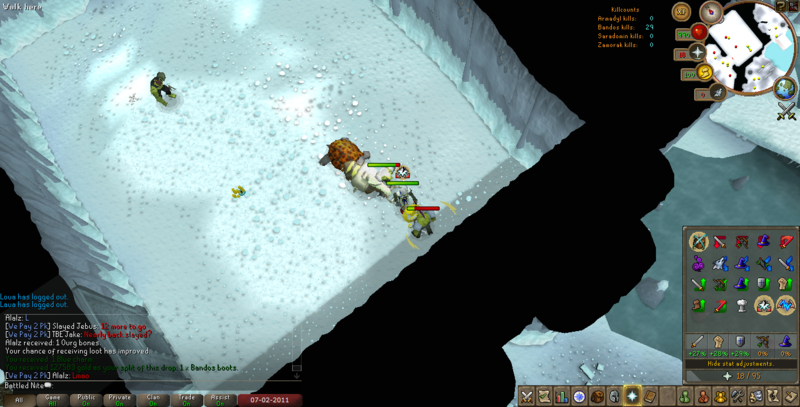
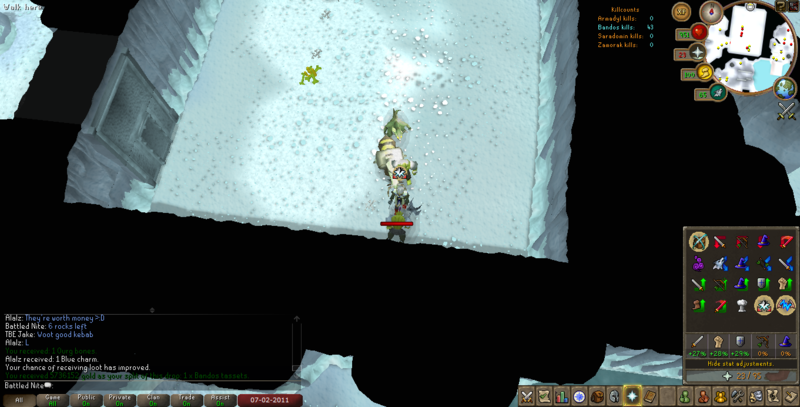
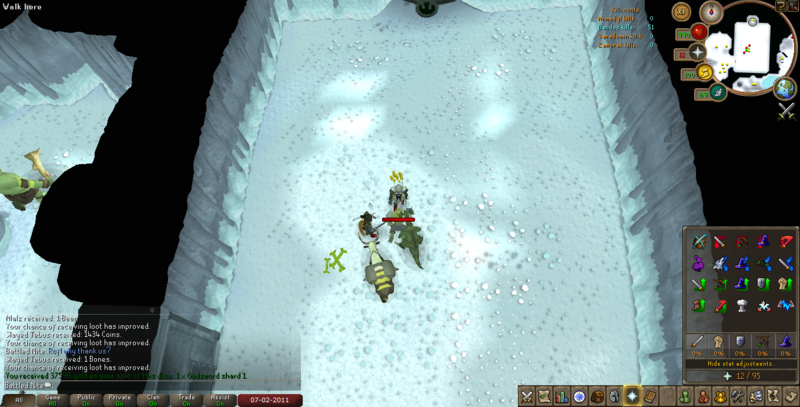
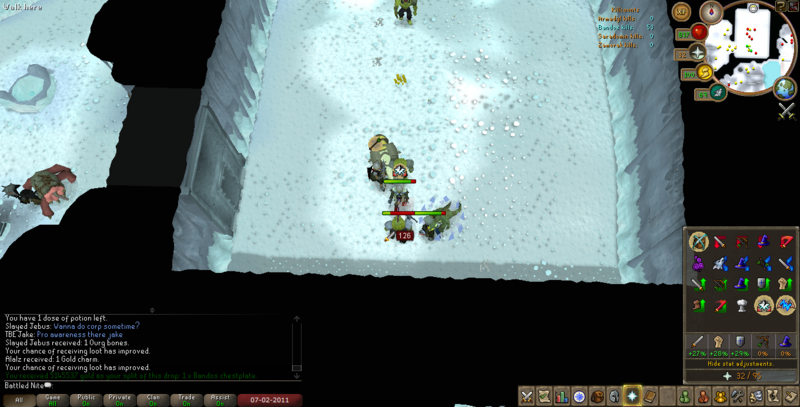
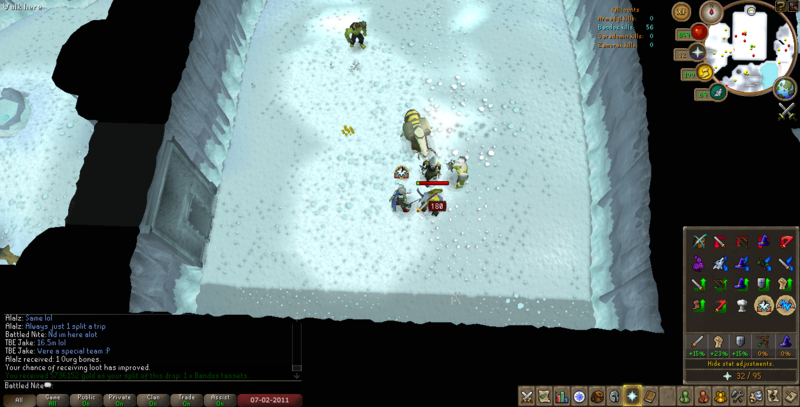
4.0 [ DROPS ]
Dks Drops
Dks Drops
Dks Drops
Dks Drops
Dks Drops
Dks Drops
Dks Drops
Dks Drops
Dks Drops

Dks Drops
Credits to –
Credits go to Thers_Killer for screenshots of cave/lure process, and the run up. The rest to Frisky Frogs.
DKs Solo Guide – https://junglebiscuit.com/runescapedagkingssologuide


 Runescape – Penguin Hide & Seek