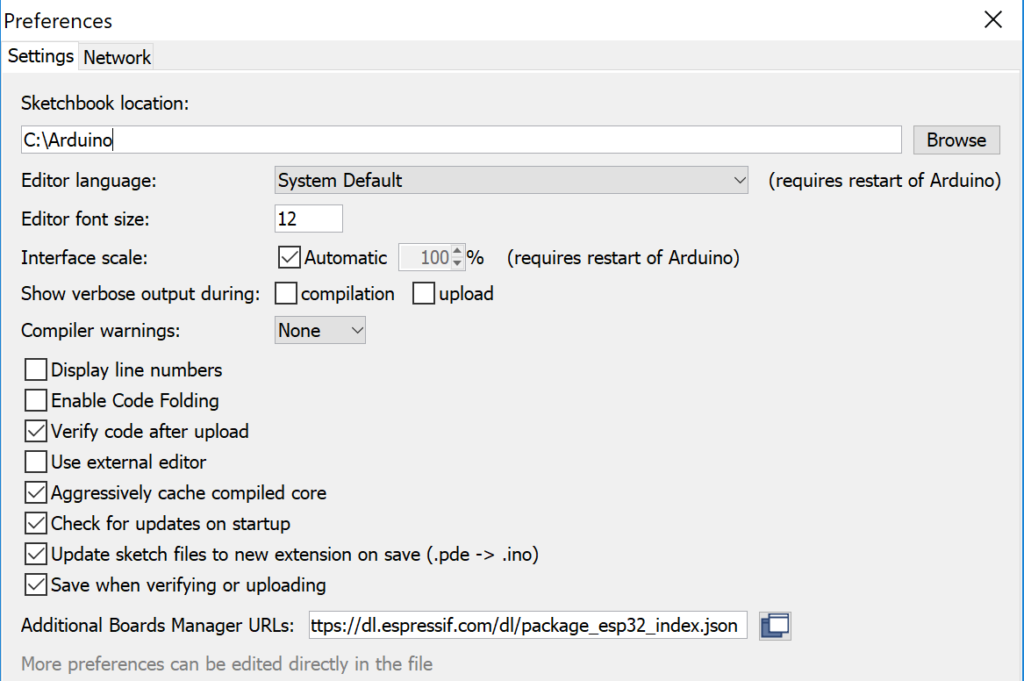
Got youself a new ESP-32 development board and wondering how you talk to it? The good news is that someone has done a lot of the hard work required to set up ESP-32 support in the Arduino IDE. The first thing we need to do is add the board manager files so that settings and boards relating to ESP-32 show up in the Arduino IDE. Go to File -> Preferences then enter https://dl.espressif.com/dl/package_esp32_index.json into the “Additional Board Manager URLs” field:

Note: if you already have the ESP8266 boards URL, you can separate the URLs with a comma in the above.
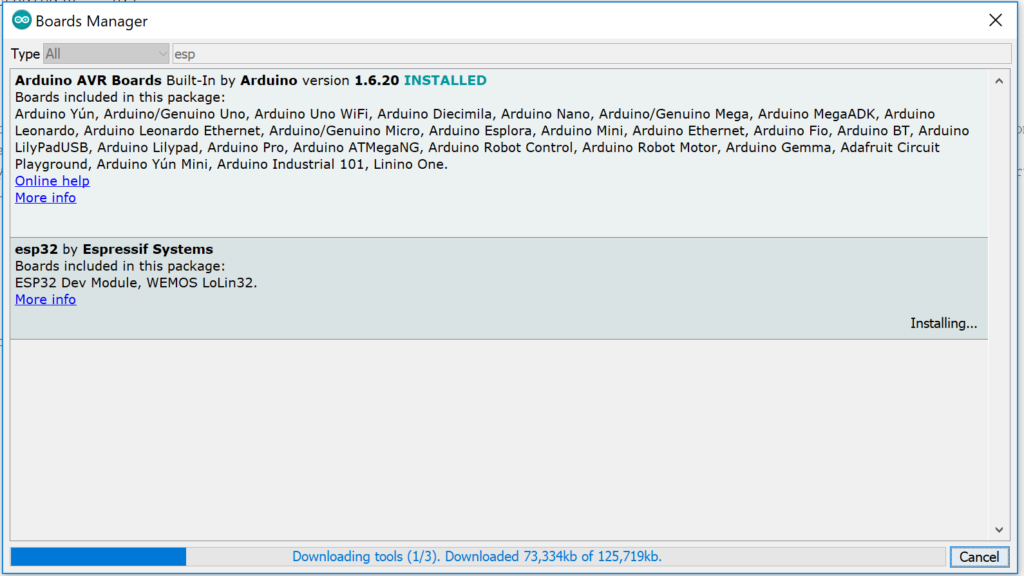
Open boards manager. Go to Tools > Board > Boards Manager…
Search for ESP32 and press install button for the “ESP32 by Espressif Systems“ and hit install:

Select your Board in Tools > Board menu (in my case it’s the DOIT ESP32 DEVKIT V1)
Plug in the ESP-32 with USB cable to your computer.
Select the Port (if you don’t see the COM Port in your Arduino IDE) (tools->port).
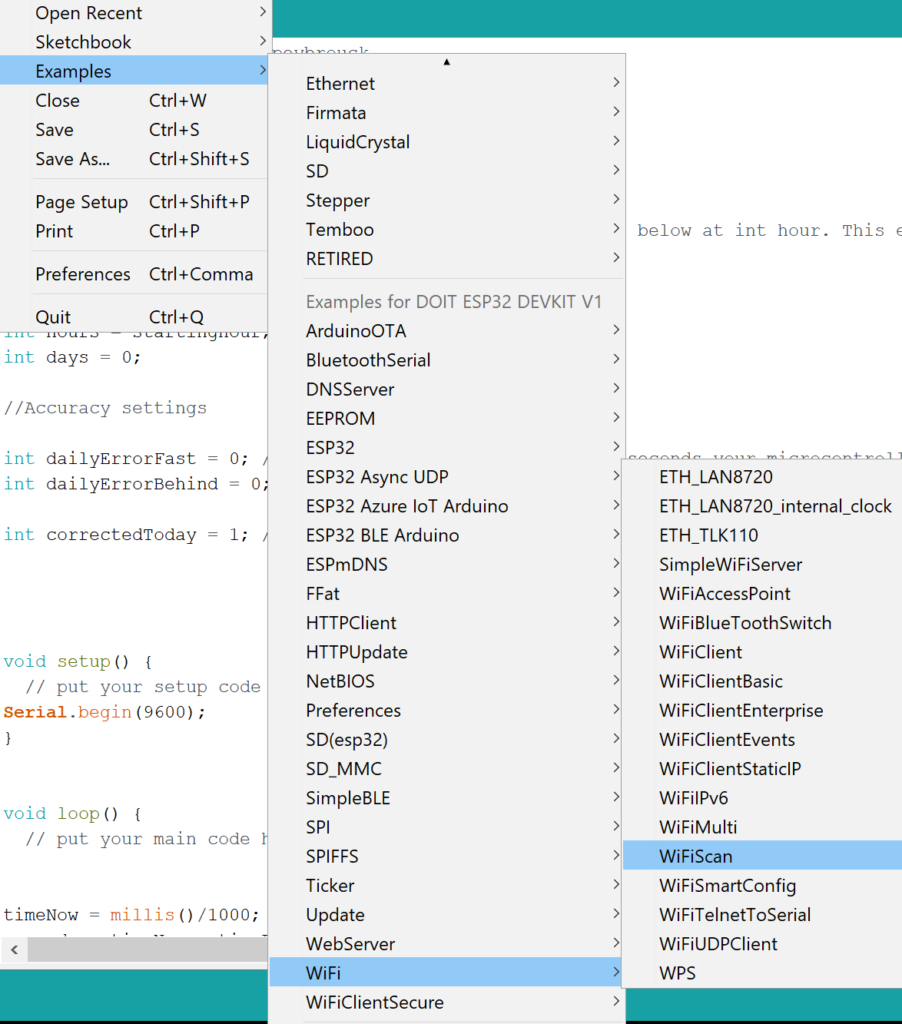
Open the following example under File > Examples > WiFi (ESP32) > WiFi Scan

Press the Upload button in the Arduino IDE. Wait a few seconds while the code compiles and uploads to your board. When it says connecting…… press the boot button on the board and release. If that didn’t work hold the boot button before you press upload and release when it says connecting. I’ve even had some dev boards that need the enable button pressed instead, doing one of these will work, you just have to find which one.

If everything went as expected, you should see a “Done uploading.” message.

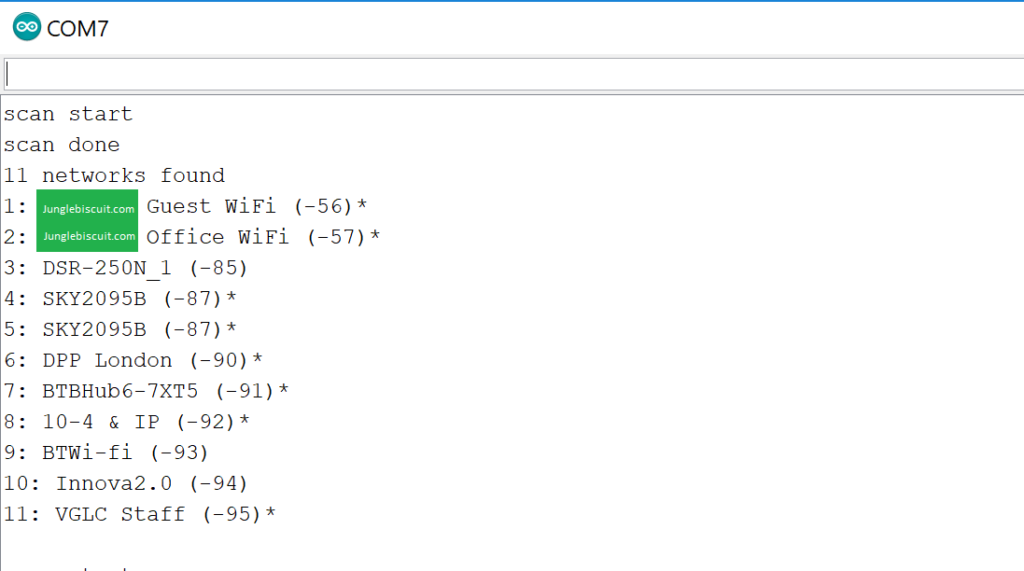
Finally just open the Arduino IDE Serial Monitor at a baud rate of 115200 and hey presto you should see it scaning for WIFI networks. You may need to press enable/reset button first:

