This installation guide uses a cracked copy of Windows XP Pro. This is only for training and guiding purposes and I am not advising anyone to use illegally obtained software.
This copy does not include a Serial Key, when you reach the stage when you are prompted for a serial you must input the key given when purchasing the software.
I am providing a step by step installation of Windows XP Pro, All other versions of XP installations are very similar to this and any average user can easily install XP after reading this guide. I am including screen prints of the installation whilst using Virtual PC to install XP.
1. Place the windows XP disc into your CD/DVD Drive.
2. Restart you’re computer and await for the stage which says “Boot from Disc press any key” hit any key.
3. After hitting a key a blue screen will appear looking similar to this, this screen will change whilst the software analysis you’re computers hardware.

Allow this process to continue until you arrive at step 4.
4. You will now be at the stage in which you are prompted to select from either the following partitions or to create a partition.
As i am using a virtual drive i only have one small partition in which I will be installing XP. If you wish to delete a partition follow the on screen instructions, if you wish to create a partition then follow the instructions give, i will be simply just
installing i have no need to create. Creating a partition usually is used for duel booting OS’s or backups.
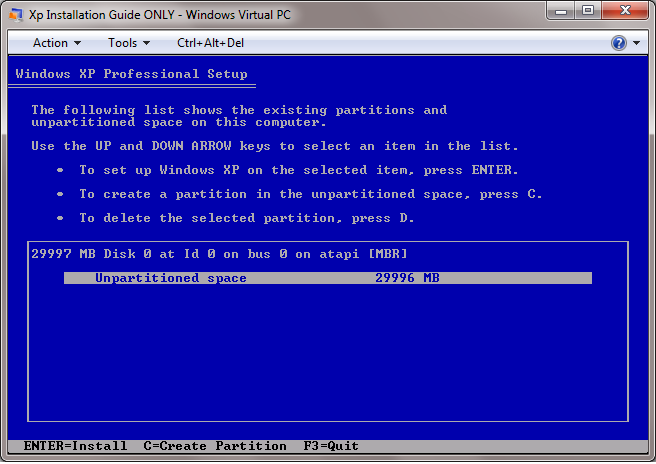
Press Enter to install and then continue onto step 5.
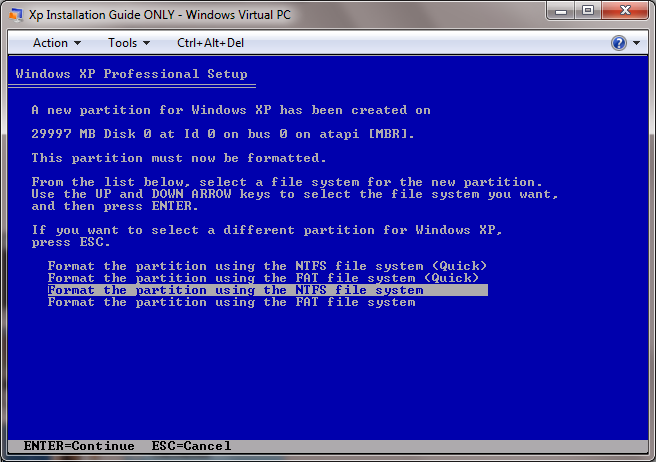
5. This stage is now about choosing which format you wish for the partition you have created to be in, bearing in mind that Fat32 is an out dated system format I would recommend NTFS, choose the quick option if you have no previous installations if you have had another OS or even the same OS on the drive before but are just reinstalling due to error’s etc then use the NTFS file system highlighted in the installation image (This installation can vary in time from 20 Mins to 2 Hours depending on System specs i.e. RAM, CPU speed and of course the size of the drive matters)
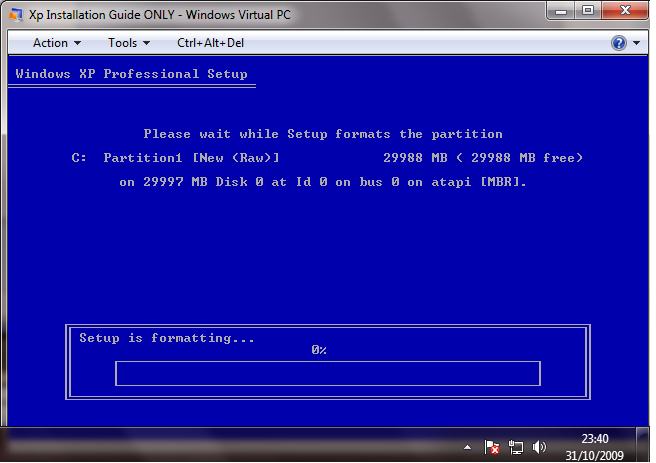
6. This step will format the partition/s you selected to NTFS format so that files can be copied over and the OS can begin to be built.
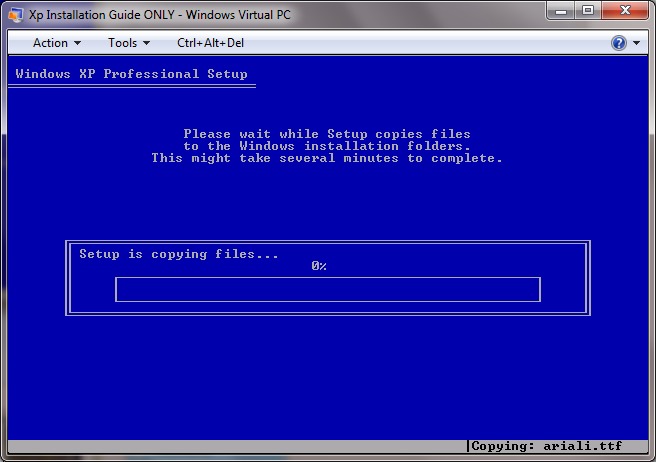
7. Step 7 is the time when the software has now completed the format of the space allocated for the system to use, now it will begin to copy over the files in which it needs to run the computer formally known as "System32 and System"
8. Once the screen changes to the following, Xp has finished copying over files and folders and will start to initialize the actually installation of simple drivers, time and date settings, language and keyboard settings etc.
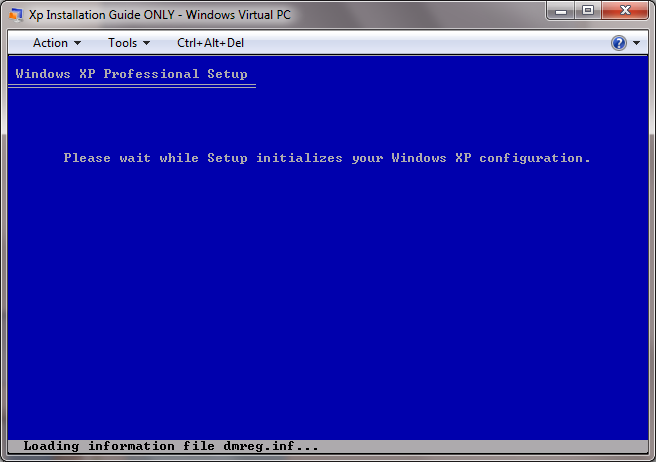
9. You’re computer will reboot after step 8 and you should see the following screen.
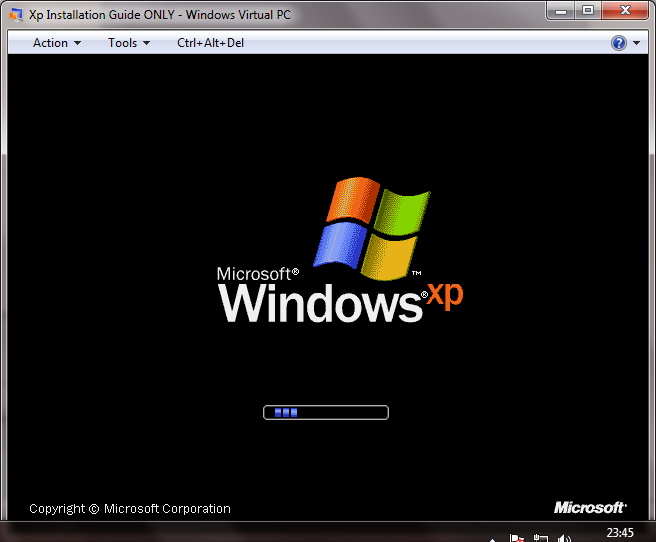
Allow this to load without fault and hesitation i.e. do not turn off you’re computer.
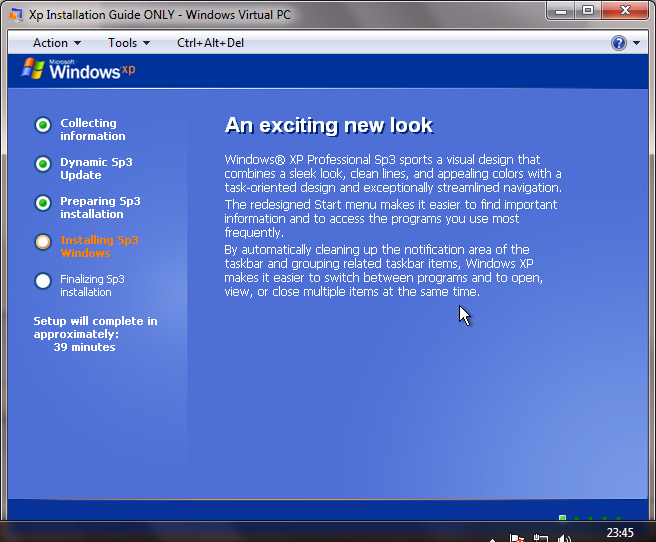
10. This screen is the start of the configuration process allow this to work through until it displays "Setup will complete approximately: 33 Minutes" At this stage you should follow from step 11.
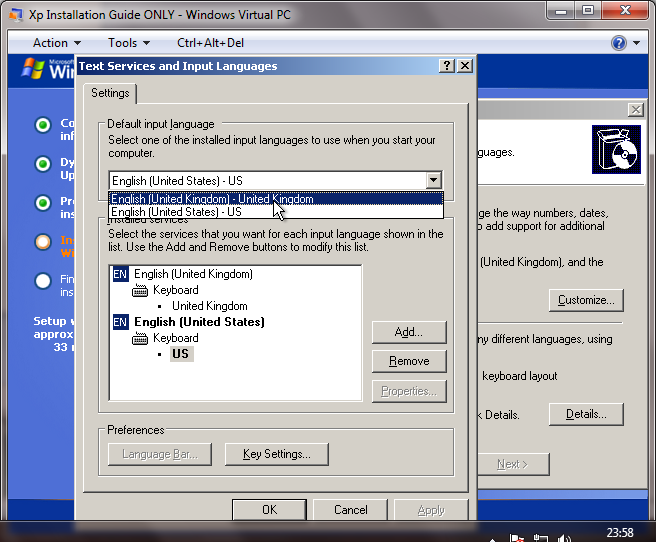
11. This step is the start of the language configuration. If you live in the US skip this step.
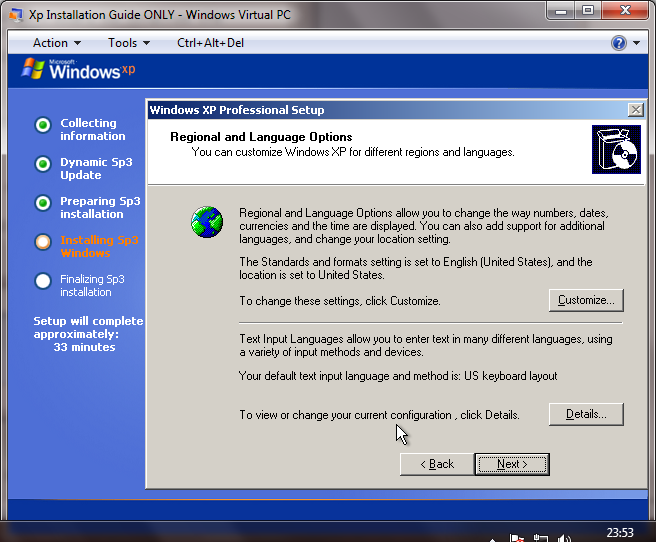
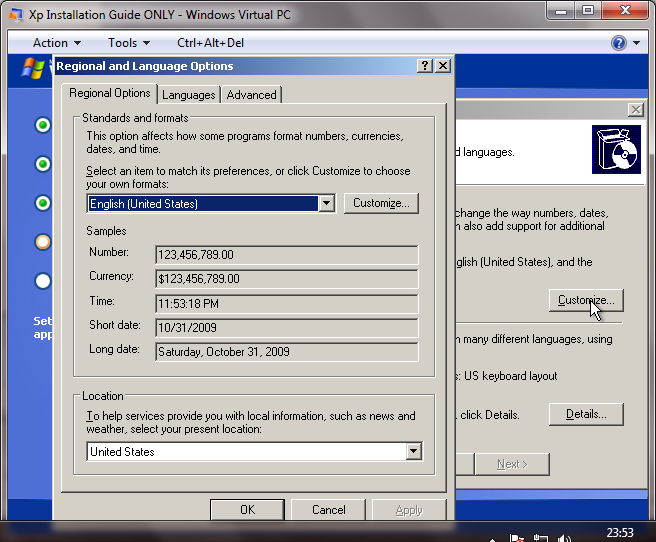
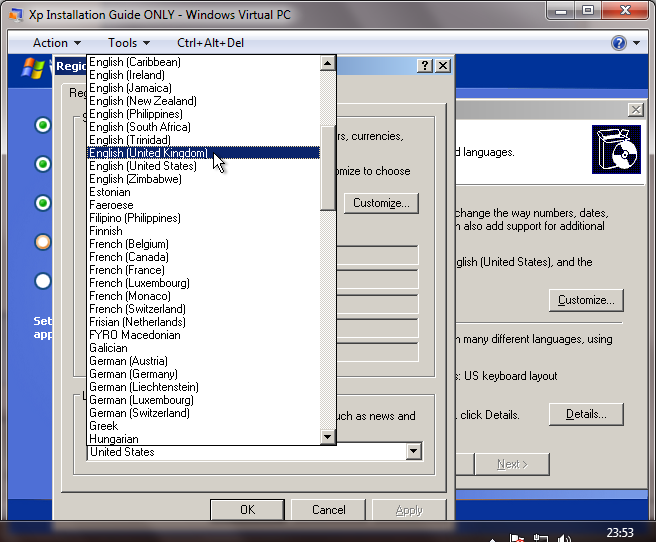
From here you need to click "Customize" this will bring up another windowing prompting you to select the regional language you wish to use. Choose you’re desired language from the drop down menu then choose the same location from the drop down menu below and press "Accept or Apply"
Now you will need to press "Details" this section is for the keyboard layout, if you do not select the right one you will start typing in the incorrect language I.e. if you are English and want to press the @ key you will find you are actually typing " instead.
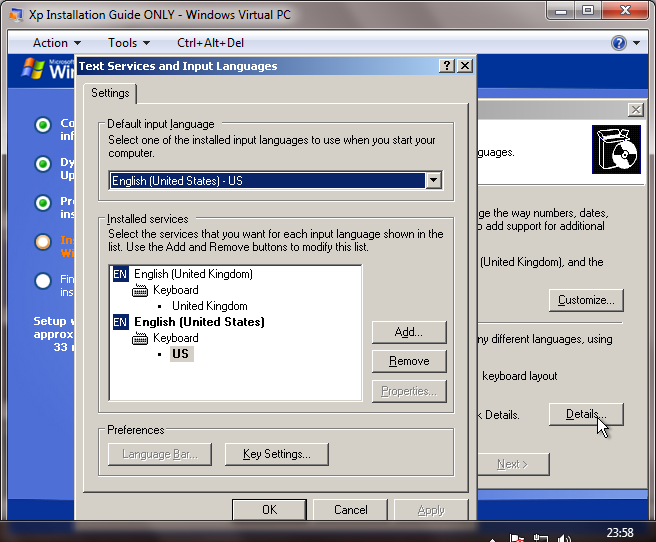
From here you need to change the language of the keyboard to english from the drop down menu.
12. Step 12 is the stage in which you need to select a name for the installation i chose my name of course.
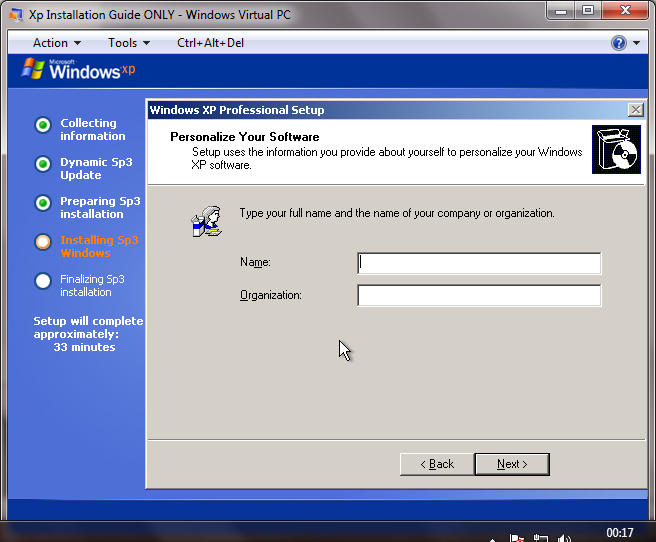
Enter the details into the corresponding fields i left "Organization" blank as this is a home installation and not for a company.
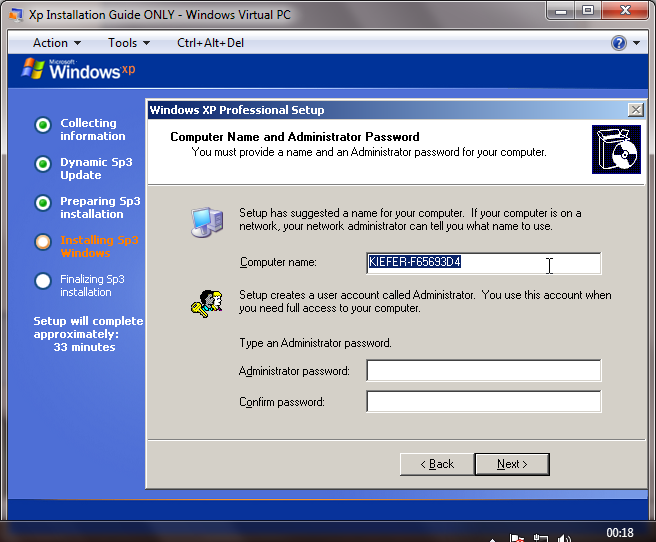
After you have entered you’re details click "Next" and you will be prompted with a new window containing the drop down menu for the timezone in which you live in.
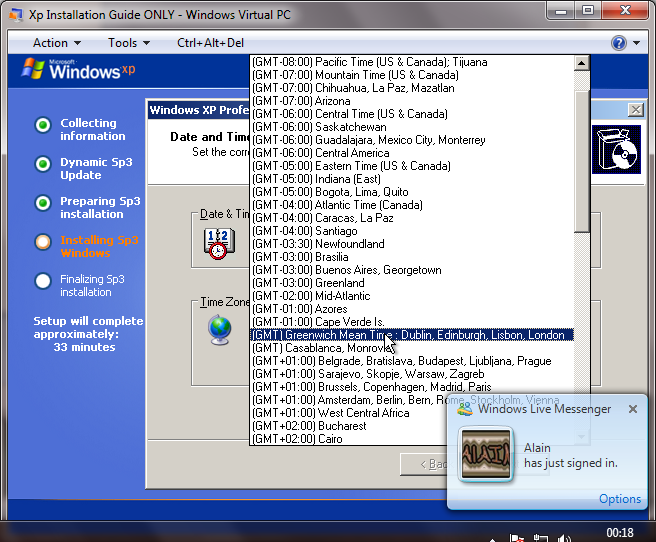
I chose GMT London etc as i am based within the GMT +- area. After clicking "Next" again you will see the following screen
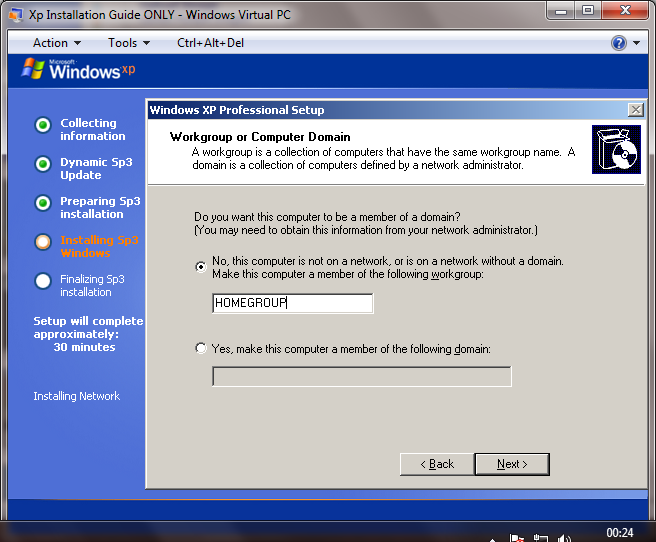
13. This step is where you are asked if the computer is connected to a network i always leave mine set as the already default selected option and then type in HOMEGROUP displayed in the following picture. Click next when you have done this
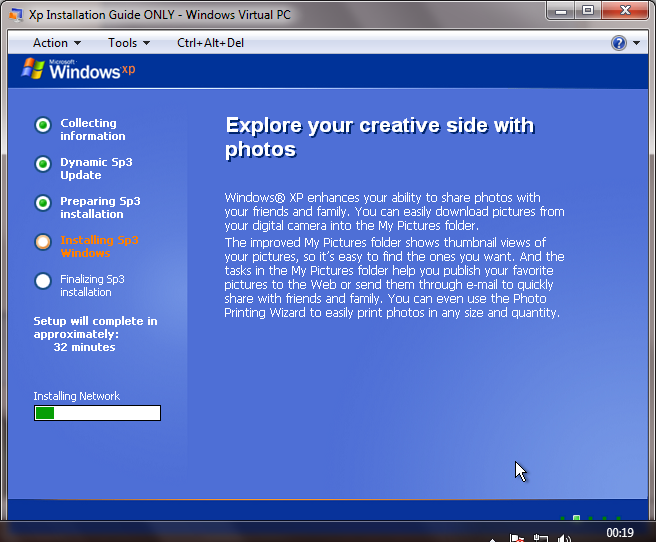
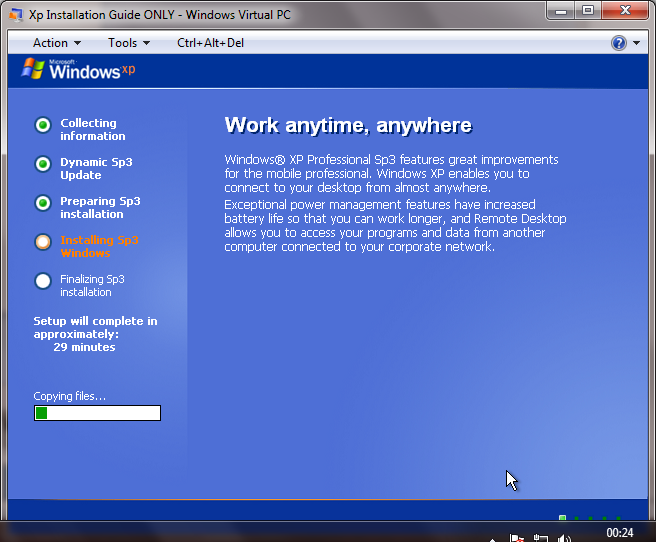
14. Once you receive this image, XP has finished preparing the installation and configuration and is now applying the settings and actually installing. Await the next stages.
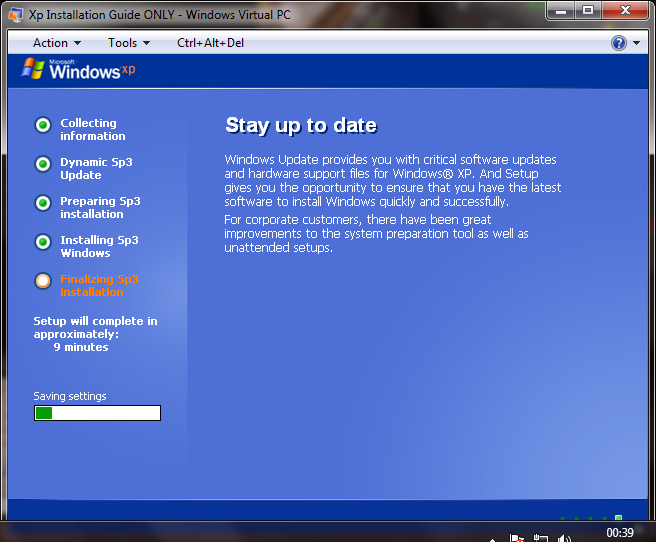
15. When you receive this image, the XP installation is completed and is now finalizing the installation. Be patient and wait a little more for it to complete. You’re computer will restart after the installation is finalised.
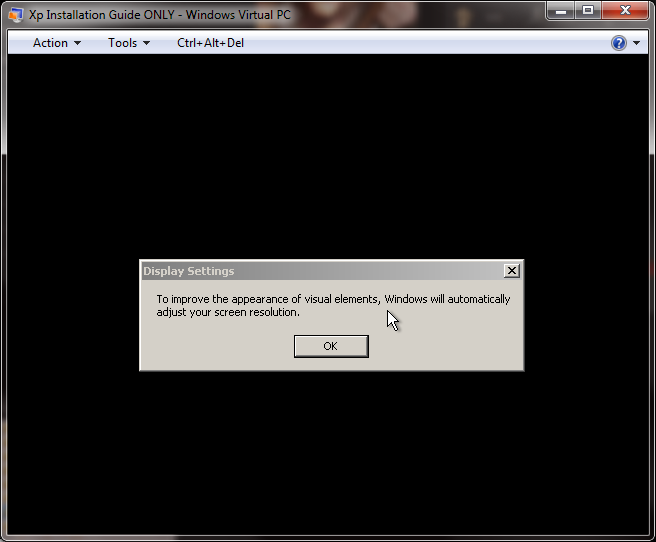
16. Now that Xp has finished installing it will attempt to auto adjust the screen resolution to fit you’re monitor and graphics card. Just click OK.
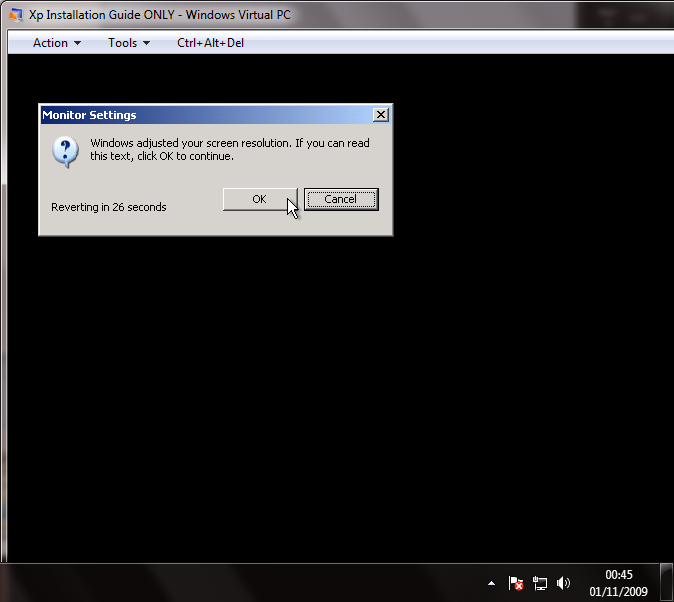
17. If this resolution is good and is not to large or to small then click ok when you see this screen as well
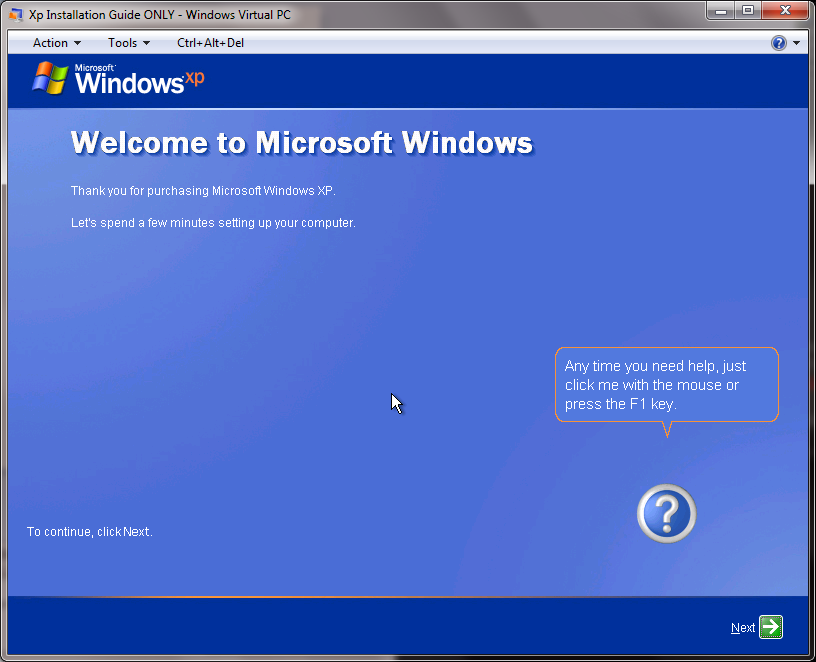
18. Congratulations and welcome to Windows Xp you are almost finished.
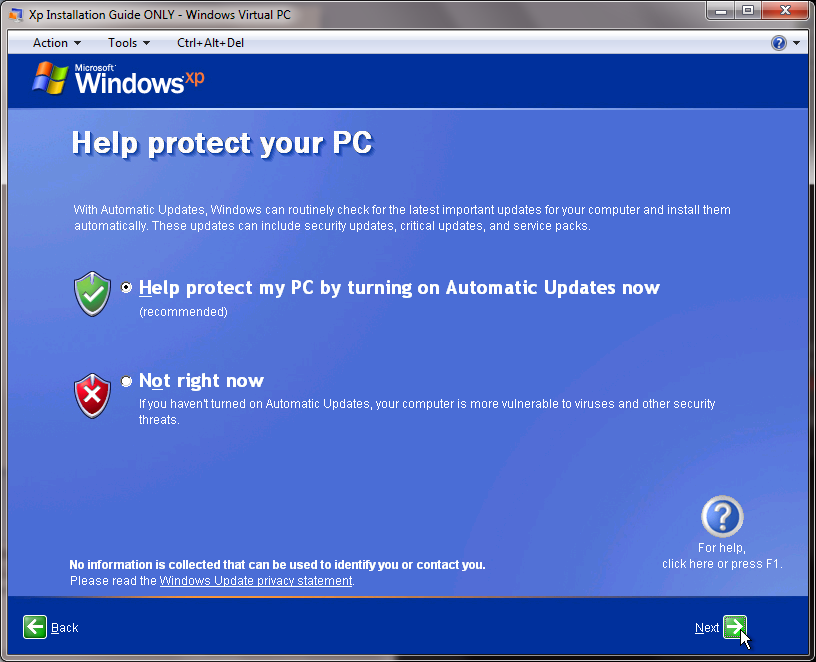
19. On this stage I recommend selecting the green shield option, this will automatically update from the windows server whenever there are new updates. Click "Next"
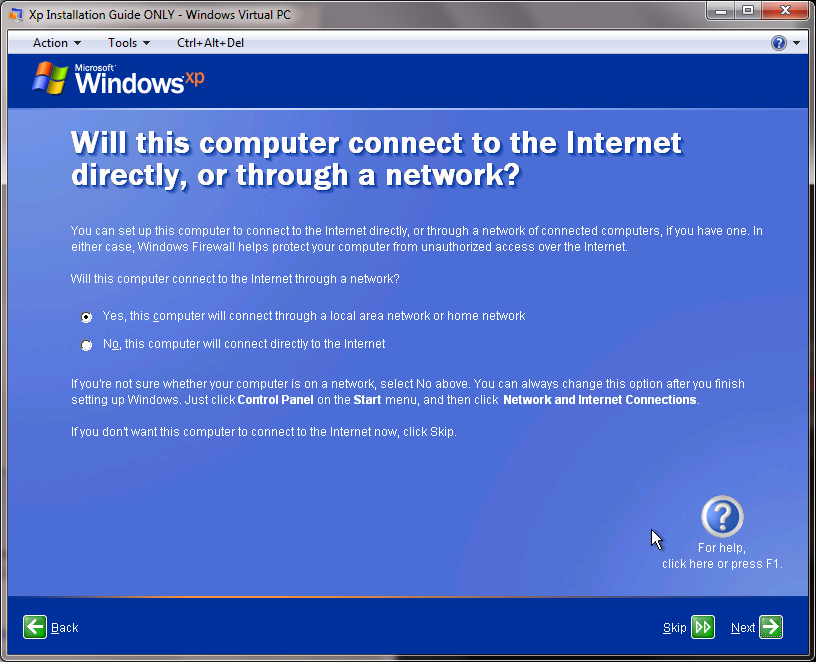
20. This step is where XP will attempt to identify if you are using a wired connection to a network or Internet connection.

21. For this stage keep the default selection "Yes it will connect through network etc"
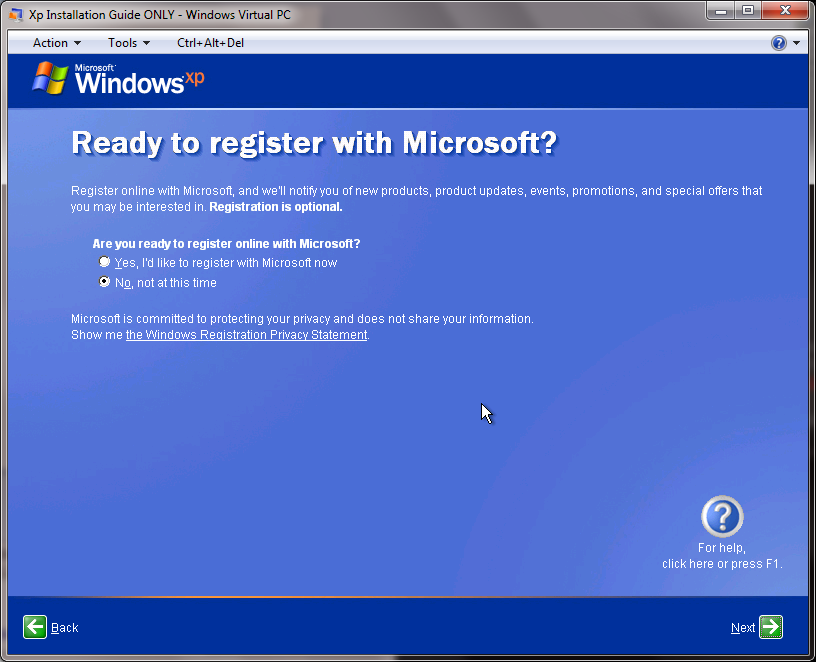
22. On this stage i am using no to registering with Microsoft as I am using a cracked copy of windows. I do advise you to register with Microsoft if you are using a legal version it will benefit you.
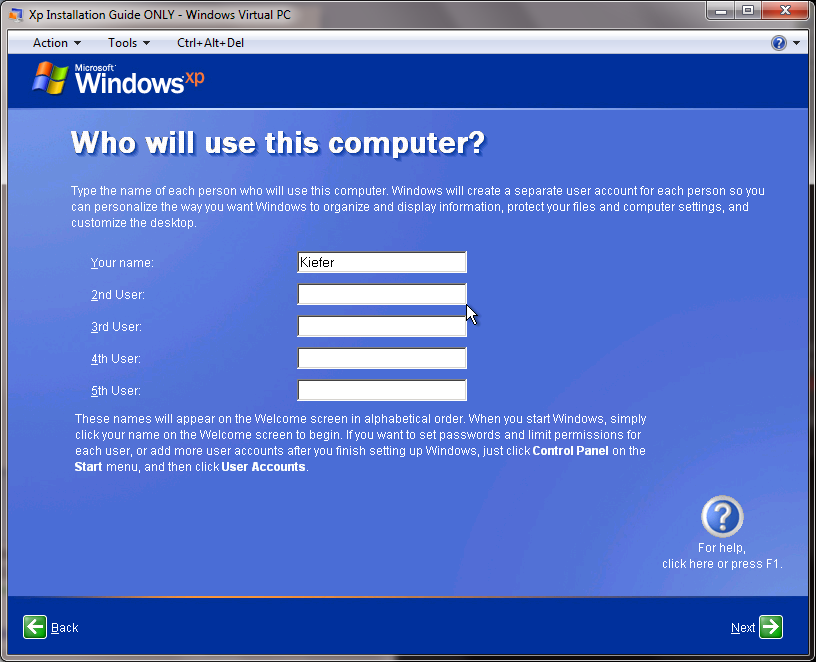
23. This stage is where you will be creating the account names for the people who will be using the computer, i used my name as its my installation you can use whatever you like.
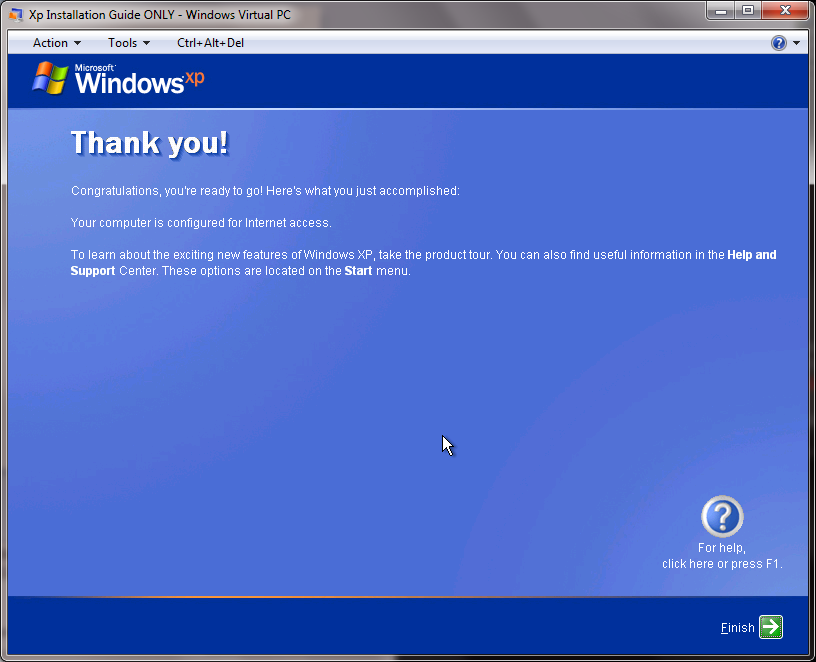
24. Well done the process is now over, officially welcome to XP hope you enjoy you’re stay and never upgrade to Vista!
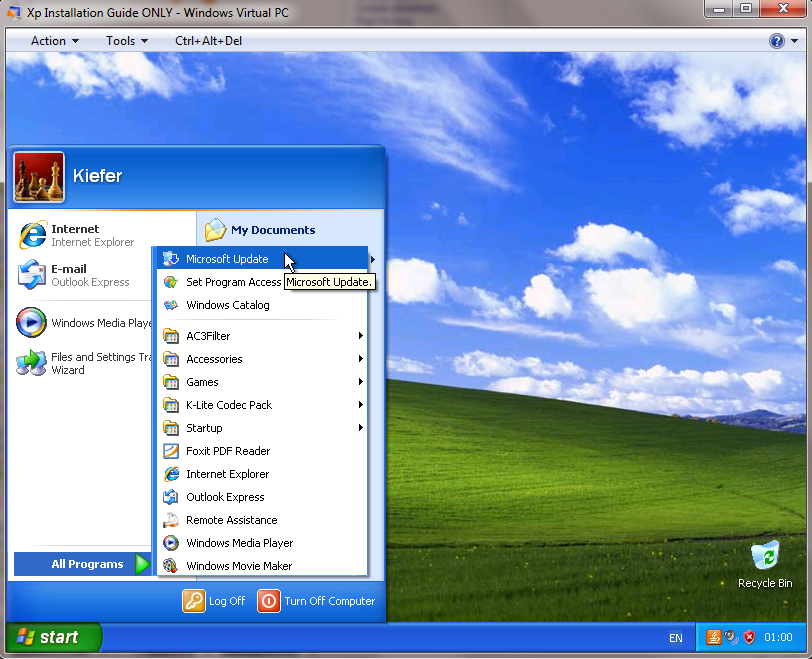
25. UPDATES!
Go to "Start > All Programs > Windows Update"
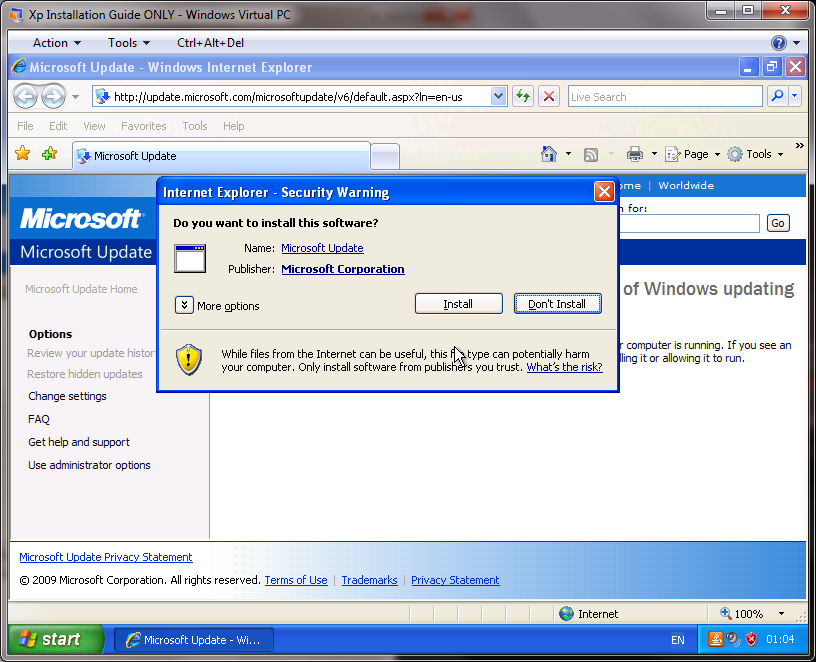
26. Click Accept to install Microsoft Update on the following prompt
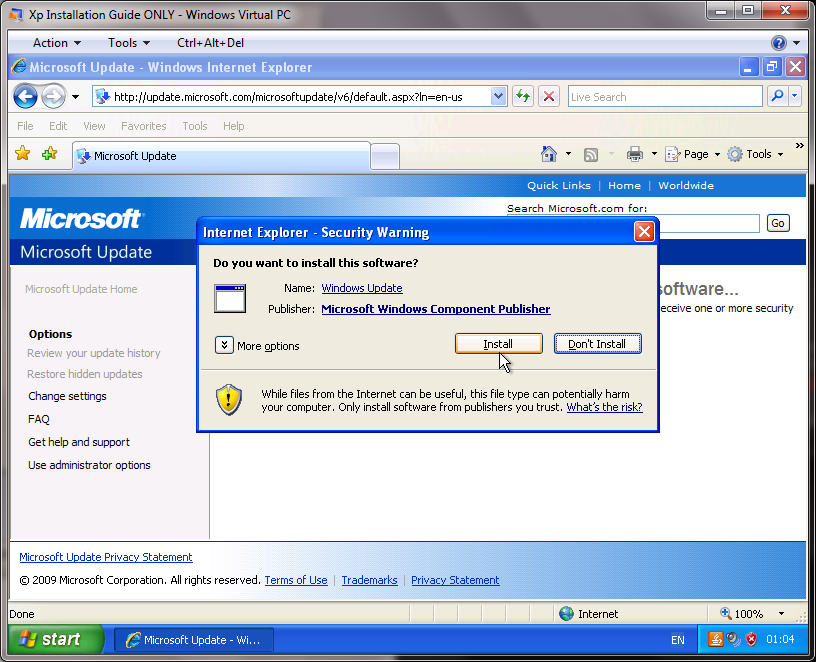
Click accept to install Windows Update on the following Prompt
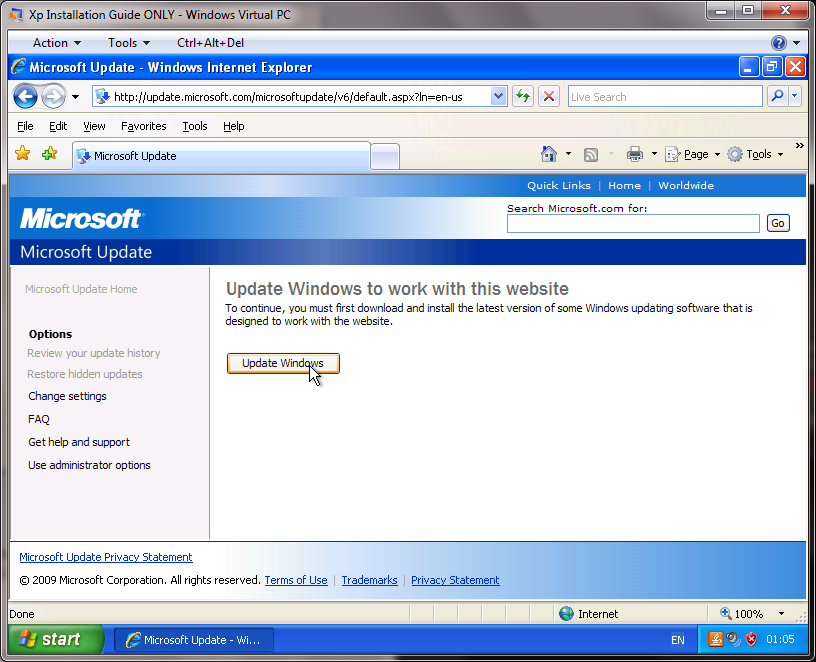
27. Click "Update Windows" on the next screen
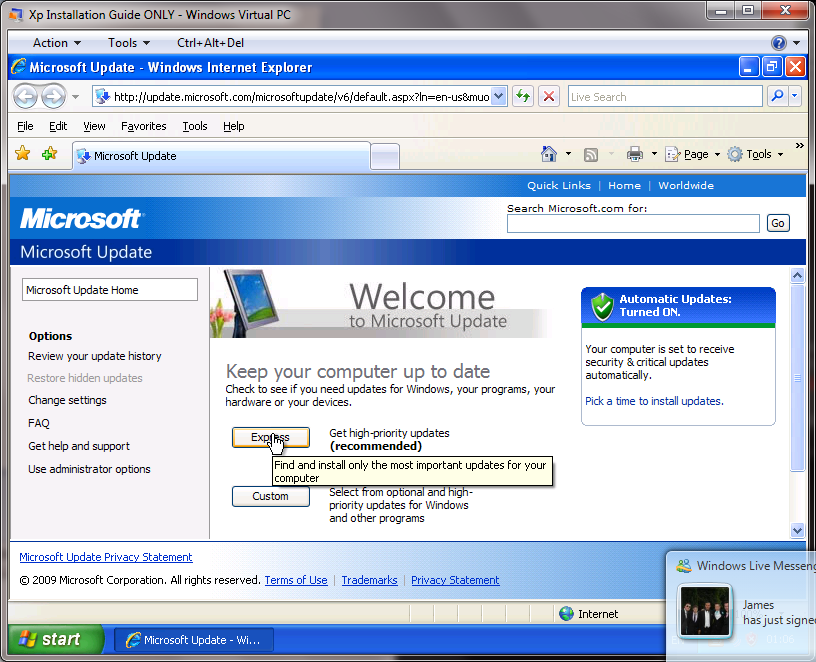
28. Click "Express" This will initiate a search of the windows servers for any updates that you’re computer may need, this also only works with Internet Explorer as IE has a inbuilt feature to search you’re systems hardware and then locates any drivers it may need.
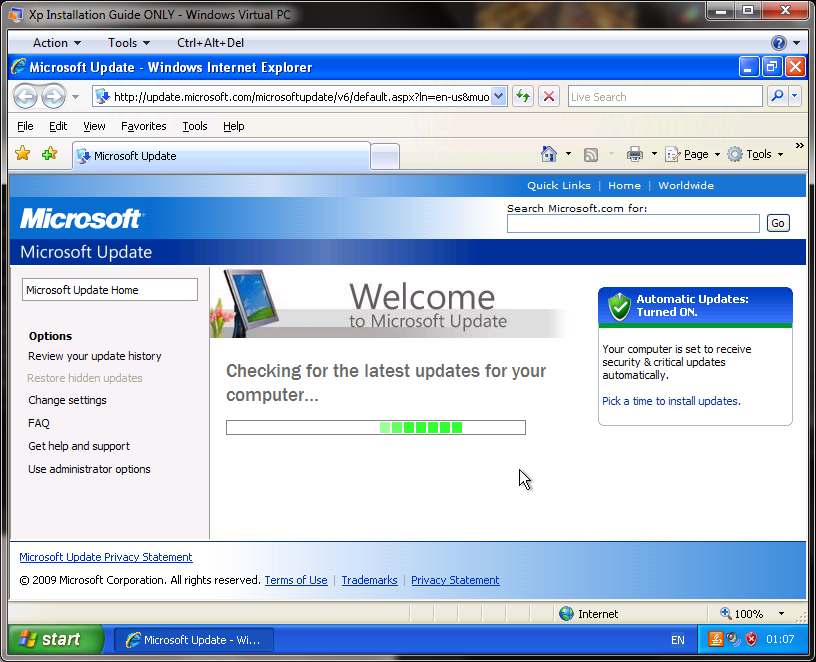
29. Allow the green bar to continue to go across and don’t exit the web page this is now searching for those updates.
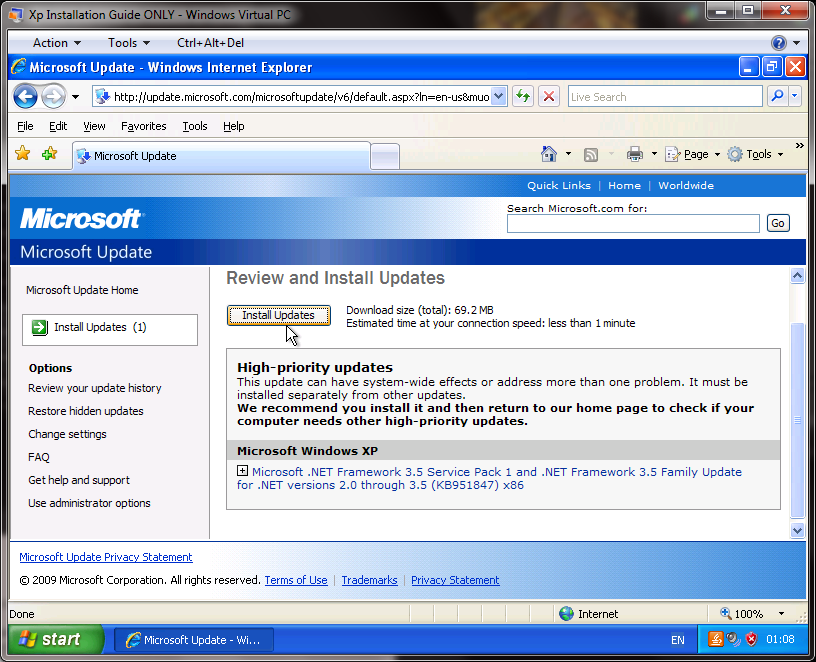
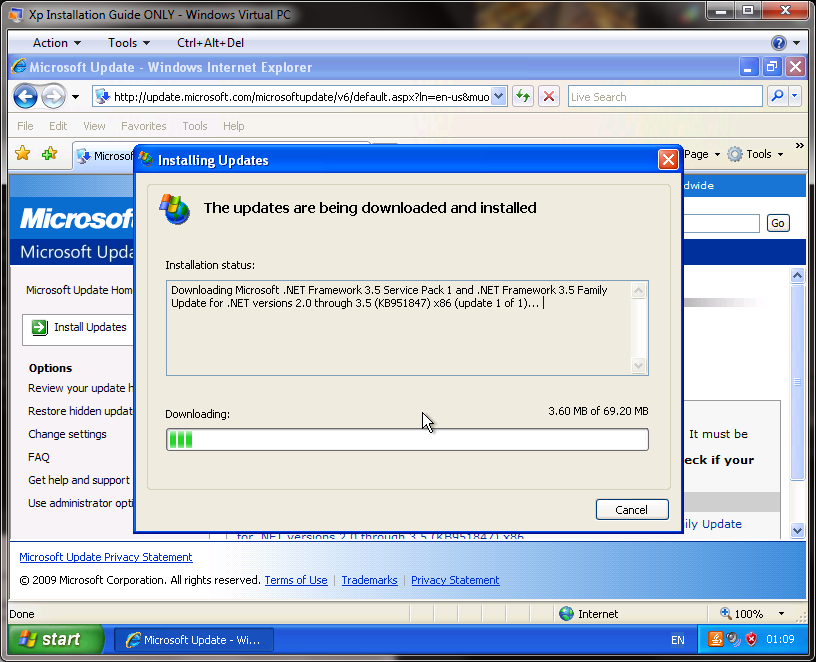
30. Once it locates the updates you need to click "install updates" this will then bring up another box which will download/install the updates to you’re computer
(Installation Box)
31. Once the installation has been completed you may be asked to restart you’re computer if you are not you have two choices you can either redo the entire update process just exit the window and follow from stage 25. Stage 26 & 27 will not reappear as you have already installed them. Again do "Express installation" once you have repeated this step if nothing appears to installm restart you’re computer and then try again, after two or three times of this restart you’re computer again and then repeat the process using "Custom" this will enable you to find any that windows do not think are necessary but you may want/need them for you’re own personal use.
Congratulations – XP is now fully functional with Service Pack 3 and all necessary updates installed.
Installation and guide created by Frogz
Back To Top