
I use Strava to track my runs and bike rides which has been working great on my old Samsung Galaxy S4. I recently got a new Samsung Galaxy S6 phone and at first it was working great but a week or two ago it started playing up. I got home and it had not tracked my run, it has GPS at the start and at the end when I went to finish the tracking but nothing in the middle. Very annoying but I hoped it was just a random day when GPS signal wasn’t strong or something. Anyway the next day I went for a short run again and kept a close eye on it this time. It got GPS again at the start so I set off, a few meters down the road it was clear that the tracking wasn’t working but when I unlocked the phone it picked up GPS immediately.
Fix
Its easy to think something has broken on the phone or in the app but the above pointed towards a setting on the phone that was stopping the tracking from working. When I looked into it further it didn’t take long to see on the alert ribbon “power saving mode enabled”.
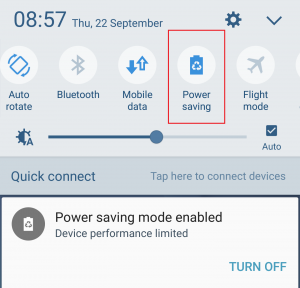
I must have accidentally pressed it when scrolling through the menu. I turned power saving mode off and tracking immediately worked again. Posting this for others who have the same frustrating issue.